1 Setting the Foundation: High Plank Pose
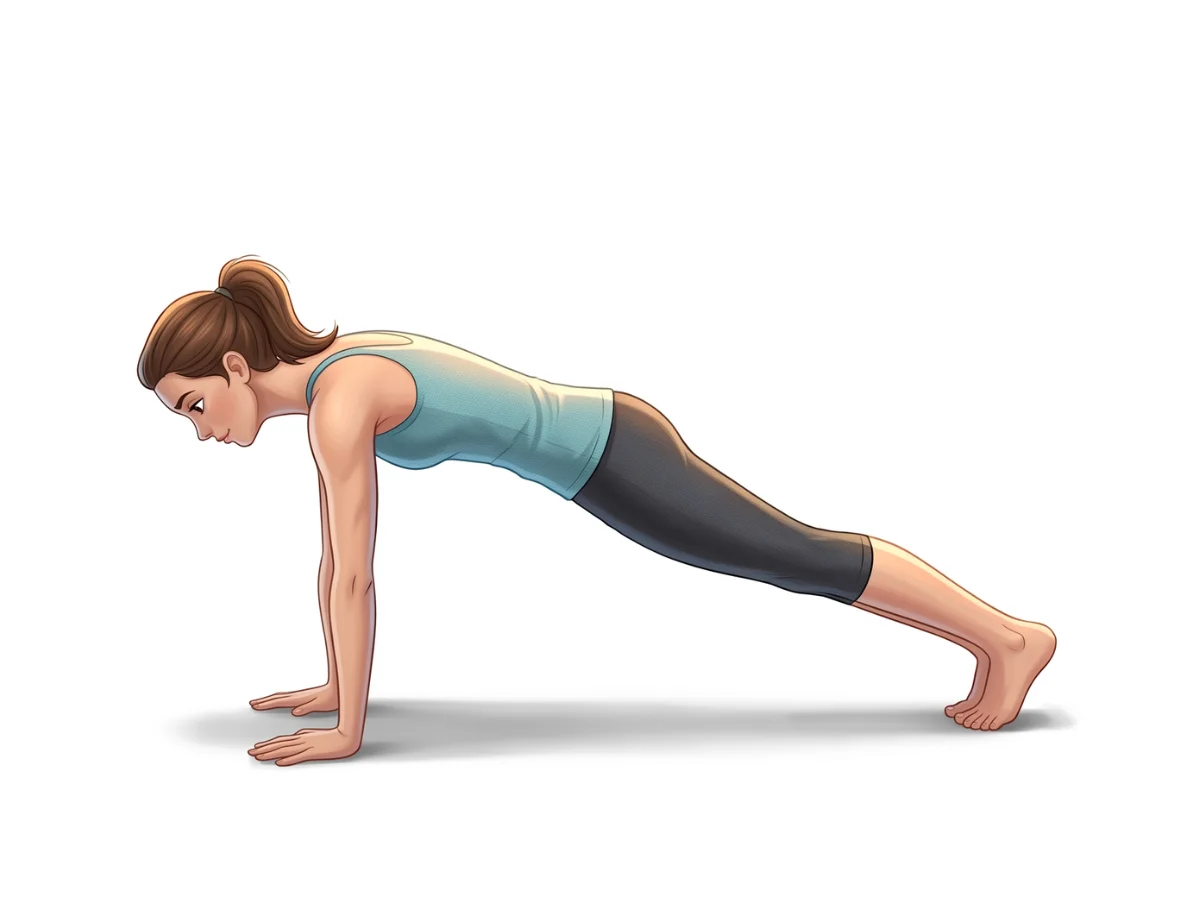
A flawless Chaturanga actually begins in Plank Pose. If your Plank is compromised, your Chaturanga will be too. Your hands should be shoulder-width apart, with your fingers spread wide and the crease of your wrists parallel to the front edge of the mat.
Key Details & Technique
- Engage the Core: Pull your navel toward your spine to prevent your lower back from sagging.
- Protraction: Press the floor away so the space between your shoulder blades slightly domes up. Do not let your chest collapse through your shoulders.
- Legs Active: Fire up your quadriceps and press your heels back as if pressing into a wall.
2 The Crucial Shift Forward
This is the step most beginners miss. Before you bend your elbows, you must shift your entire body forward. If you lower straight down from a standard plank, your elbows will land behind your wrists, placing immense shearing force on your elbow and shoulder joints.
Key Details & Technique
- Roll onto your toes: Shift your weight forward until your shoulders are significantly past your wrists.
- Keep the body stiff: Maintain your plank integrity as you move forward. You should feel like a solid board of wood.
Pro Tip:
"Imagine you are peering over the edge of a cliff. Look slightly forward of your mat, not directly down between your hands."
3 The 90-Degree Rule for Elbows
As you exhale and lower down, keep your elbows pinned closely to your ribs. They should point straight back, not splay out to the sides. The most critical safety rule of Chaturanga is to stop lowering when your elbows reach a 90-degree angle. Dipping your shoulders below your elbows destabilizes the rotator cuff and leads to impingement over time.
Key Details & Technique
- Elbows over wrists: Because you shifted forward, your forearms should remain perfectly vertical as you lower.
- Hover: Keep your shoulders at the exact same height as your elbows. Your body should be in a straight line from heels to crown.
4 Modifying Intelligently (Knees-Down Chaturanga)
There is absolutely no shame in lowering your knees to the mat. In fact, performing a knees-down Chaturanga with perfect alignment builds much more strength than performing a full Chaturanga with a collapsing spine or dipped shoulders.
Key Details & Technique
- Keep the angle: Even with your knees down, you must maintain a straight line from your knees through your hips to your head. Do not stick your glutes in the air.
- Still shift forward: The requirement to shift forward before bending your elbows applies here just as much as in the full pose.
Pro Tip:
"To train the 90-degree angle, place a yoga block on its medium height directly under your sternum. When you lower down, stop the moment your chest taps the block."
✨ Summary & Next Steps
Chaturanga is a journey, not a destination. It requires significant tricep, latissimus dorsi, and core strength, which takes consistent time to build. By refusing to compromise your alignment and proudly taking modifications when needed, you are guaranteeing a long, pain-free yoga practice. The next time the teacher calls for a Vinyasa, focus entirely on that forward shift and stopping at 90 degrees. Your shoulders will thank you for years to come.
Frequently Asked Questions
Elena Rostova
Elena Rostova is an accredited yoga educator and anatomy specialist with over 15 years of clinical experience. She focuses on functional biomechanics and injury prevention, translating complex anatomy into accessible guidance for safe, sustainable practice.