
Shiva Squat
Shiva Squat
By Elena Rostova Updated: verified Medically Reviewed
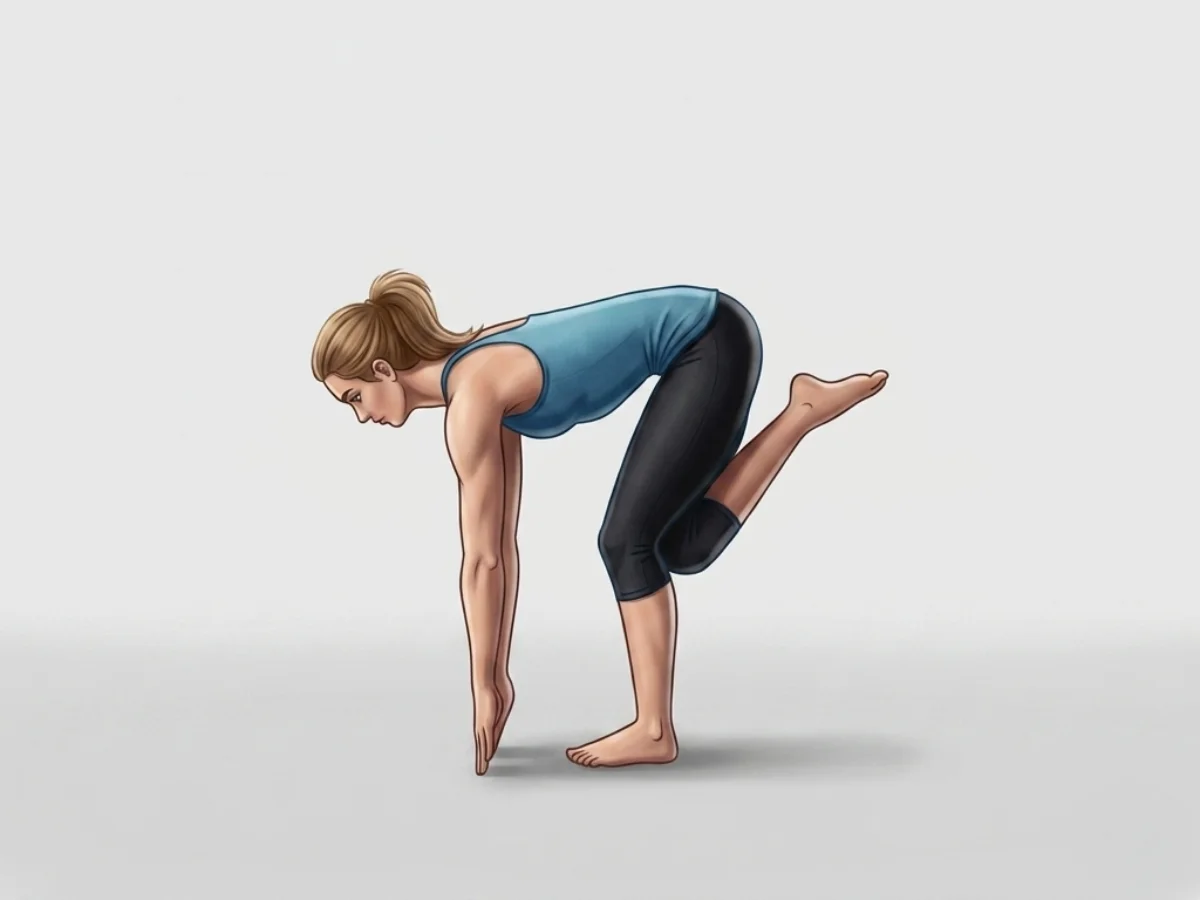
Shiva Squat is a dynamic, heat-building balancing posture often utilized in Vinyasa flows to transition between standing poses like Warrior III and Half Moon. By balancing on one leg and tucking the opposite knee behind the standing calf, practitioners intensely target the gluteus medius and core stabilizers.
Hold Time
Dynamic movement or hold 3–5 breaths
Pronunciation
SHEE-vah squat
About Shiva Squat
A vital part of many yoga sequences, Shiva Squat (Shiva Squat) offers wonderful benefits that go beyond its simple shape. It primarily targets the glute strength & dynamic balance, helping to create length and strength exactly where you need it most. Consistent practice will actively assist in builds glute strength, helping you feel lighter and more balanced off the mat.
How to Practice
Start in a Lunge or Balance
Begin in a high lunge or balancing on your right leg in Warrior III (Virabhadrasana III), with your left leg extended behind you and your hands at your heart center.
Bend the Standing Knee
Inhale and deeply bend your right (standing) knee, sinking your hips back and down as if moving into a one-legged Chair Pose.
Tuck the Back Leg
Exhale as you draw your left knee forward and tuck it snugly behind your right calf. Point your left toes toward the ceiling or let them hover just above the mat.
Engage the Core
Draw your belly button in toward your spine to support your lower back. Keep your chest lifted and avoid rounding forward completely over your knee.
Hold or Flow
You can hold this deep squat for 3 to 5 breaths to build endurance, or use it dynamically by inhaling back to Warrior III and exhaling back into the squat.
Release
To exit, inhale as you press firmly through your right heel to straighten your right leg, extending the left leg back out. Return to Mountain Pose (Tadasana) and switch sides.
Practice with the Yoga Timer
Keep track of your hold time and breath count for this pose.
Beginner Modifications & Prop Options
Yoga is a personal journey. These modifications and prop options allow you to adapt the pose to your current level of balance and flexibility, ensuring a safe and supportive practice.
Use Yoga Blocks
Place your hands on two yoga blocks at the top of your mat to provide external stability and focus entirely on glute strengthening.
Tip: Focus on alignment rather than depth.
Tap the Toes Down
Lightly tap the toes of the tucked foot on the mat behind your standing leg. This provides a secondary point of contact for better control.
Tip: Focus on alignment rather than depth.
Benefits of Shiva Squat
Builds Glute Strength
Intensely fires up the gluteus maximus and gluteus medius of the standing leg, crucial for pelvic stability.
Enhances Dynamic Balance
Trains the nervous system to maintain equilibrium while transitioning between different centers of gravity.
Strengthens the Core
Requires deep abdominal engagement to stabilize the torso and control the lowering phase of the squat.
Increases Heart Rate
As a compound, large-muscle movement, it provides a cardiovascular boost and builds stamina.
Improves Knee Stability
When done with proper alignment, it strengthens the muscles surrounding the knee joint, improving tracking.
Common Mistakes to Avoid
Mistake: Knee Passing the Toes
How to fix: Keep your weight shifted back into your standing heel. Your knee should stay roughly over your ankle.
Mistake: Rounding the Back
How to fix: Keep your hands at your heart center, broaden your collarbones, and lift your chest slightly as you squat.
Mistake: Dropping the Hips Too Fast
How to fix: Move slowly and deliberately, controlling both the descent into the squat and the ascent out of it.
Safety and Precautions
Acute Knee Injuries
Deep, single-leg squats place a heavy load on the patella and knee ligaments; avoid if recovering from meniscus or ACL issues.
Ankle Sprains
Requires a highly stable ankle joint. Avoid if your ankle is currently inflamed or healing.
Severe Lower Back Pain
If core strength is insufficient, the lower back may take on the load, exacerbating pain.
Medical Disclaimer: If you have any of the above conditions, consult your doctor or a qualified yoga instructor before attempting this pose.
Muscles Worked in Shiva Squat
Shiva Squat demands synchronized muscular effort, creating a profound sense of engagement and release throughout the body. The activation of the primary muscles supports the structure, while the secondary muscles provide stability and balance.
Primary Muscles
Gluteus Maximus & Medius
Drive the upward movement and stabilize the pelvis laterally.
Quadriceps
Control the descent and power the extension of the standing leg.
Core Stabilizers
Prevent the torso from collapsing forward.
Secondary Muscles
Hamstrings
Assist the glutes in hip extension.
Calves (Gastrocnemius)
Stabilize the ankle joint during the dynamic movement.
Poses to Practice Before and After Shiva Squat
Prepare with these Poses
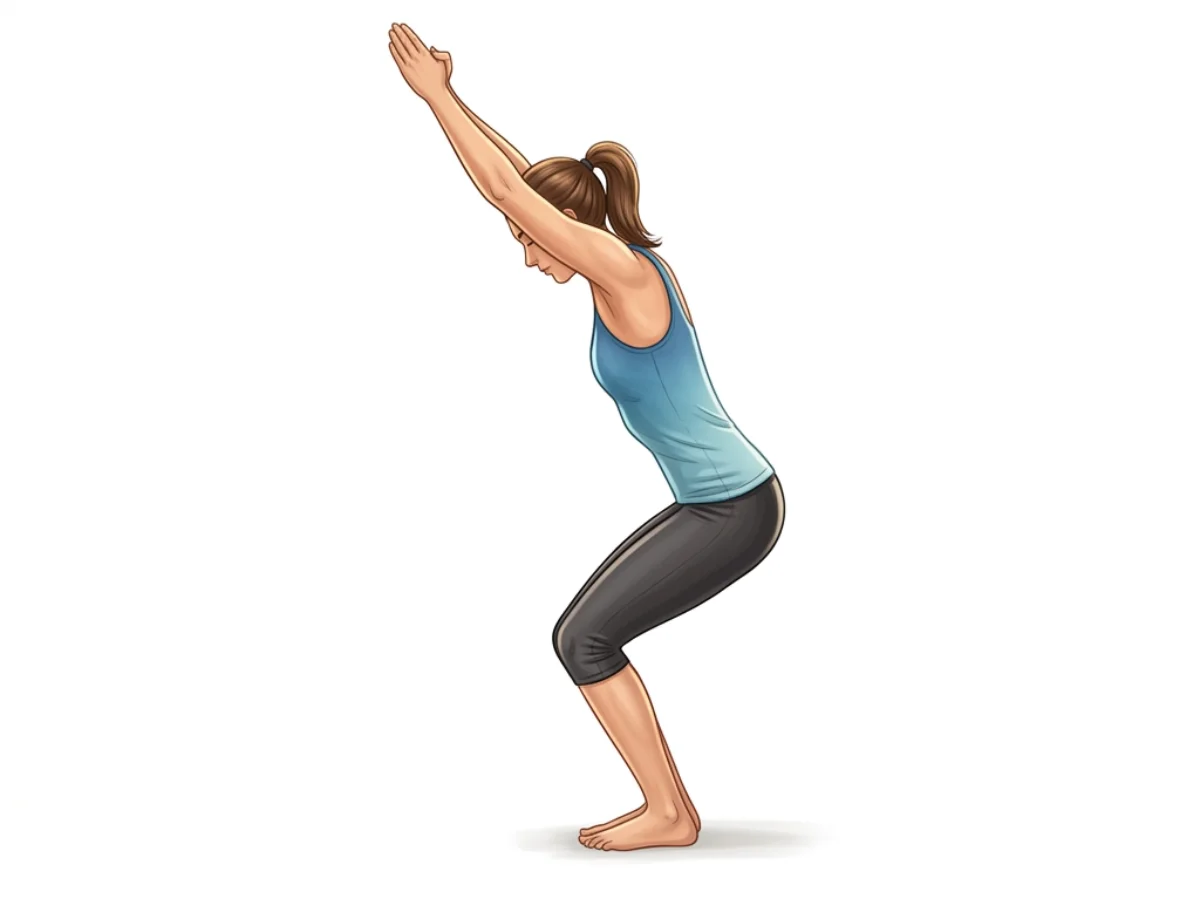
Chair Pose
UtkatasanaBuilds bilateral leg strength and familiarizes the body with the squatting motion.
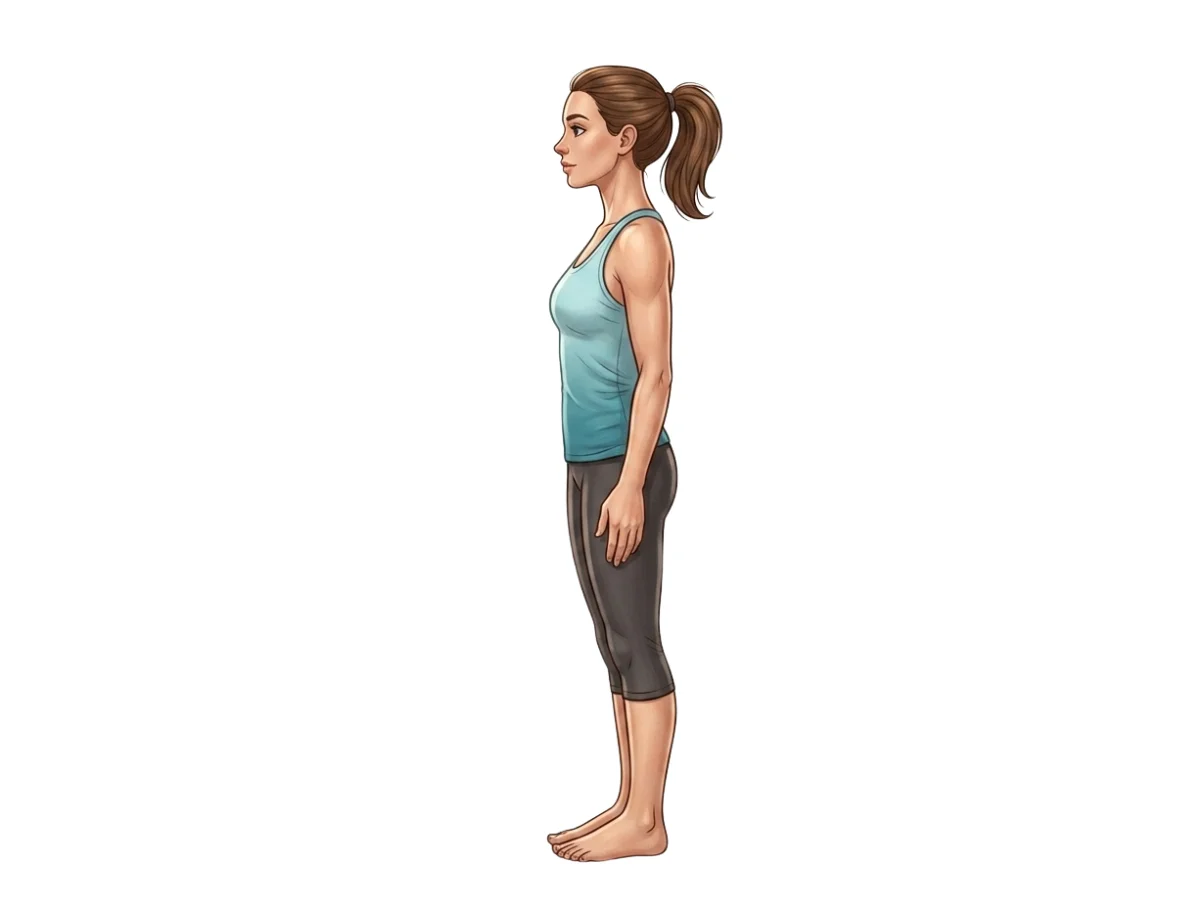
Mountain Pose
TadasanaEstablishes fundamental balance and postural alignment.
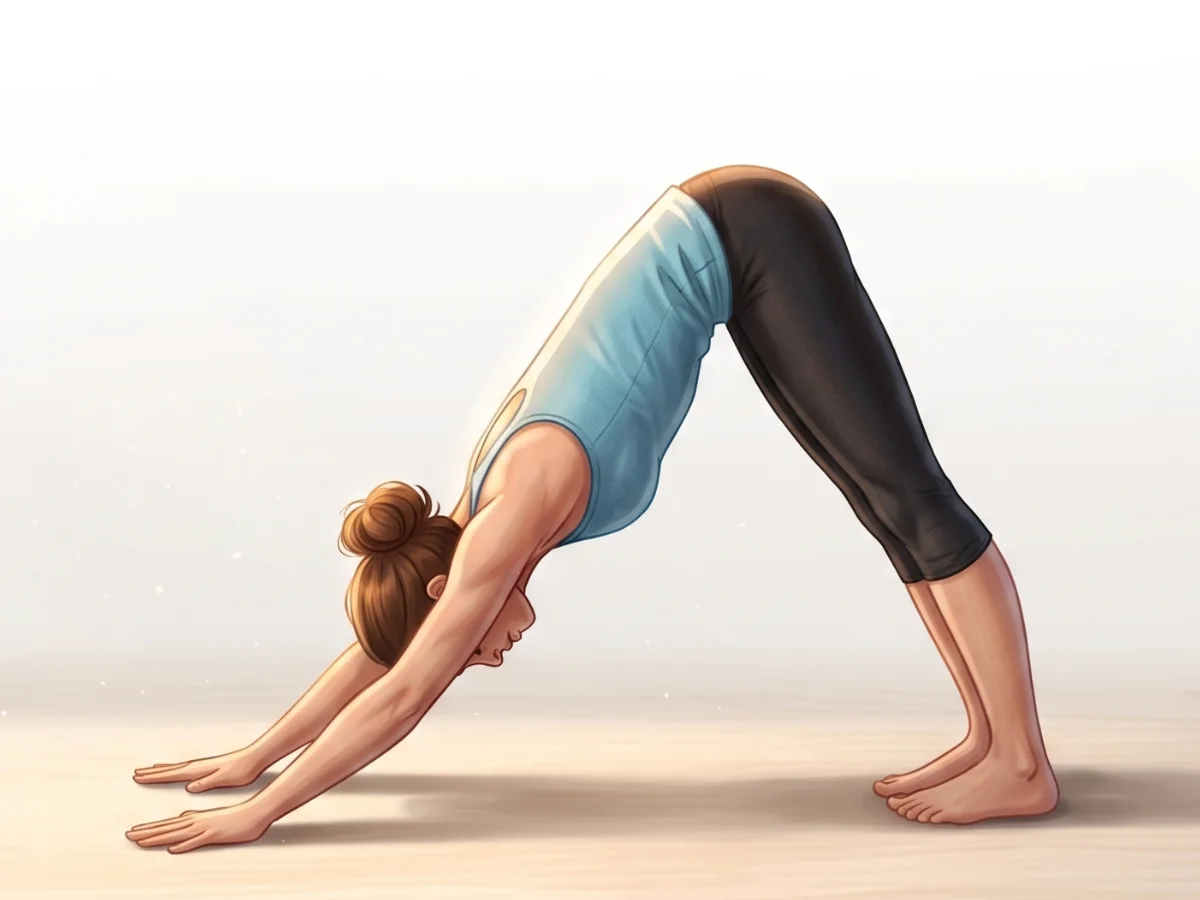
Downward-Facing Dog
Adho Mukha SvanasanaWarms up the entire posterior chain.
Follow with neutralizing Counter-poses
Mountain Pose
TadasanaRestores bilateral balance and allows the heart rate to settle.
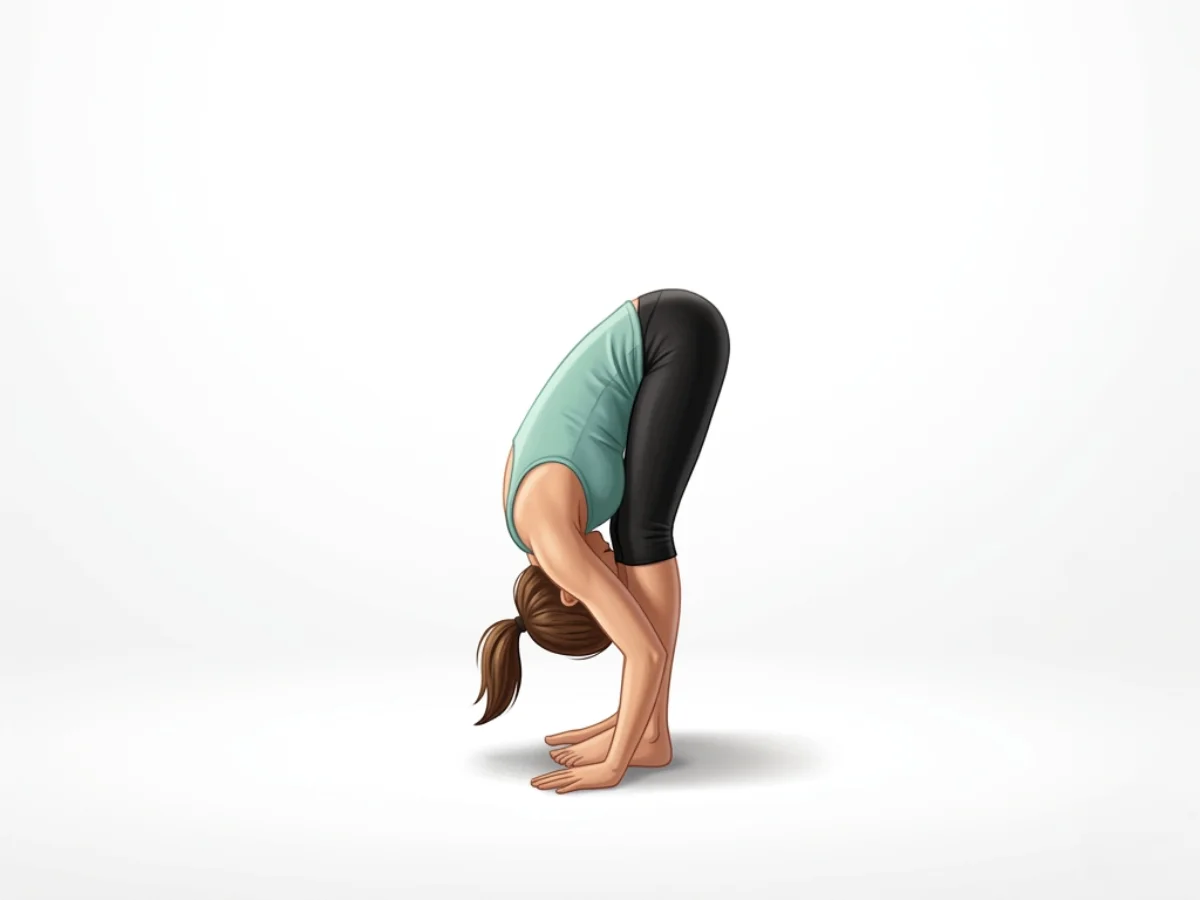
Standing Forward Bend
UttanasanaReleases tension in the glutes and hamstrings after intense contraction.
Downward-Facing Dog
Adho Mukha SvanasanaProvides a symmetrical, full-body stretch to neutralize the effort.
Frequently Asked Questions
How low should I go in a Shiva Squat?
Only go as low as you can while maintaining a straight spine, keeping your standing heel on the floor, and avoiding pain in the standing knee. Even a shallow squat is highly effective for building strength.
Is this a traditional yoga pose?
Shiva Squat is a modern adaptation frequently used in Vinyasa and power yoga classes. While not an ancient traditional asana, it is an excellent functional movement for building the strength required for advanced balances.
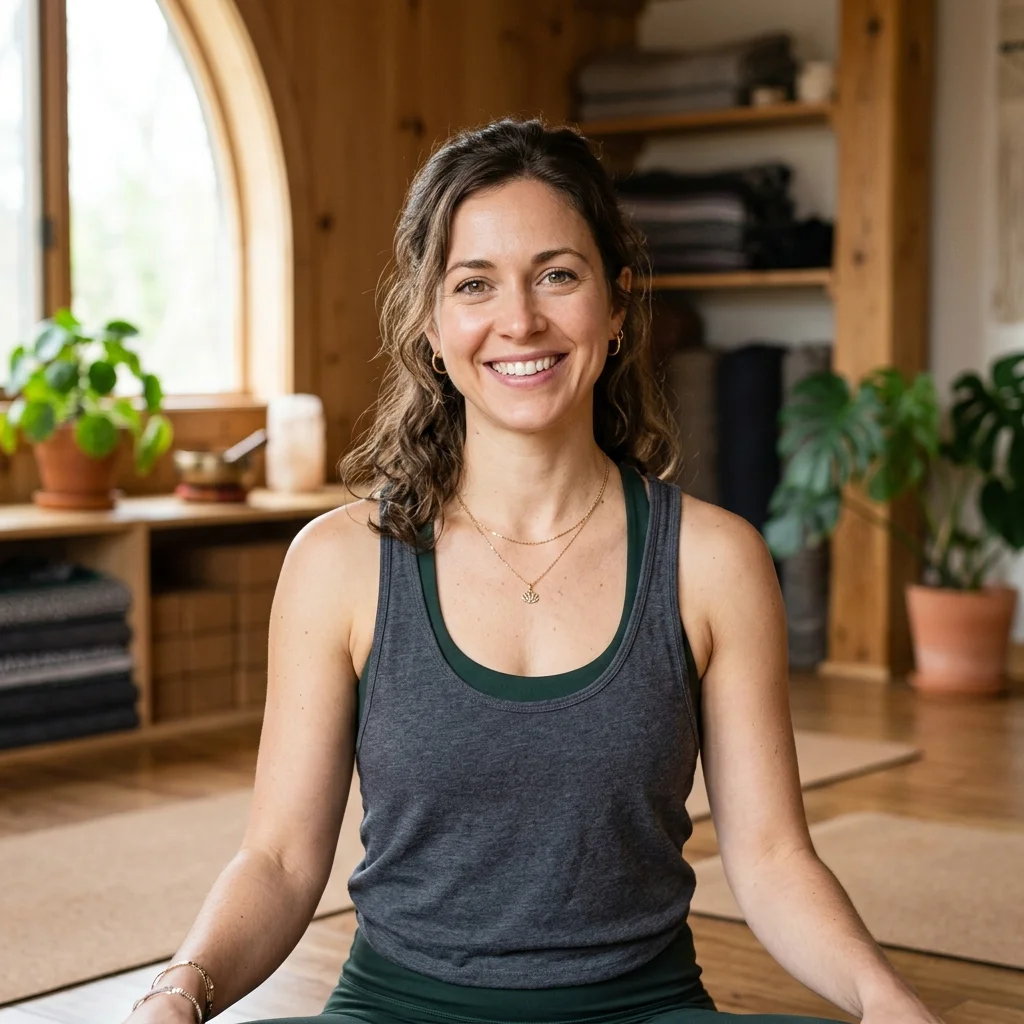
Elena Rostova is an accredited yoga educator and anatomy specialist with over 15 years of clinical experience. She focuses on functional biomechanics and injury prevention, translating complex anatomy into accessible guidance for safe, sustainable practice.
Read Full ProfileContinue Your Yoga Journey
Ready to deepen your practice? Explore our extensive library of poses, or join a structured program designed to build strength, flexibility, and mindfulness.