
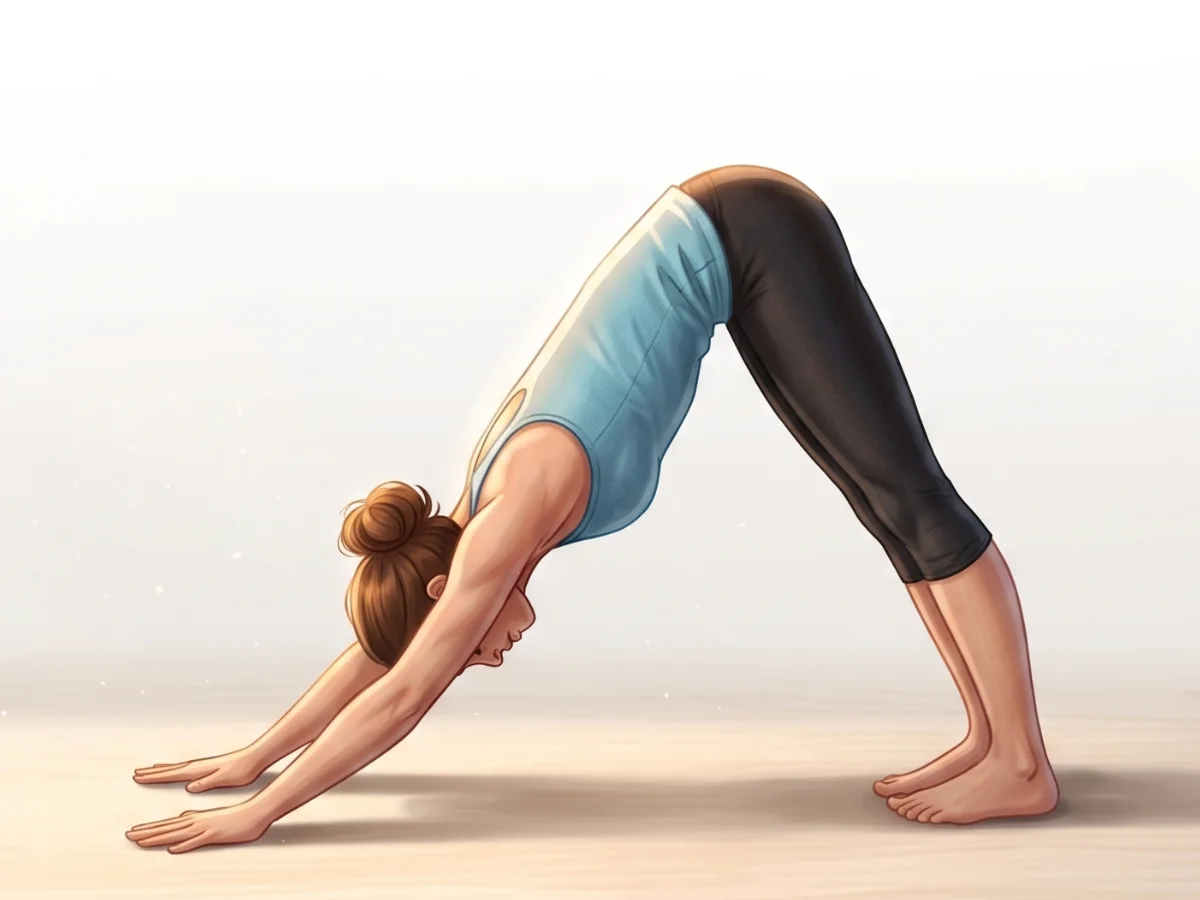
Downward-Facing Dog
Adho Mukha Svanasana
By Elena Rostova Updated: verified Medically Reviewed
Downward-Facing Dog (Adho Mukha Svanasana) is a foundational standing inversion that creates an inverted V shape with the body. It simultaneously stretches the hamstrings and calves while strengthening the shoulders, arms, and core.
Hold Time
30–60 sec · 5–10 breaths
Pronunciation
ah-doh moo-kah shvah-NAHS-anna
About Downward-Facing Dog
Drawing inspiration from nature, Downward-Facing Dog (Adho Mukha Svanasana) is a powerful pose that encourages a deep connection to movement. This posture specifically engages the full body & hamstrings, making it highly effective for developing both strength and mobility. Practicing this pose regularly helps with decompresses the spine and leaves you feeling completely refreshed.
How to Practice
Tabletop Setup
Begin on your hands and knees in a tabletop position, aligning your wrists directly beneath your shoulders and knees underneath your hips.
Hand Engagement
Spread your fingers widely across the mat, pressing firmly through your knuckles and the perimeter of your palms as you take a centering inhale.
Toe Tuck
Tuck your toes firmly against the floor, preparing your lower body to bear weight while maintaining a neutral spine.
Knee Lift
Exhale as you press firmly into your palms and lift your knees off the mat, keeping your knees slightly bent to prioritize spinal length.
Hip Elevation
Inhale and lengthen your tailbone upwards and back toward the ceiling, creating an inverted V shape with your entire body.
Leg Extension
Exhale as you gently begin to straighten your legs, allowing your heels to sink downward toward the mat without forcing them to touch the floor.
Shoulder Rotation
Rotate your upper arms outward to broaden across your collarbones, creating ample space between your shoulders and your ears as you breathe steadily.
Quadricep Activation
Engage your quadriceps firmly to lift your kneecaps upward, taking a deep inhale to support the extension of your hamstrings.
Core Engagement
Draw your lower abdomen inward and upward toward your ribcage on an exhale, activating your core to stabilize your pelvis and lower back.
Neck Relaxation
Allow your head and neck to hang freely between your upper arms, gazing softly toward your toes or your navel with relaxed facial muscles.
Sustained Breath
Maintain steady, rhythmic breathing for 5 to 10 deep breath cycles, feeling the expansion of your ribcage on each inhale and grounding through your hands on each exhale.
Controlled Release
Release from the posture on a slow exhale by gently lowering your knees back to the mat and sinking your hips back into Child's Pose for restorative rest.
Practice with the Yoga Timer
Keep track of your hold time and breath count for this pose.
Beginner Modifications & Prop Options
Yoga is a personal journey. These modifications and prop options allow you to adapt the pose to your current level of balance and flexibility, ensuring a safe and supportive practice.
Using Yoga Blocks Under Hands
Place two sturdy yoga blocks directly beneath your shoulders. Elevating hands decreases extreme wrist extension and gives the spine room to elongate without pulling on hamstrings.
Tip: Focus on alignment rather than depth.
Keeping Knees Generously Bent
Maintain a deep bend in both knees. Focus on pushing sit bones high toward the ceiling and maintaining a straight line from wrists to tailbone to unburden the lumbar spine.
Tip: Focus on alignment rather than depth.
Practicing Against a Wall or Chair
Place hands flat on a wall at hip height or grip a chair back. Step feet backward until torso is parallel to the floor, forming a 90-degree hip angle.
Tip: Focus on alignment rather than depth.
Benefits of Downward-Facing Dog
Decompresses the Spine
Gravity gently separates the spinal vertebrae as hips lift, relieving lumbar and thoracic compression and restoring space to the intervertebral discs.
Stretches Hamstrings & Calves
Places the entire posterior chain under active sustained extension, restoring flexibility to chronically tight hamstrings, calves, and Achilles tendons.
Strengthens Shoulders & Upper Back
Bearing weight through the arms builds strength in the rotator cuff, deltoids, triceps, and latissimus dorsi, stabilising the entire shoulder girdle.
Boosts Circulation
As a gentle inversion, the heart sits above the head, sending oxygen-rich blood to the brain — sharpening focus and leaving you feeling refreshed and alert.
Builds Core Stability
Holding the posture requires the transverse abdominis and pelvic floor to actively engage (Uddiyana Bandha), fortifying the deep core and protecting the lower back during all movement.
Common Mistakes to Avoid
Mistake: Rounding the Lower Back
How to fix: Bend your knees generously and tilt your tailbone upward until your spine forms a long, straight line from wrists to hips.
Mistake: Collapsing into the Shoulders
How to fix: Press the floor away firmly and rotate your upper arms outward to broaden your collarbones and create space between shoulders and neck.
Mistake: Dumping All Weight into the Wrists
How to fix: Spread fingers wide and press into the pads of your index finger and thumb — creating a subtle suction effect (Hasta Bandha) in the centre of your palm.
Safety and Precautions
Severe Carpal Tunnel Syndrome or Acute Wrist Sprains
Bearing weight through extended wrists can exacerbate nerve inflammation and pain.
Uncontrolled High Blood Pressure or Glaucoma
As a gentle inversion, blood pressure increases in the head and eyes, which can be dangerous for untreated ocular or vascular conditions.
Recent Shoulder Surgeries or Dislocation History
The heavy isometric load across the rotator cuff can destabilize healing shoulder tissues.
Late-Stage Pregnancy
Unless highly experienced in yoga and cleared by an OB/GYN, modifications using a wall or sturdy chair are strongly recommended to prevent excessive abdominal strain.
Chronic Vertigo or Inner Ear Disturbances
Moving the head below the heart can trigger dizzy spells or disorientation upon standing.
Acute Herniated Discs in the Lumbar Spine
Improper rounding of the lower back can aggravate herniated or bulging spinal discs.
Medical Disclaimer: If you have any of the above conditions, consult your doctor or a qualified yoga instructor before attempting this pose.
Muscles Worked in Downward-Facing Dog
Downward-Facing Dog demands synchronized muscular effort, creating a profound sense of engagement and release throughout the body. The activation of the primary muscles supports the structure, while the secondary muscles provide stability and balance.
Primary Muscles
Deltoids & Triceps Brachii
Stabilize and extend the arms.
Serratus Anterior
Protracted push against the floor.
Latissimus Dorsi
Elongates the lateral torso.
Hamstrings
Biceps femoris, semitendinosus under extension.
Gastrocnemius & Soleus
Calf muscles lengthened downward.
Secondary Muscles
Rectus & Transversus Abdominis
Maintain core stability.
Quadriceps Femoris
Engage to lift kneecaps upward.
Gluteus Maximus
Stabilizes the hip complex.
Erector Spinae
Maintains long spinal extension.
Rhomboids
Help stabilize the shoulder blades.
Poses to Practice Before and After Downward-Facing Dog
Prepare with these Poses
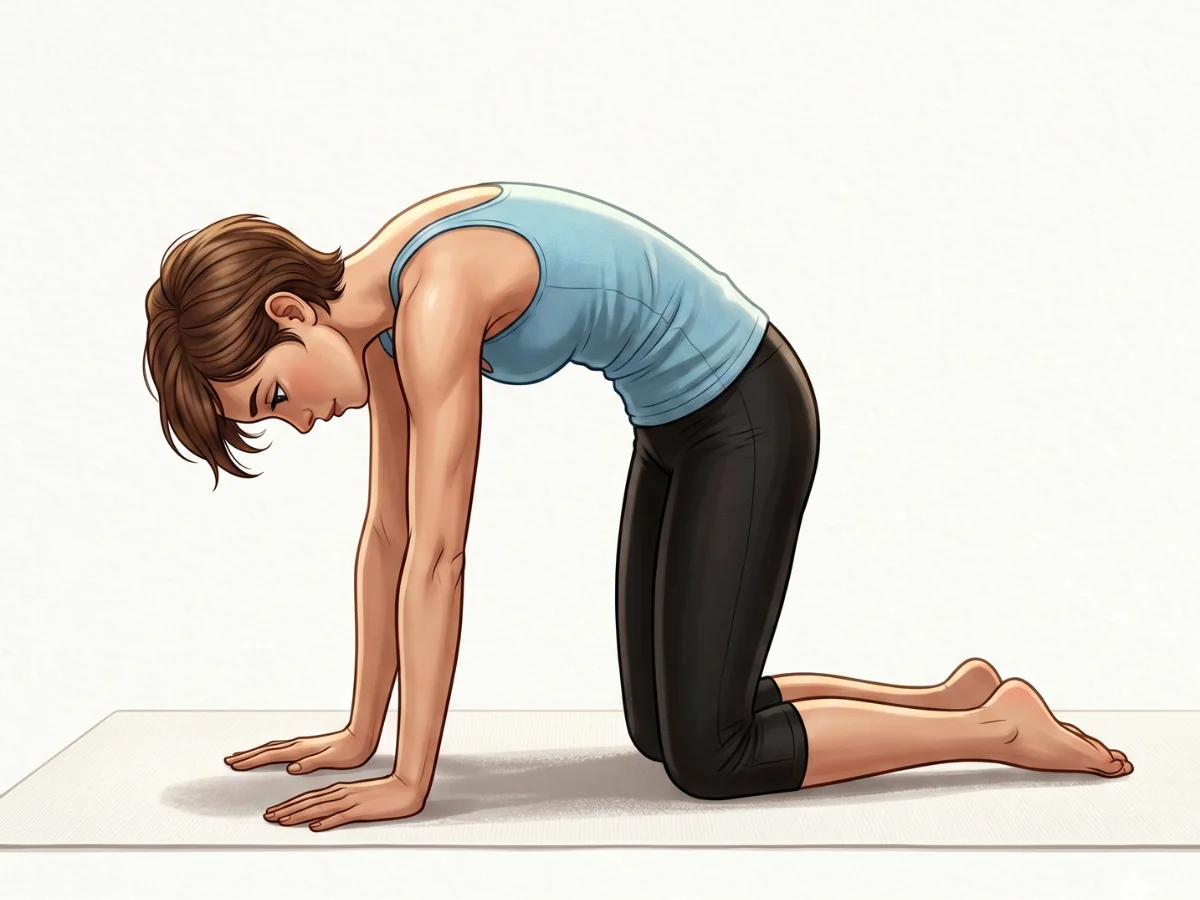
Cat Pose
MarjaryasanaWarms up the spine, lubricates the intervertebral discs, and awakens shoulder mobility before weight-bearing.
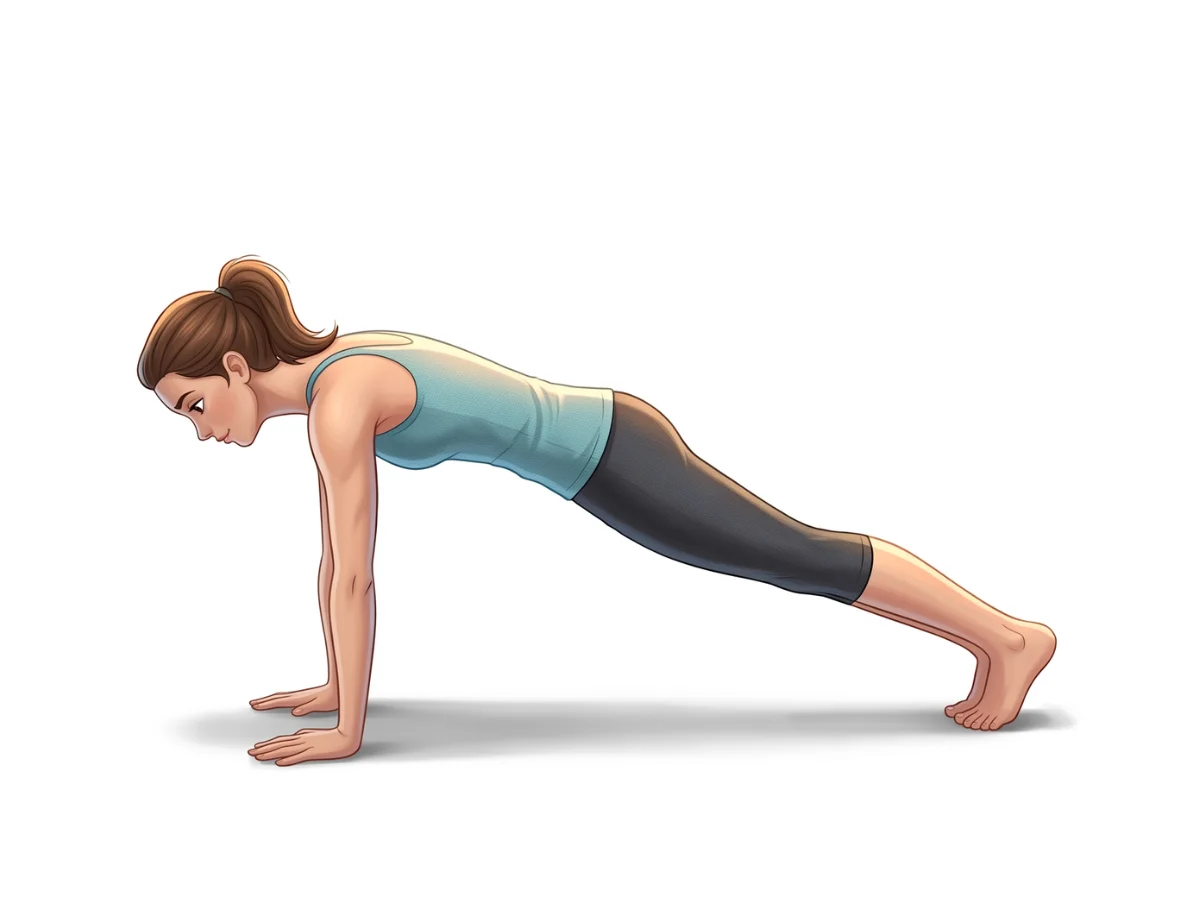
Plank Pose
PhalakasanaEstablishes the correct hand-to-foot distance and activates the core and shoulder girdle required for stability.
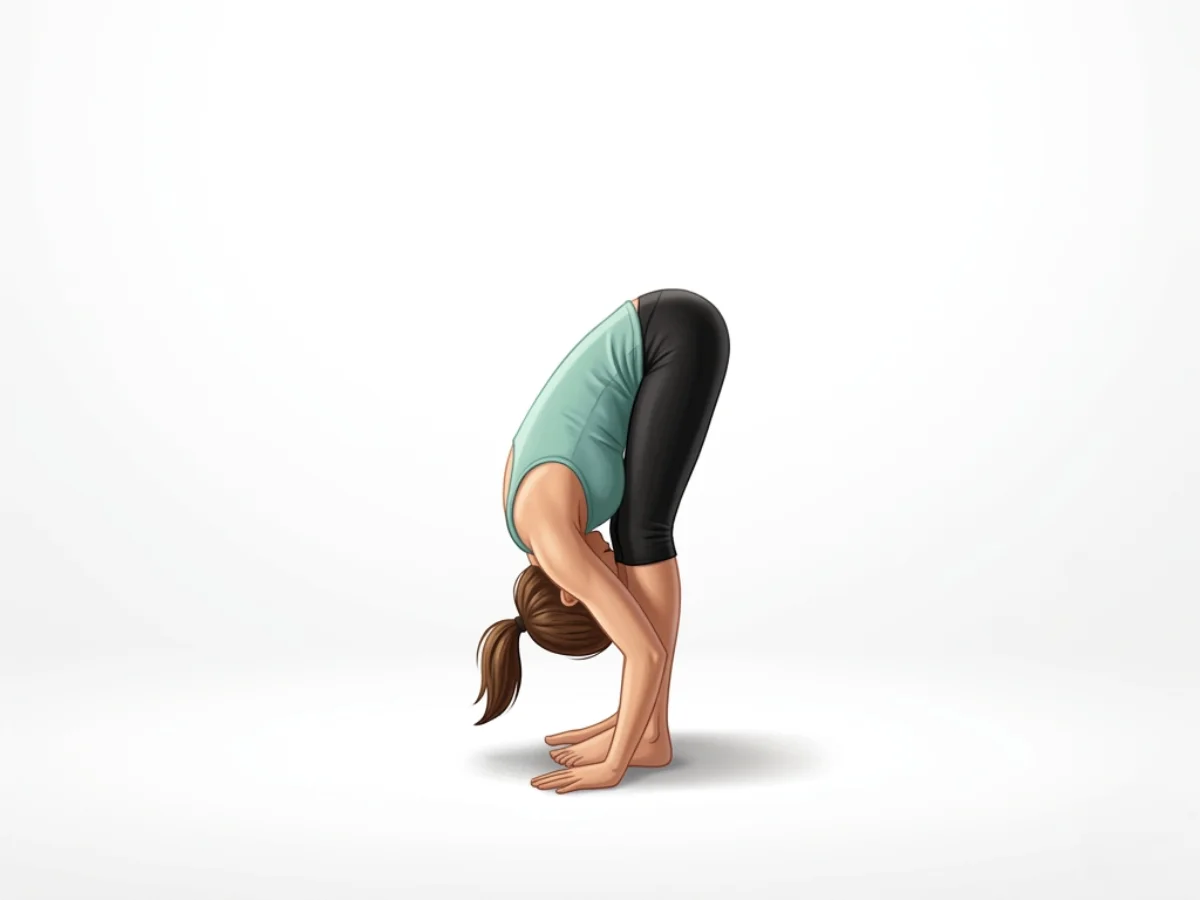
Standing Forward Bend
UttanasanaGently introduces hamstring and calf lengthening while allowing the entire spine to decompress downward.
Follow with neutralizing Counter-poses
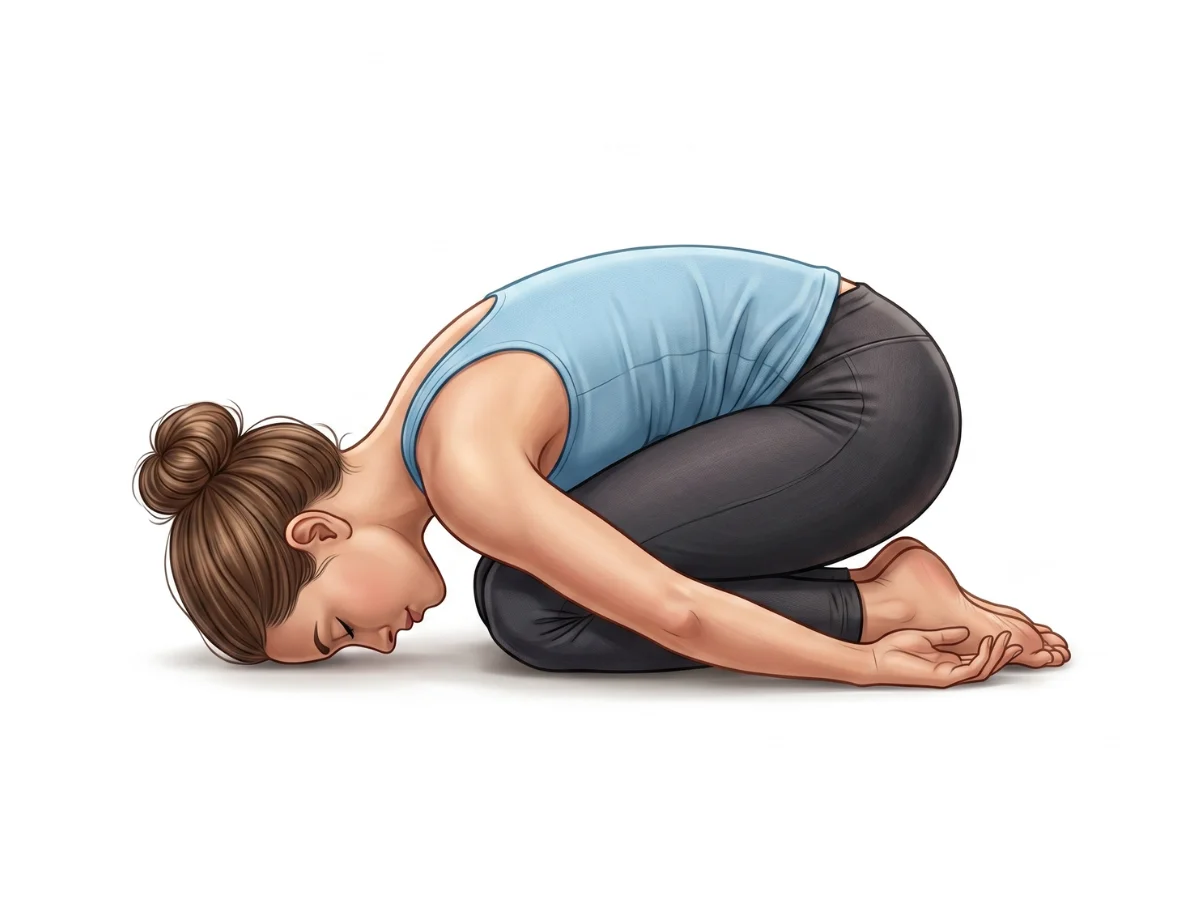
Child's Pose
BalasanaSinks the hips back to rest the wrists, shoulders, and lower back in a gentle, comforting forward fold.
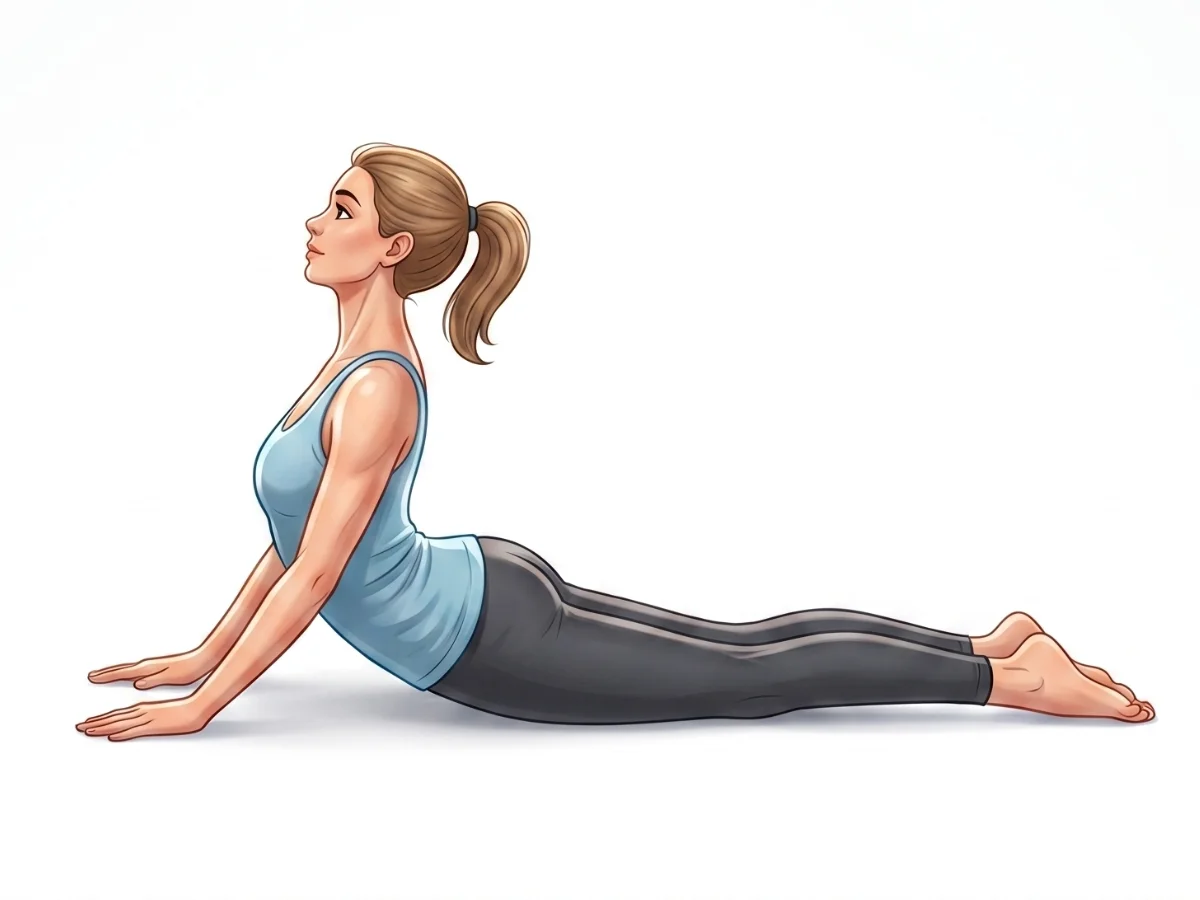
Cobra Pose
BhujangasanaOffers a gentle spinal extension that counters the forward flexion of the hips and opens the front chest.
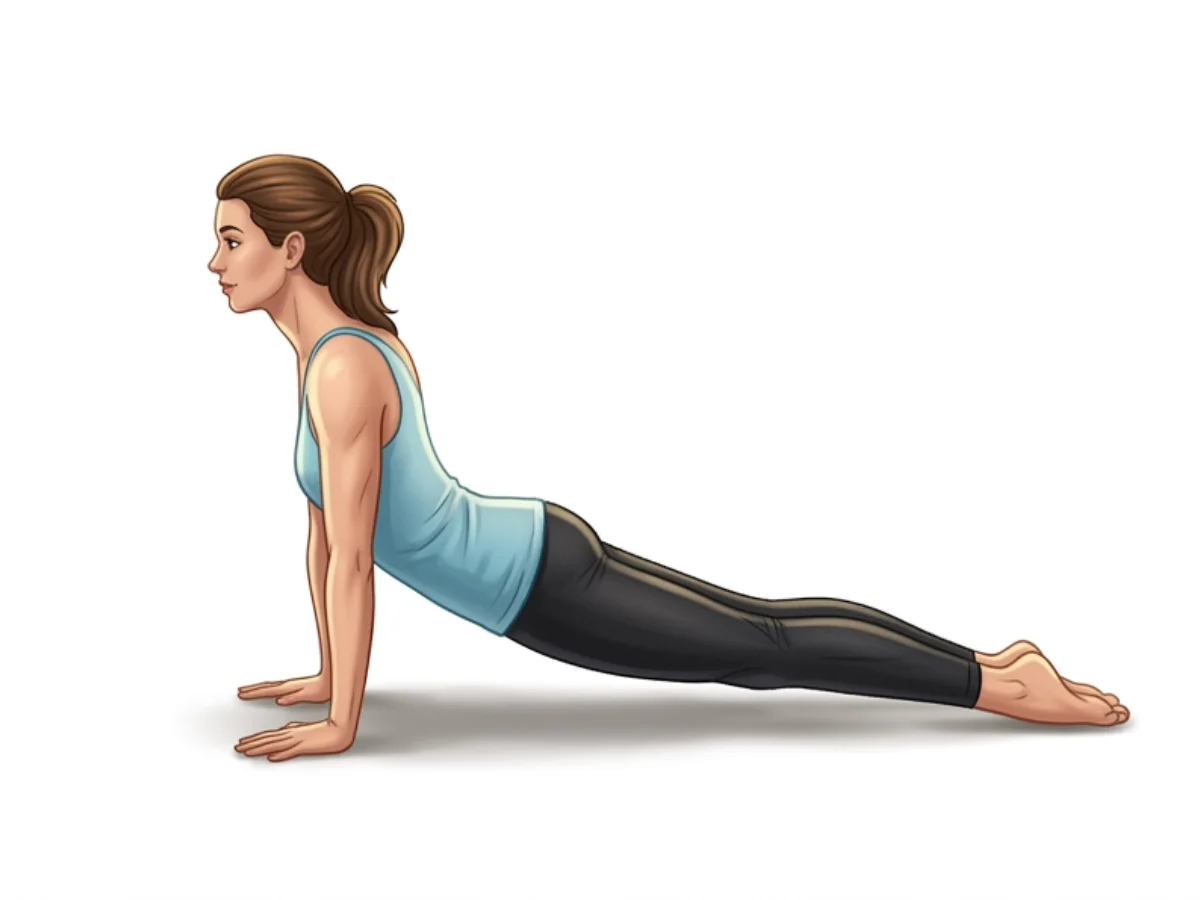
Upward-Facing Dog
Urdhva Mukha SvanasanaLifts the chest and opens the front body as a direct spinal extension counter to the forward fold of Downward Dog.
Frequently Asked Questions
How long should I hold Downward-Facing Dog?
For beginners, 3–5 deep breaths (30–60 seconds) is an excellent starting point. As strength and wrist endurance build, extend to 10 breaths or up to one minute during restorative sessions.
What should I feel in my body during this pose?
You should feel an active push through the arms and upper back creating length along the spine. At the same time, an invigorating stretch runs down the backs of the thighs, calves, and ankles.
Why do my wrists hurt, and how do I fix it?
Wrist pain usually means weight is collapsing into the heels of the palms. Spread your fingers wide and press actively into your fingertips and knuckles to distribute the load evenly.
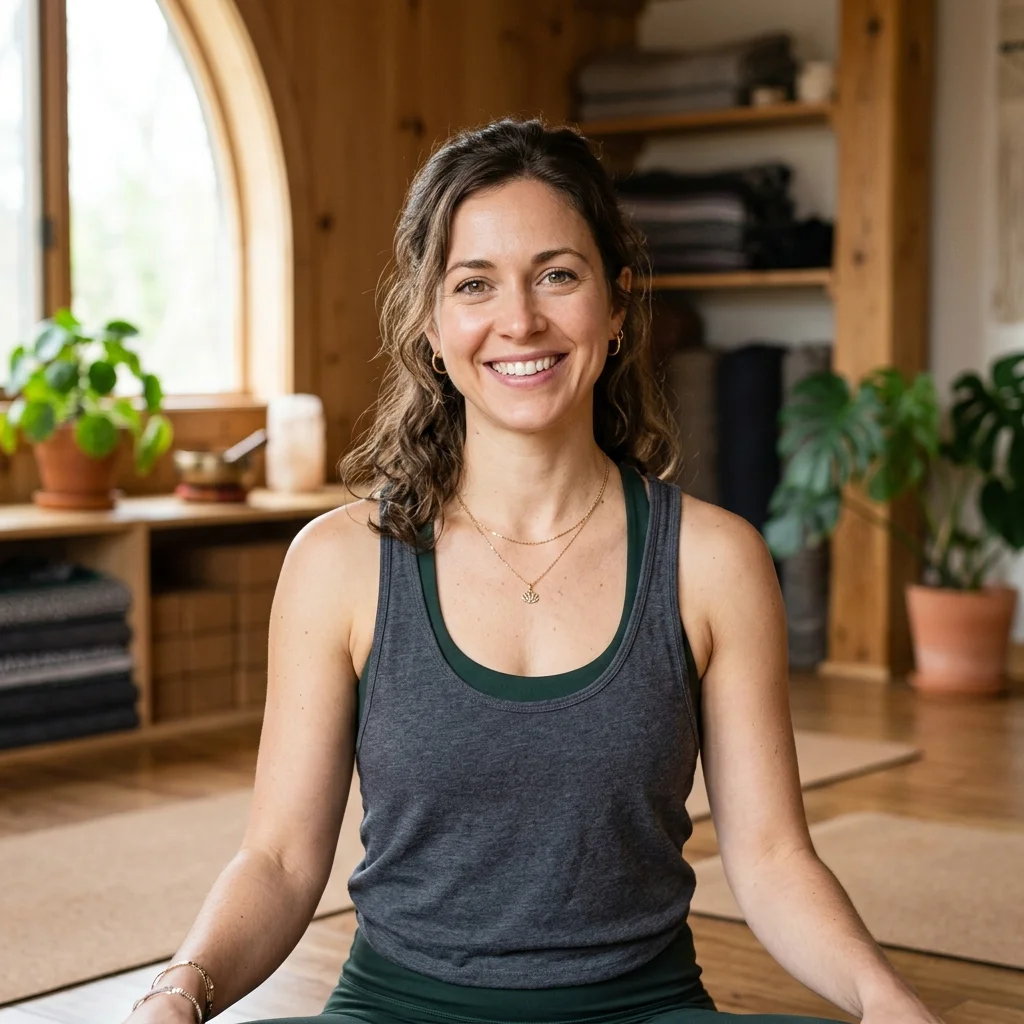
Elena Rostova is an accredited yoga educator and anatomy specialist with over 15 years of clinical experience. She focuses on functional biomechanics and injury prevention, translating complex anatomy into accessible guidance for safe, sustainable practice.
Read Full ProfileContinue Your Yoga Journey
Ready to deepen your practice? Explore our extensive library of poses, or join a structured program designed to build strength, flexibility, and mindfulness.