
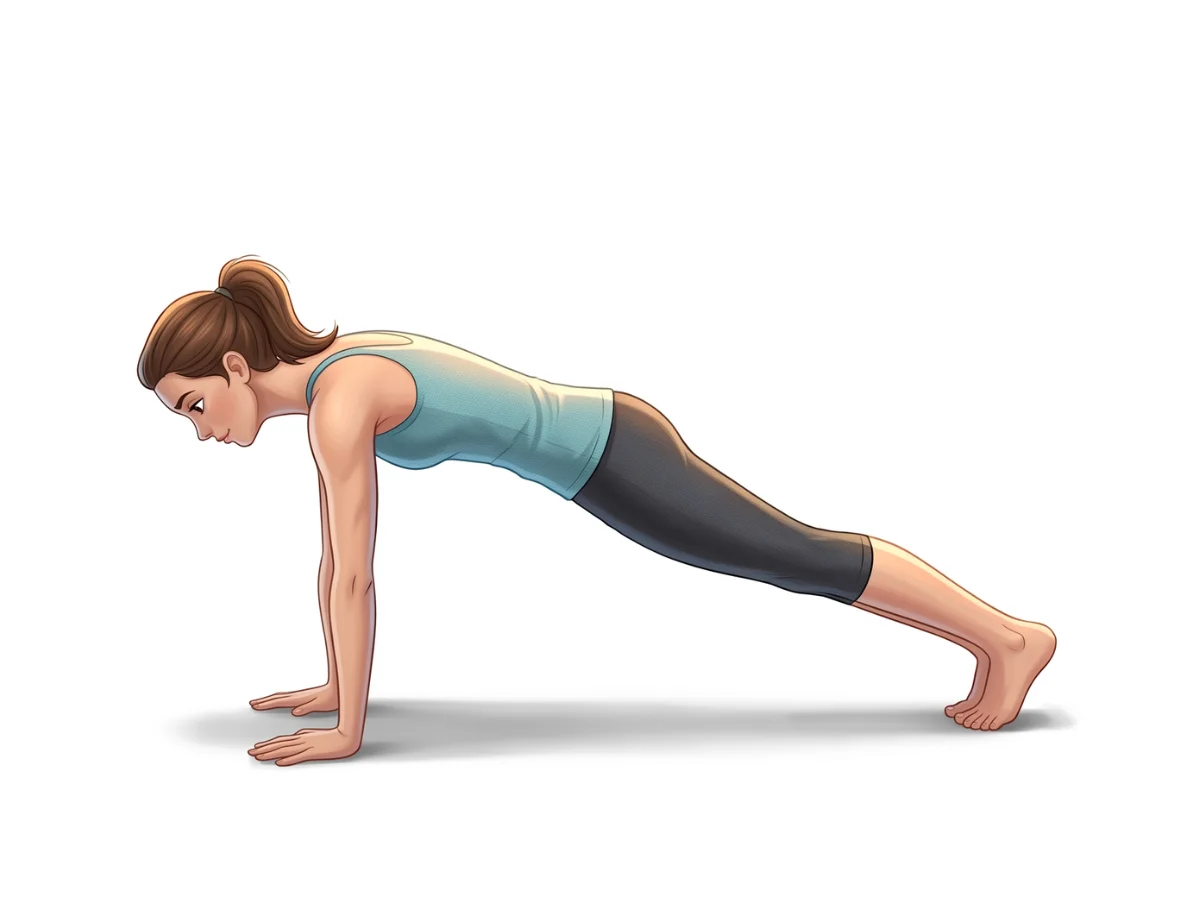
Plank Pose
Phalakasana
By Elena Rostova Updated: verified Medically Reviewed
Plank Pose (Phalakasana) is a foundational posture and a key transitional element in Sun Salutations. While it appears simple, maintaining a rigid, straight line from head to heels requires the coordinated effort of the arms, shoulders, core, and legs to defy gravity.
Hold Time
30–60 sec · 5–10 breaths
Pronunciation
fah-lah-KAHS-anna
About Plank Pose
Often praised by experienced instructors, Plank (Phalakasana) acts as a powerful tool for finding balance and realignment. By gently focusing on total body core & arm strength, it actively stretches your muscles and builds heat. Consistent practice will actively assist in builds total core strength, helping you feel lighter and more balanced off the mat.
How to Practice
Starting Position
Begin on your hands and knees in Tabletop position. Align your wrists directly under your shoulders and spread your fingers wide.
Step Back
Step your feet back one at a time, extending your legs fully behind you. Tuck your toes under so your weight is on the balls of your feet.
Straighten the Body
Align your body so it forms one long, straight line from the crown of your head to your heels. Avoid letting your hips sag or lifting your buttocks too high.
Engage the Core
Draw your navel strongly toward your spine. This engages the deep abdominal muscles to protect the lower back and prevent the spine from drooping.
Press the Floor Away
Press firmly into your palms, pushing the floor away from you. This action protracts the shoulder blades, creating a slight dome shape in the upper back between your shoulder blades.
Activate the Legs
Flex your quadriceps to lift your kneecaps, and press your heels energetically toward the wall behind you. Your legs should be entirely active.
Align the Head
Keep your neck long by gazing down at the floor, slightly in front of your fingertips. Do not drop your head or crane your neck upward.
Hold and Breathe
Hold the pose steadily for 30 to 60 seconds (or 5 to 10 deep breaths), keeping your breath smooth and even despite the intense muscular effort.
Safe Exit
To exit, either push back into Downward-Facing Dog, or gently lower your knees to the mat and sit back into Child's Pose.
Rest
Allow your arms and core to relax completely, taking a few deep breaths to recover.
Practice with the Yoga Timer
Keep track of your hold time and breath count for this pose.
Beginner Modifications & Prop Options
Yoga is a personal journey. These modifications and prop options allow you to adapt the pose to your current level of balance and flexibility, ensuring a safe and supportive practice.
Knees-Down Plank
Lower both knees to the mat while keeping the straight line from your head to your knees. This reduces the weight load by half while still training the exact same core engagement.
Tip: Focus on alignment rather than depth.
Forearm Plank
Lower down onto your forearms, ensuring your elbows are directly under your shoulders. This completely removes the strain from the wrists while challenging the core even more intensely.
Tip: Focus on alignment rather than depth.
Wall Plank
Stand facing a wall, place your hands on the wall shoulder-width apart, and step your feet back until your body forms an angled straight line. Press the wall away to engage the core.
Tip: Focus on alignment rather than depth.
Benefits of Plank Pose
Builds Total Core Strength
Intensely engages the transversus abdominis, rectus abdominis, and obliques to maintain a straight, unsupported spine.
Strengthens Arms & Shoulders
Bearing the body's weight fortifies the triceps, pectorals, and anterior deltoids, building endurance in the upper body.
Improves Posture
By strengthening the core and muscles of the back, Plank trains the body to maintain proper alignment during daily standing and sitting.
Tones Glutes & Legs
Active engagement of the quadriceps and glutes is necessary to keep the lower body rigid and supported against gravity.
Develops Mental Endurance
Holding an isometric posture builds willpower, focus, and the mental stamina required to breathe through physical discomfort.
Common Mistakes to Avoid
Mistake: Sagging Hips
How to fix: This places dangerous compression on the lower back. Actively draw your navel toward your spine and squeeze your glutes to lift your hips into a straight line.
Mistake: Piking the Buttocks
How to fix: Lifting the hips too high (like a mini Downward Dog) avoids the core work. Shift your weight forward so your shoulders are stacked directly over your wrists.
Mistake: Collapsing in the Shoulders
How to fix: If your shoulder blades are pinching together, you are sinking. Push the floor away forcefully to broaden the upper back and engage the serratus anterior.
Safety and Precautions
Carpal Tunnel Syndrome or Wrist Injuries
The 90-degree extension of the wrists under weight can severely compress the median nerve. Modify with Forearm Plank.
Shoulder Injuries
Impingements, rotator cuff tears, or instability can be aggravated by bearing body weight on the arms.
Pregnancy
In later stages, the weight of the abdomen hanging unsupported can cause diastasis recti (abdominal separation) or lower back strain. Use the Wall Plank or Knees-Down variation.
High Blood Pressure
Intense isometric holds can temporarily spike blood pressure. Breathe continuously and avoid holding your breath.
Medical Disclaimer: If you have any of the above conditions, consult your doctor or a qualified yoga instructor before attempting this pose.
Muscles Worked in Plank Pose
Plank Pose demands synchronized muscular effort, creating a profound sense of engagement and release throughout the body. The activation of the primary muscles supports the structure, while the secondary muscles provide stability and balance.
Primary Muscles
Transversus Abdominis
The deepest core muscle acts like a corset, holding the internal organs in and the spine straight.
Rectus Abdominis
Engages to prevent the lower back from hyperextending.
Pectoralis Major
Works to push the floor away and support the chest.
Secondary Muscles
Triceps Brachii
Keeps the elbows fully extended and arms straight.
Quadriceps
Contract to keep the knees straight and legs rigid.
Serratus Anterior
Protracts the scapulae to keep the upper back broad and stable.
Poses to Practice Before and After Plank Pose
Prepare with these Poses
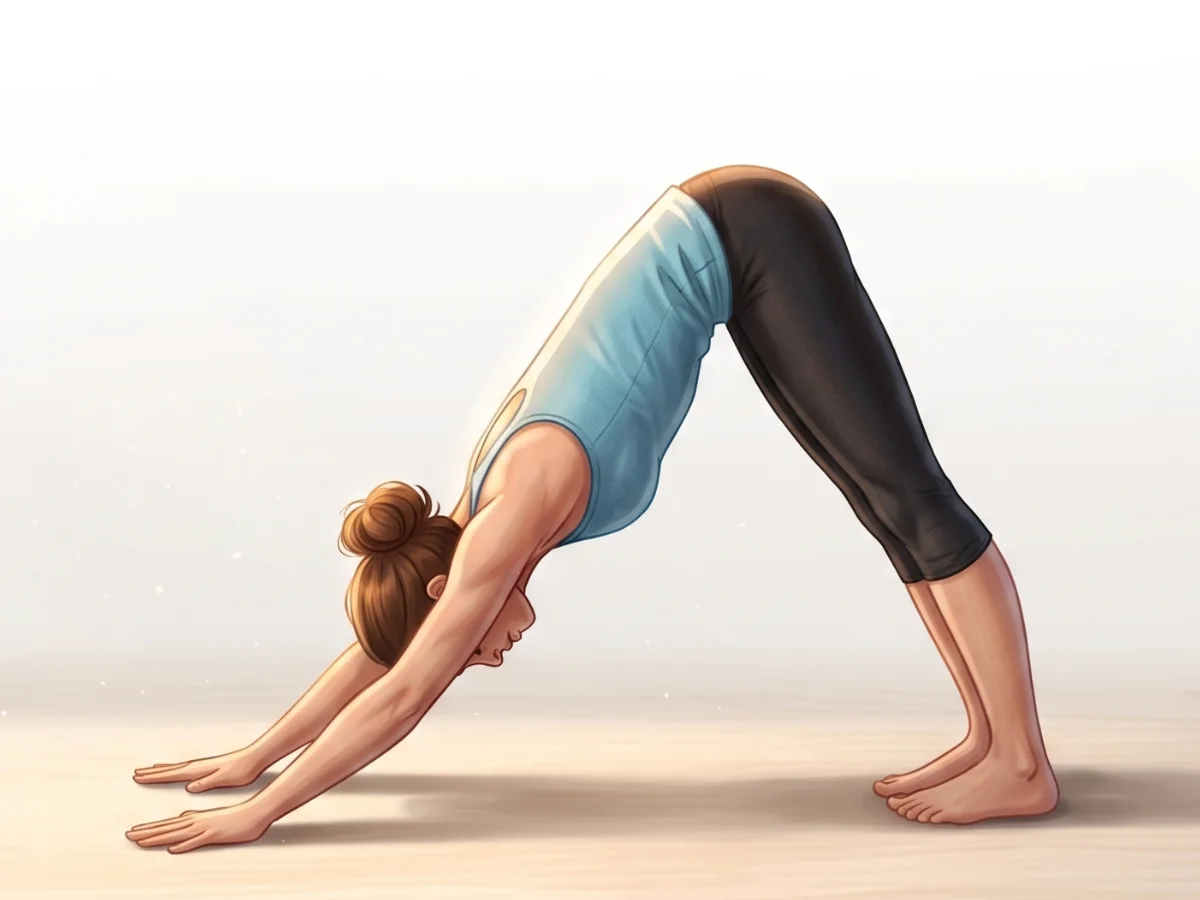
Downward-Facing Dog
Adho Mukha SvanasanaBuilds shoulder strength and warms up the entire body, allowing a smooth transition forward into Plank.
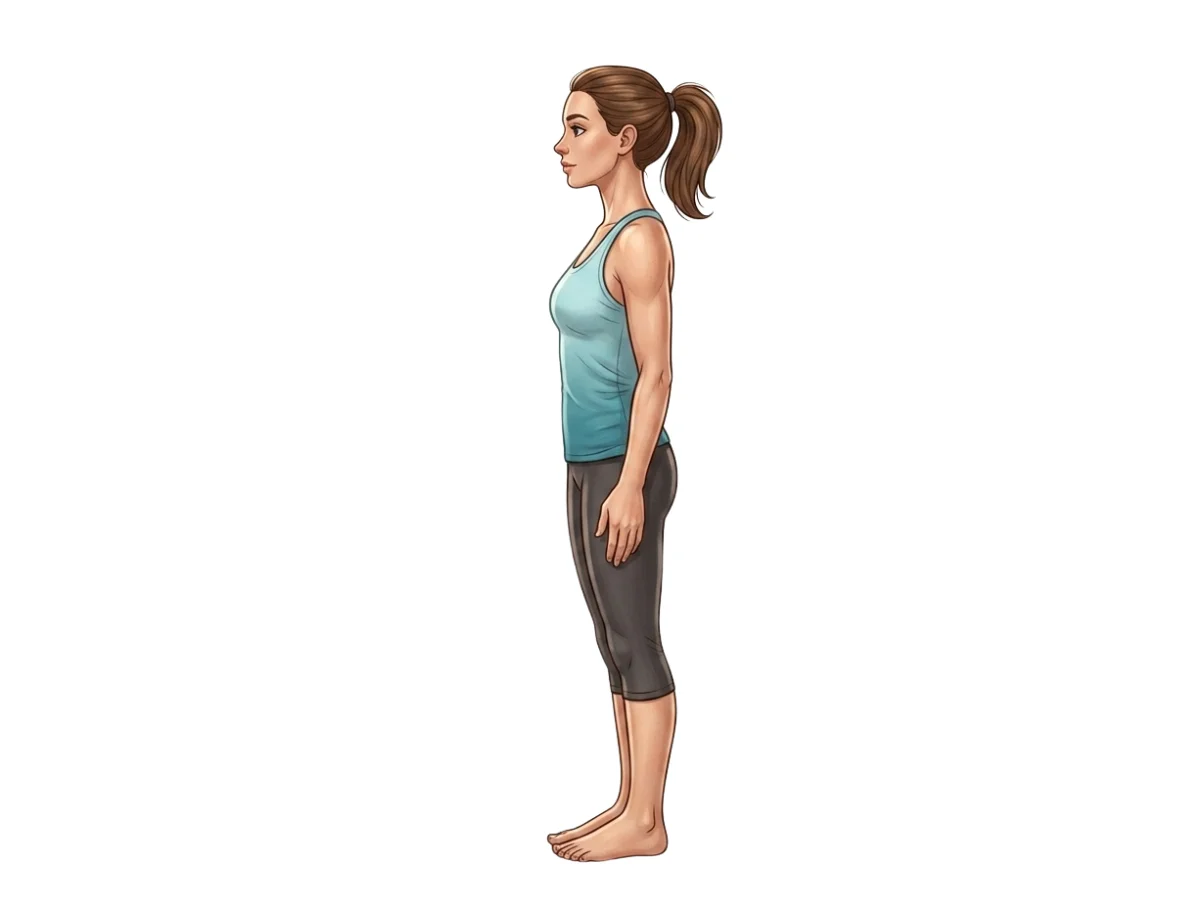
Mountain Pose
TadasanaEstablishes the exact same straight-line alignment and muscular engagement, just oriented vertically.
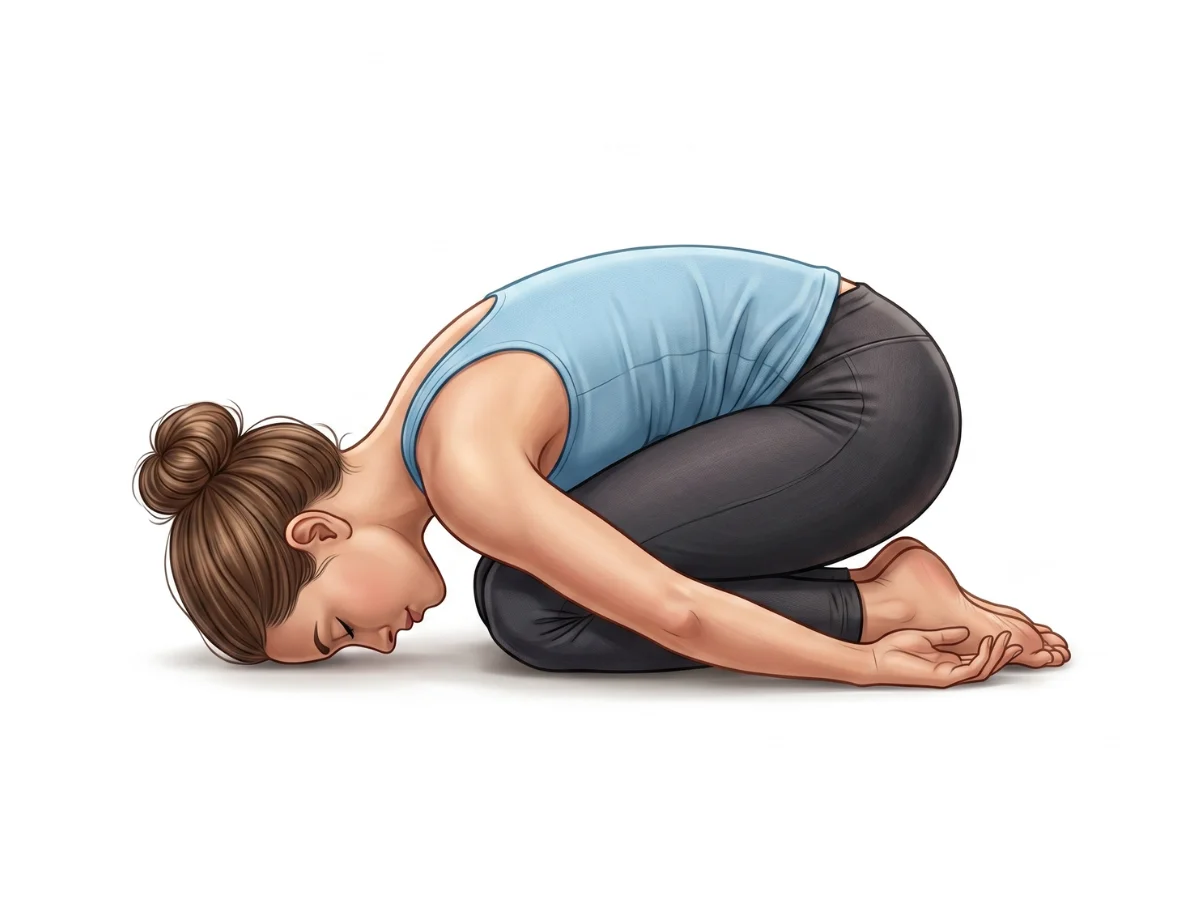
Child's Pose
BalasanaGently stretches the arms and back before initiating the intense effort of Plank.
Follow with neutralizing Counter-poses
Downward-Facing Dog
Adho Mukha SvanasanaShifts the weight load, allowing the core to relax while stretching the back and legs.
Child's Pose
BalasanaAllows the arms, wrists, and core to rest completely on the floor.
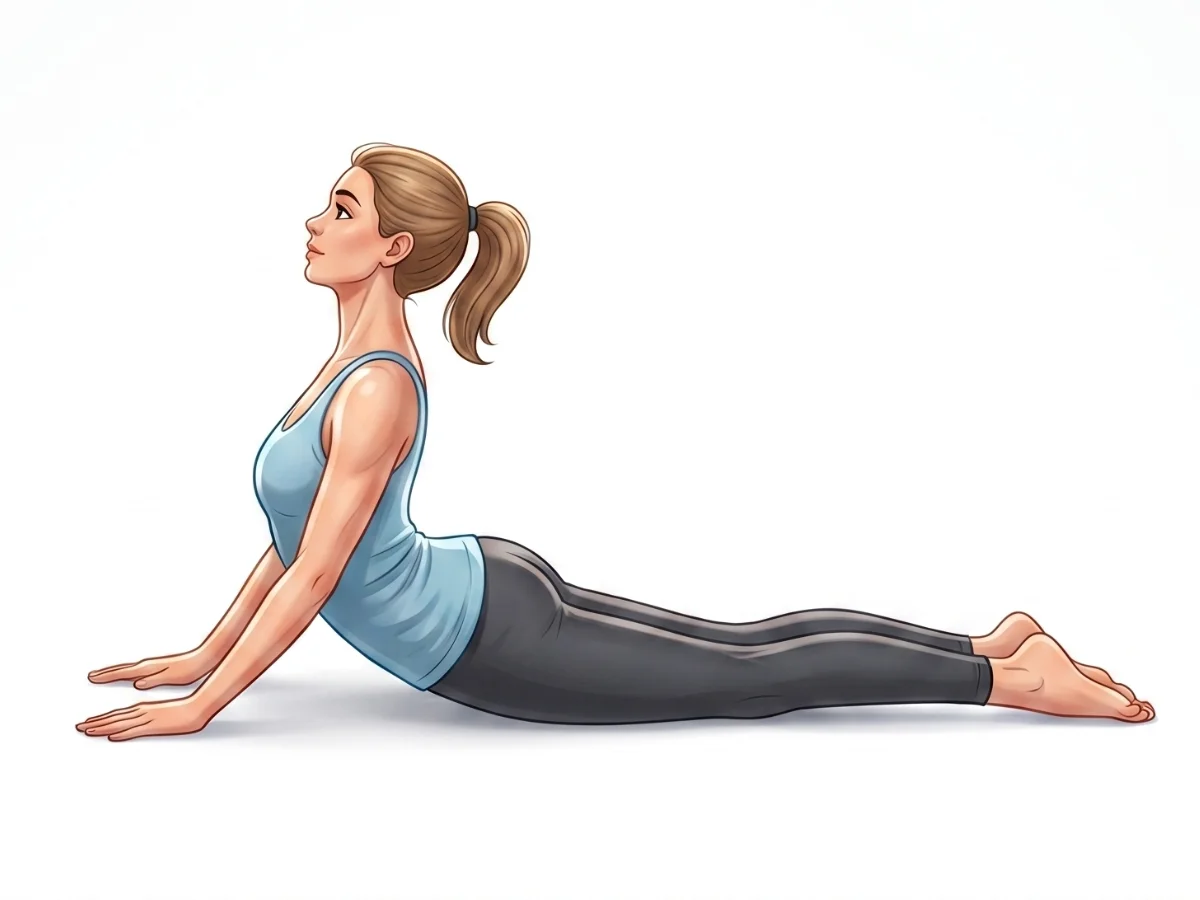
Cobra Pose
BhujangasanaGently stretches the abdominal muscles that were just heavily contracted.
Frequently Asked Questions
How long should a beginner hold Plank?
Start with 10 to 15 seconds. It is much better to hold a perfect, rigid plank for 10 seconds than to hold a sagging, poor plank for a minute. Gradually add 5 seconds as you get stronger.
My lower back hurts during Plank. What am I doing wrong?
Lower back pain almost always means your hips are sagging because your core is fatigued. This forces your lumbar spine to bear the load. Immediately drop your knees to the mat to protect your back while continuing to build strength.
Is Plank better than crunches?
Yes, for functional strength. Crunches isolate the superficial rectus abdominis through spinal flexion. Plank is an isometric exercise that trains the entire core, including the deep stabilizers, to support the spine naturally.
Elena Rostova is an accredited yoga educator and anatomy specialist with over 15 years of clinical experience. She focuses on functional biomechanics and injury prevention, translating complex anatomy into accessible guidance for safe, sustainable practice.
Read Full ProfileContinue Your Yoga Journey
Ready to deepen your practice? Explore our extensive library of poses, or join a structured program designed to build strength, flexibility, and mindfulness.