
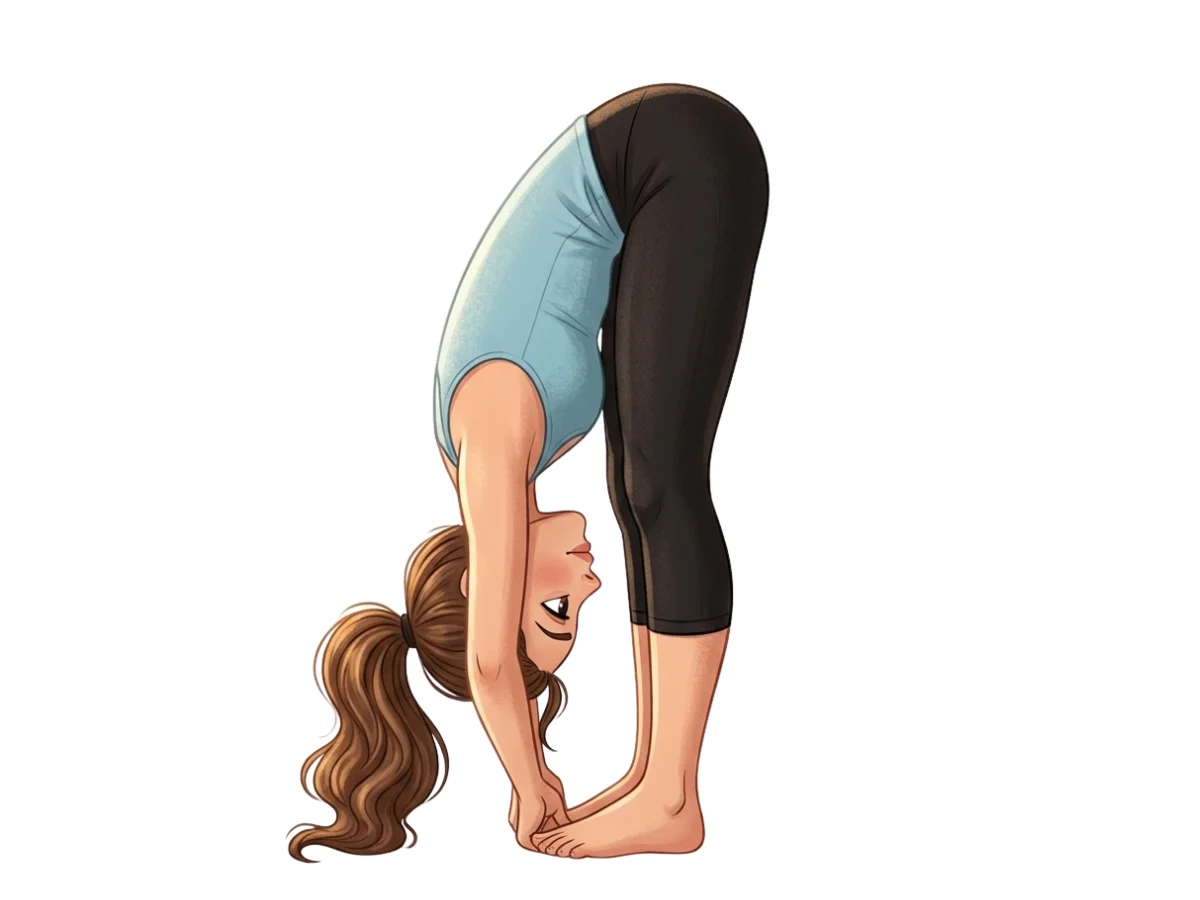
Big Toe Pose
Padangusthasana
By Elena Rostova Updated: verified Medically Reviewed
Big Toe Pose (Padangusthasana) is a foundational standing forward fold that stretches the calves and hamstrings. Grasping the big toes creates leverage to gently pull the torso downward, decompressing the spine and calming the central nervous system.
Hold Time
30–60 sec · 5–10 breaths
Pronunciation
pah-dahng-goosh-TAHS-anna
About Big Toe Pose
Commonly practiced as Big Toe Pose (Padangusthasana), this dynamic posture is beautifully designed to help unlock tension. It primarily targets the hamstrings & spinal decompression, helping to create length and strength exactly where you need it most. Practicing this pose regularly helps with deep hamstring stretch and leaves you feeling completely refreshed.
How to Practice
Standing Setup
Begin standing tall in Mountain Pose (Tadasana) at the front of your mat, keeping your feet hip-width apart and parallel, with your hands resting on your hips.
Hip Hinge
Inhale deeply to lengthen your spine upward, then exhale as you hinge directly from your hip joints to fold your torso forward over your legs.
Toe Lock Grip
Slide the index and middle fingers of each hand between your big toes and second toes, wrapping them securely around the underside of your big toes, and secure the grip with your thumbs.
Half-Fold Flat Back
Inhale as you straighten your arms and lift your chest forward, elongating your spine from tailbone to crown and flattening your back into a half-forward fold.
Deepen the Fold
Exhale as you bend your elbows out to the sides, drawing your lower abdomen toward your thighs and folding your torso down deeply toward the floor.
Active Shoulders
Keep your shoulders active by drawing your shoulder blades away from your ears, ensuring your neck remains long and completely free of tension.
Quadricep Activation
Engage your quadriceps firmly to lift your kneecaps upward, which encourages your hamstrings to release and open safely under tension.
Weight Distribution
Shift your weight slightly forward into the balls of your feet, aligning your hips directly over your ankles rather than letting your hips sit back.
Sustained Breath
Maintain steady, rhythmic nasal breathing for 5 to 10 deep breath cycles, letting your head hang heavy and feeling the spine decompress with each exhale.
Safe Exit
To exit the pose safely, release your big toes, place your hands on your hips, engage your core, and inhale as you rise back to a standing position with a long, flat back.
Practice with the Yoga Timer
Keep track of your hold time and breath count for this pose.
Beginner Modifications & Prop Options
Yoga is a personal journey. These modifications and prop options allow you to adapt the pose to your current level of balance and flexibility, ensuring a safe and supportive practice.
Using a Yoga Strap
Loop a yoga strap under the balls of both feet and hold one end in each hand. Walk your hands down the strap as you exhale to stretch safely without rounding the spine.
Tip: Focus on alignment rather than depth.
Keeping Knees Generously Bent
Bend both knees deeply while hinging forward, resting the ribcage on the thighs to reach the toes. This removes hamstring pull on the pelvis and allows the lumbar spine to decompress safely.
Tip: Focus on alignment rather than depth.
Hands on Yoga Blocks
Place two yoga blocks in front of your feet and rest your palms flat on them. This shortens the distance to the floor, enabling safe pelvic tilt to stretch hamstrings.
Tip: Focus on alignment rather than depth.
Benefits of Big Toe Pose
Deep Hamstring Stretch
Grabbing the big toes creates leverage, placing the entire hamstring group (biceps femoris, semitendinosus, and semimembranosus) under deep, active extension.
Decompresses the Spine
Allows the weight of the head and torso, combined with gravity, to gently decompress the lumbar and thoracic vertebrae, relieving lower back tension.
Stimulates Abdominal Organs
The deep compression of the abdomen against the thighs massages the digestive tract, supporting healthy digestion, metabolism, and liver function.
Calms the Nervous System
Acting as a mild inversion where the head lies below the heart, this posture increases blood flow to the brain, helping to reduce anxiety and stress.
Improves Postural Balance
By training the body to distribute weight evenly across all four corners of the feet, it strengthens the ankles and builds better overall standing balance.
Common Mistakes to Avoid
Mistake: Rounding the Lumbar Spine
How to fix: Bend your knees generously and focus on tilting your tailbone upward, ensuring your spine remains flat and long from hips to head.
Mistake: Hyperextending the Knee Joints
How to fix: Keep a micro-bend in both knees and actively engage your quadriceps to lift your kneecaps upward, protecting the knee joint.
Mistake: Shrugging Shoulders to Ears
How to fix: Broaden across your collarbones, bend your elbows out to the sides, and actively pull your shoulder blades up toward your waist.
Safety and Precautions
Herniated or Bulging Lumbar Discs
Deep forward flexion under load can worsen spinal disc injuries and exacerbate lower back pain.
Severe Hamstring Tears or Gluteal Tendonitis
Stretching acute hamstring or gluteal micro-tears can prevent proper healing and cause long-term pain.
Acute Vertigo or Inner Ear Disturbances
The inverted head position can trigger dizzy spells, nausea, or loss of balance upon standing.
Uncontrolled High Blood Pressure or Glaucoma
Inverting the head increases pressure in the head and eyes, which may be unsafe for these conditions.
Late-Stage Pregnancy
Deep abdominal compression should be avoided. Pregnant practitioners should take a very wide stance and use blocks for support.
Medical Disclaimer: If you have any of the above conditions, consult your doctor or a qualified yoga instructor before attempting this pose.
Muscles Worked in Big Toe Pose
Big Toe Pose demands synchronized muscular effort, creating a profound sense of engagement and release throughout the body. The activation of the primary muscles supports the structure, while the secondary muscles provide stability and balance.
Primary Muscles
Hamstrings
Biceps femoris and semitendinosus undergo deep passive extension.
Erector Spinae
Maintains alignment and spinal length in the fold.
Gastrocnemius & Soleus
Calf muscles stretched as ankles flex.
Secondary Muscles
Quadriceps Femoris
Engages to lift kneecaps, signaling hamstrings to relax.
Biceps Brachii & Deltoids
Active arm engagement to draw the torso deeper.
Rectus Abdominis
Engages to pull the lower belly in and deepen the fold.
Poses to Practice Before and After Big Toe Pose
Prepare with these Poses
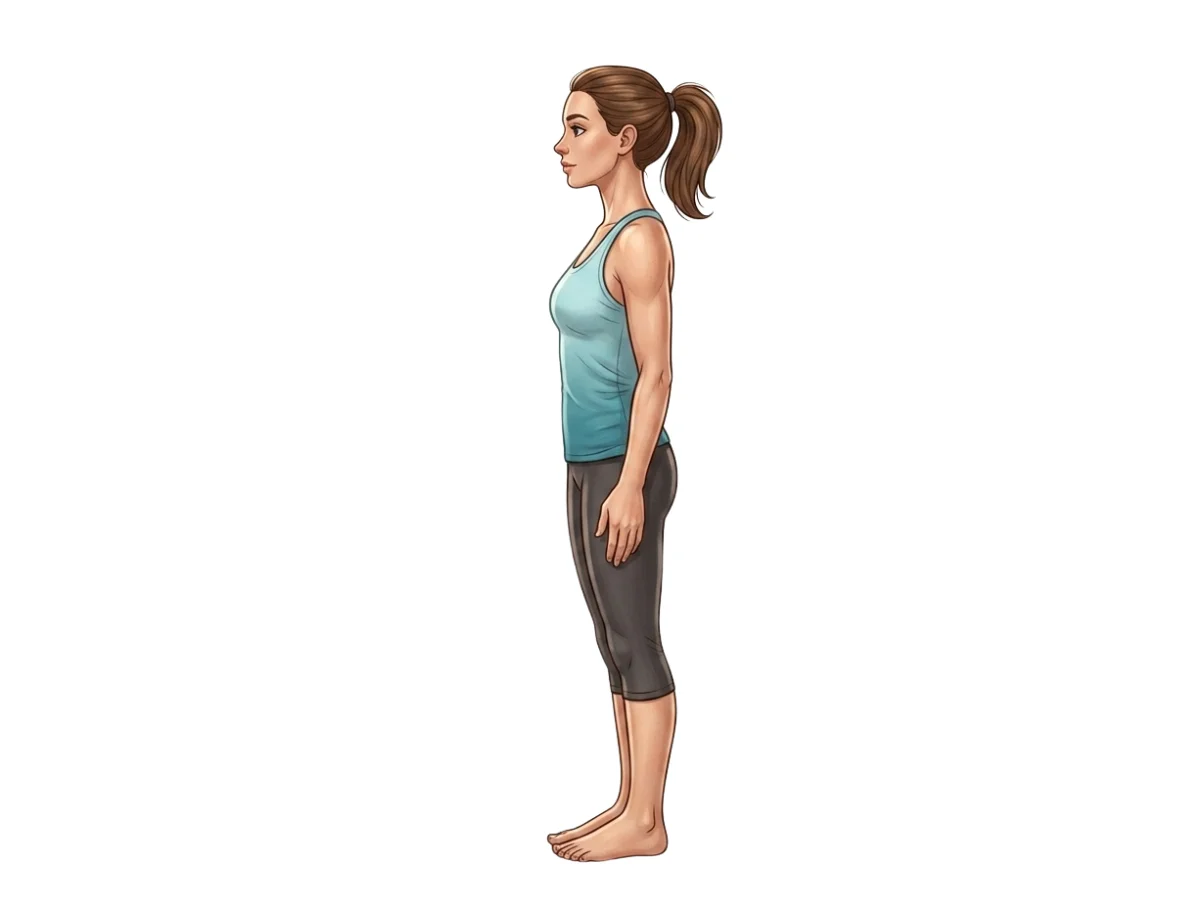
Mountain Pose
TadasanaEstablishes proper standing posture, pelvic alignment, and weight distribution before folding.
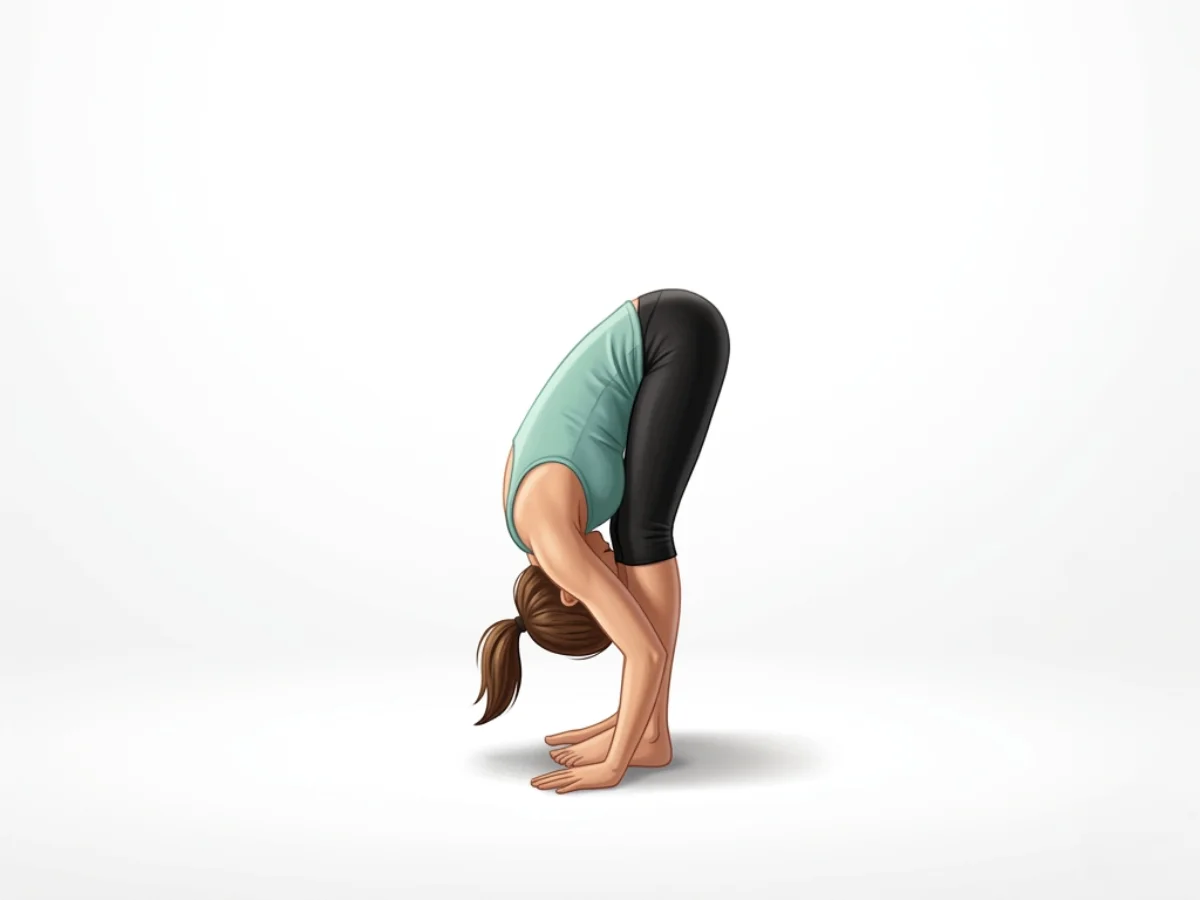
Standing Forward Bend
UttanasanaIntroduces deep hamstring stretching and spinal decompression in an open standing fold.
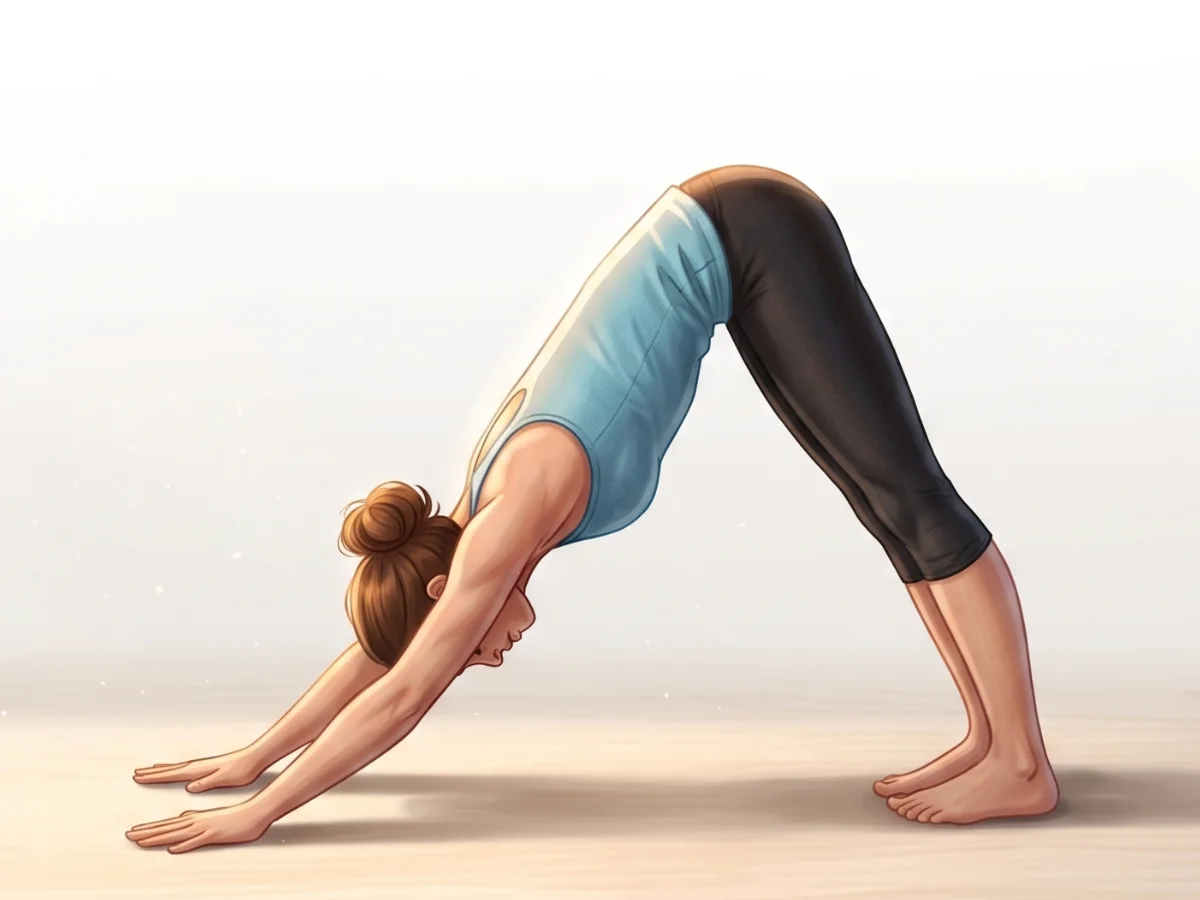
Downward-Facing Dog
Adho Mukha SvanasanaStretches the calves and hamstrings while warming up the shoulders and arms.
Follow with neutralizing Counter-poses
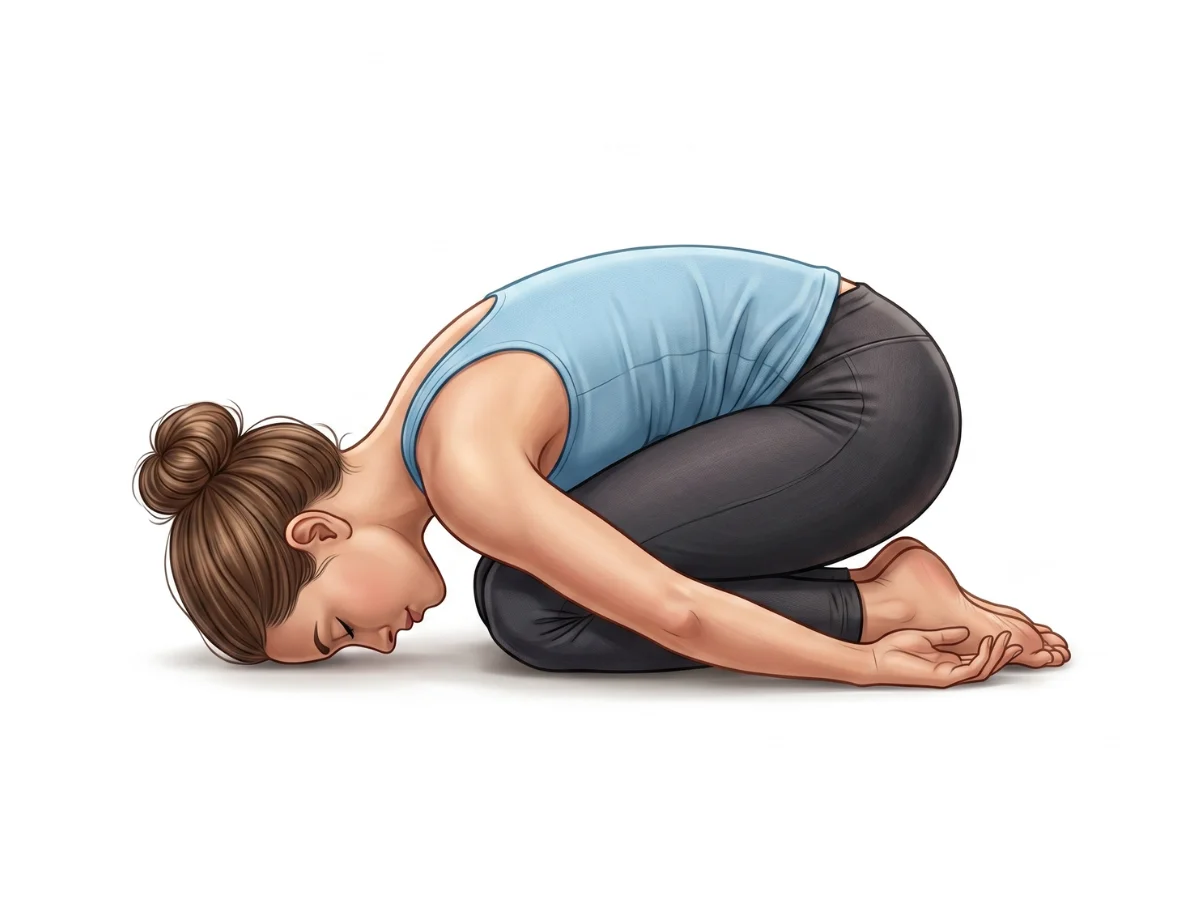
Child's Pose
BalasanaAllows the lower body, ankles, and back to rest in a comforting, grounded forward fold.
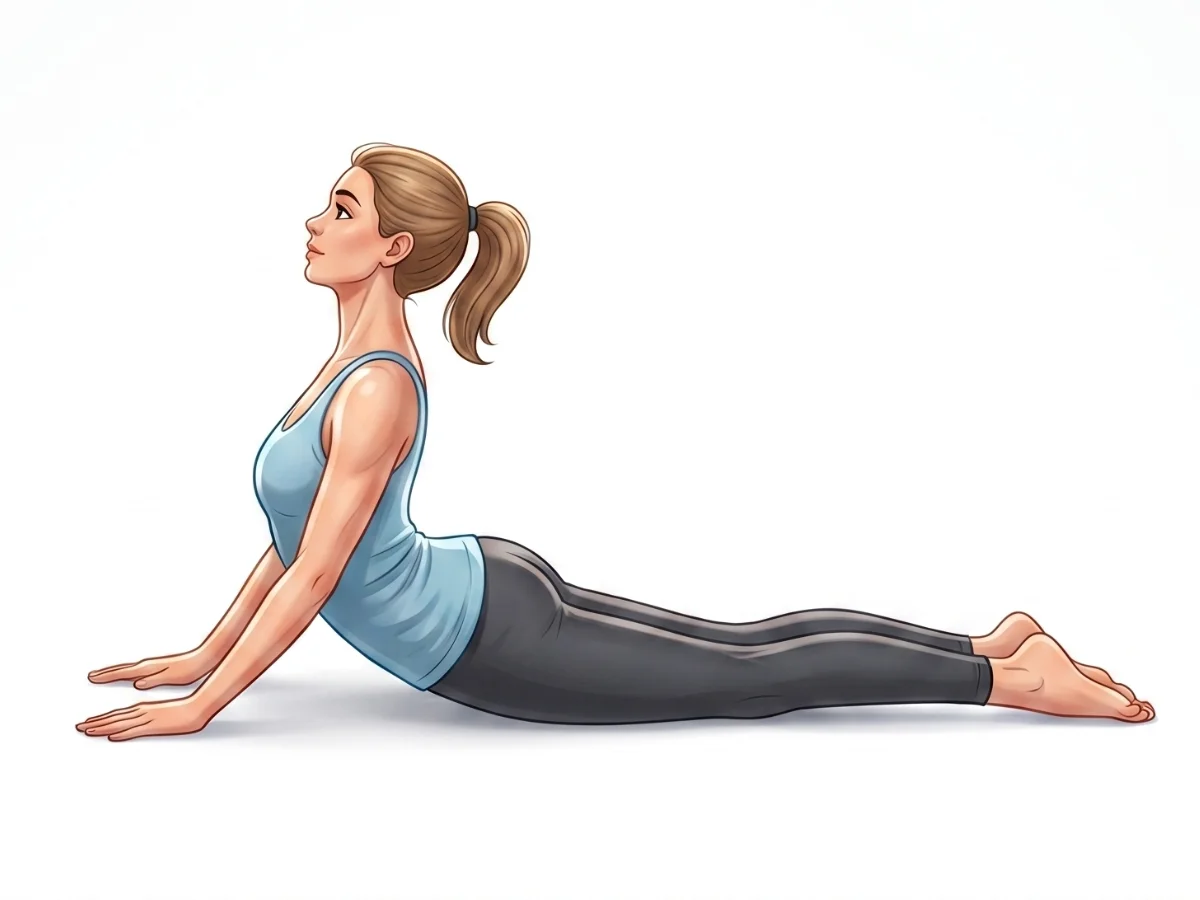
Cobra Pose
BhujangasanaGently extends the spine, opens the chest, and reverses the deep forward flexion of the hips.
Mountain Pose
TadasanaBrings the body back to a neutral vertical alignment to ground and integrate the practice.
Frequently Asked Questions
Do my legs need to be perfectly straight in this pose?
Absolutely not. Keeping a micro-bend or even a generous bend in your knees is highly recommended, especially if your hamstrings are tight.
What should I do if my hands cannot reach my big toes?
You can loop a yoga strap under the balls of your feet and hold onto the strap. Alternatively, you can rest your hands flat on yoga blocks placed in front of your feet or rest them on your shins while focusing on lengthening your spine.
How long should I hold Big Toe Pose?
For beginners, holding the pose for 5 to 10 deep, slow breaths (about 30 to 60 seconds) is ideal. Focus on lengthening your spine on each inhale and relaxing deeper into the stretch on each exhale.
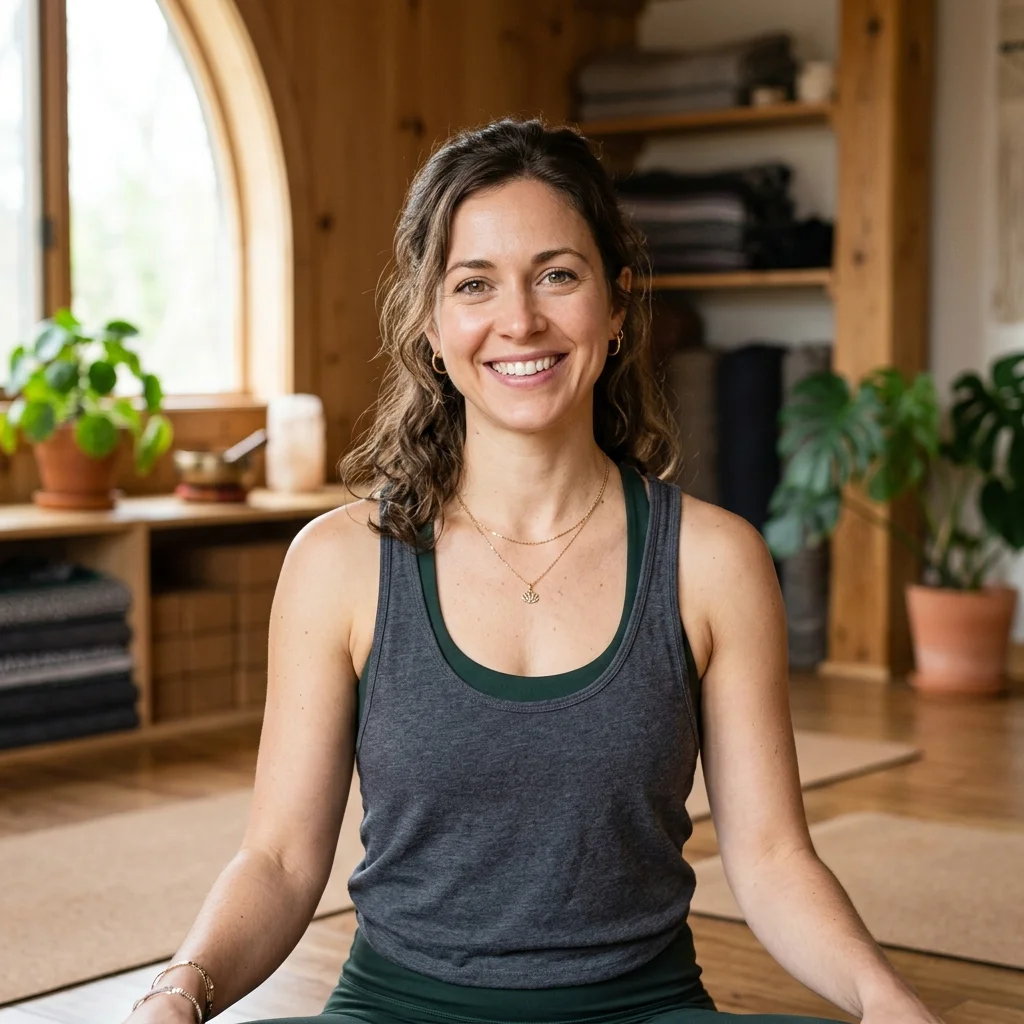
Elena Rostova is an accredited yoga educator and anatomy specialist with over 15 years of clinical experience. She focuses on functional biomechanics and injury prevention, translating complex anatomy into accessible guidance for safe, sustainable practice.
Read Full ProfileContinue Your Yoga Journey
Ready to deepen your practice? Explore our extensive library of poses, or join a structured program designed to build strength, flexibility, and mindfulness.