
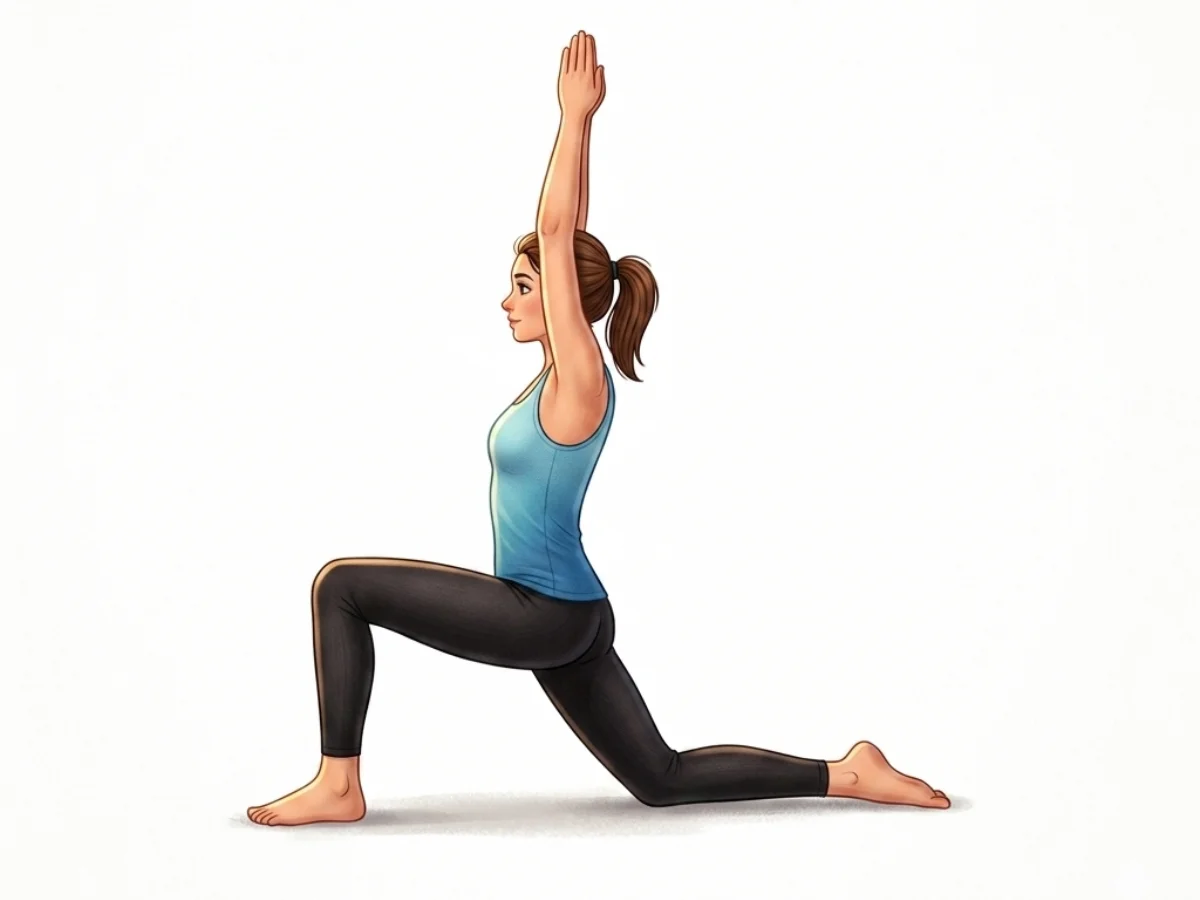
Crescent Lunge on the Knee
Anjaneyasana
By Elena Rostova Updated: verified Medically Reviewed
Crescent Lunge on the Knee (Anjaneyasana), frequently called Low Lunge, is a foundational kneeling posture that provides a deep, targeted stretch to the hip flexors and quadriceps. By grounding the back knee and lifting the chest and arms, practitioners invite a gentle backbend that opens the heart space and relieves tension in the front body.
Hold Time
30–60 sec · 5–10 breaths
Pronunciation
AHN-jah-nay-AHS-anna
About Crescent Lunge on the Knee
Commonly practiced as Crescent Lunge on the Knee (Anjaneyasana), this dynamic posture is beautifully designed to help unlock tension. By gently focusing on hip flexor flexibility & posture, it actively stretches your muscles and builds heat. Practicing this pose regularly helps with stretches the hip flexors and leaves you feeling completely refreshed.
How to Practice
Starting Position
Begin in Downward-Facing Dog (Adho Mukha Shvanasana) or standing at the front of your mat in Mountain Pose (Tadasana).
Step Forward
On an exhale, step your right foot forward between your hands. Ensure your right knee is stacked directly above your right ankle, not pushing past your toes.
Lower the Back Knee
Gently lower your left knee to the mat. If your knee is sensitive, place a folded blanket or double over the edge of your mat beneath it.
Un-tuck the Toes
Slide your left foot back slightly until you feel a comfortable stretch in the front of your left hip and thigh, and un-tuck your back toes so the top of your foot rests flat on the floor.
Lift the Torso
Inhale deeply as you lift your torso upright. Sweep your arms forward and overhead, bringing your biceps alongside your ears with palms facing each other.
Engage and Protect
Draw your tailbone down toward the floor and gently pull your lower belly in to engage the core. This action protects the lower back from overarching and intensifies the hip flexor stretch.
Expand the Chest
Lift your sternum toward the ceiling, allowing a gentle backbend in your upper spine. Soften your shoulders away from your ears.
Hold and Breathe
Gaze softly forward or slightly upward. Maintain the pose for 5 to 10 deep, steady breaths, sinking a little deeper into the hips on each exhale if comfortable.
Release
To release, exhale as you lower your hands back to the mat framing your front foot. Tuck your back toes, lift the back knee, and step back to Downward-Facing Dog.
Switch Sides
Repeat the posture for the same duration on the opposite side, stepping the left foot forward.
Practice with the Yoga Timer
Keep track of your hold time and breath count for this pose.
Beginner Modifications & Prop Options
Yoga is a personal journey. These modifications and prop options allow you to adapt the pose to your current level of balance and flexibility, ensuring a safe and supportive practice.
Knee Padding (Blanket)
Place a folded blanket or a knee pad beneath your grounded back knee. This extra cushioning makes the pose more accessible and comfortable for longer holds.
Tip: Focus on alignment rather than depth.
Hands on Blocks
Place two yoga blocks on their highest setting framing your front foot. Rest hands on the blocks to support torso weight while enjoying the hip stretch.
Tip: Focus on alignment rather than depth.
Hands on Front Thigh
Interlace your fingers and rest hands gently on your front thigh. Gently press away to lift your chest, reducing shoulder strain while maintaining core engagement.
Tip: Focus on alignment rather than depth.
Benefits of Crescent Lunge on the Knee
Stretches the Hip Flexors
Deeply lengthens the psoas and iliacus muscles on the extended back leg, which tend to become tight and shortened from chronic sitting.
Opens the Chest and Shoulders
Reaching the arms overhead while extending the spine upward expands the ribcage, stretches the pectorals, and increases lung capacity.
Strengthens the Lower Body
The front leg works isometrically to stabilize the pose, actively engaging the glutes, quadriceps, and hamstrings.
Improves Balance and Stability
Balancing on a narrow kneeling base engages proprioception and strengthens the deep core stabilizers necessary to keep the torso upright.
Relieves Lower Back Tension
By releasing tightness in the hip flexors, the downward pull on the lumbar spine is reduced, alleviating lower back discomfort.
Common Mistakes to Avoid
Mistake: Front Knee Jutting Past Ankle
How to fix: Step your front foot further forward so that when you sink into the hips, your knee remains directly stacked over your ankle or slightly behind it.
Mistake: Dumping into the Lower Back
How to fix: Actively draw your tailbone down and pull your low belly in and up. Focus the backbend in your upper back (thoracic spine) rather than the lower back.
Mistake: Tensing the Shoulders
How to fix: Intentionally relax your shoulder blades down your back, broaden your chest, and keep a slight outward rotation in your upper arms.
Safety and Precautions
Knee Injuries
Practitioners with acute or chronic patellar issues, meniscus tears, or recent knee surgeries should approach with extreme caution, use thick padding, or modify to a standing High Lunge.
Severe Hip Injuries
Deep hip extension may aggravate healing hip flexor strains, labral tears, or severe hip osteoarthritis.
Lower Back Conditions
Those with acute lumbar pain, sciatica, or herniated discs should avoid overarching the spine. Keep the torso relatively vertical and the core firmly engaged.
High Blood Pressure or Heart Conditions
If arms overhead causes breathlessness or dizziness, modify by keeping hands at the heart or on the front thigh.
Medical Disclaimer: If you have any of the above conditions, consult your doctor or a qualified yoga instructor before attempting this pose.
Muscles Worked in Crescent Lunge on the Knee
Crescent Lunge on the Knee demands synchronized muscular effort, creating a profound sense of engagement and release throughout the body. The activation of the primary muscles supports the structure, while the secondary muscles provide stability and balance.
Primary Muscles
Iliopsoas (Hip Flexor)
Lengthens deeply on the extended back leg.
Rectus Femoris (Quad)
Stretches on the back leg while contracting isometrically on the front leg to stabilize the knee.
Gluteus Maximus
Engages on the front leg to stabilize the pelvis and support the upright torso.
Secondary Muscles
Erector Spinae
Contracts to lift the chest and maintain spinal extension.
Transversus Abdominis
Engages to protect the lower back from overarching.
Anterior Deltoids
Contract to lift and hold the arms overhead.
Poses to Practice Before and After Crescent Lunge on the Knee
Prepare with these Poses
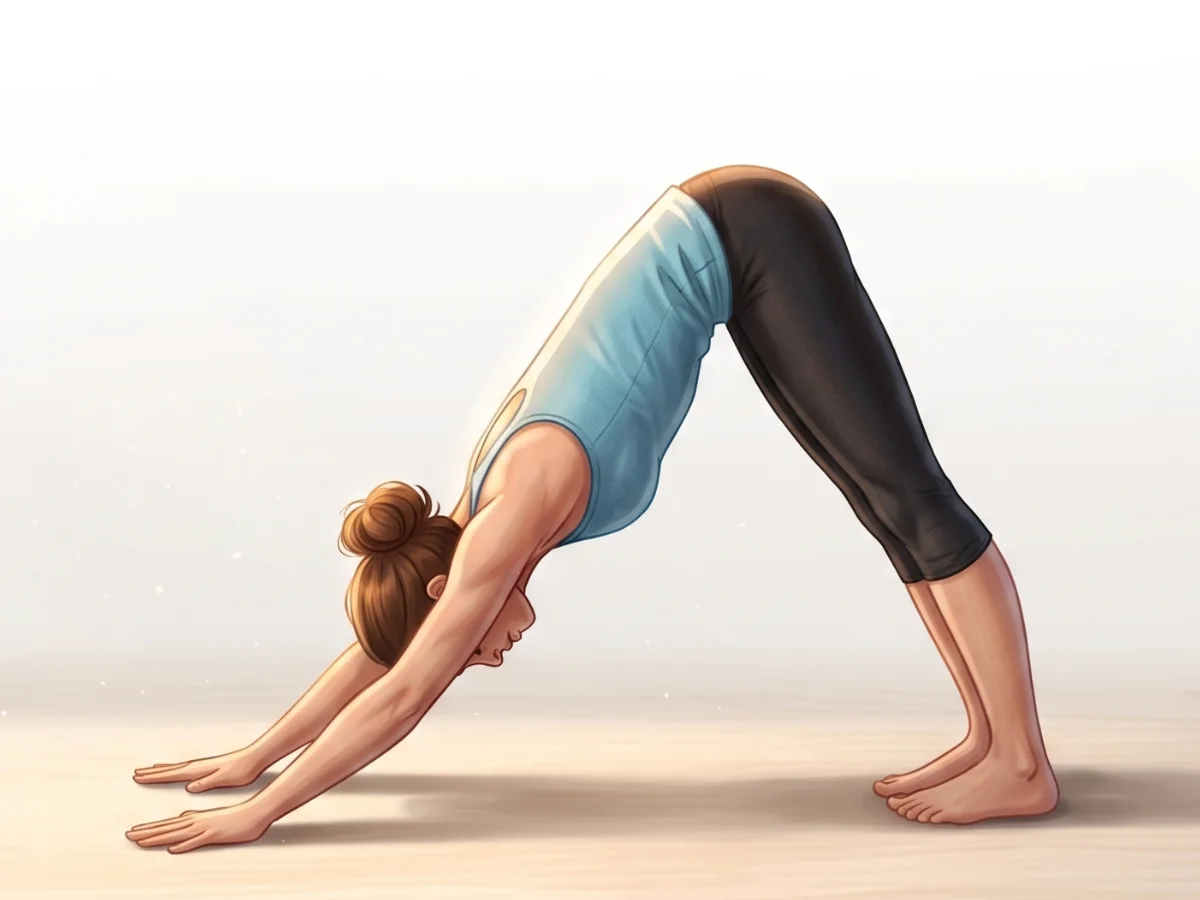
Downward-Facing Dog
Adho Mukha ShvanasanaWarms up the entire body, stretches the hamstrings, and serves as the perfect transition point to step into the lunge.
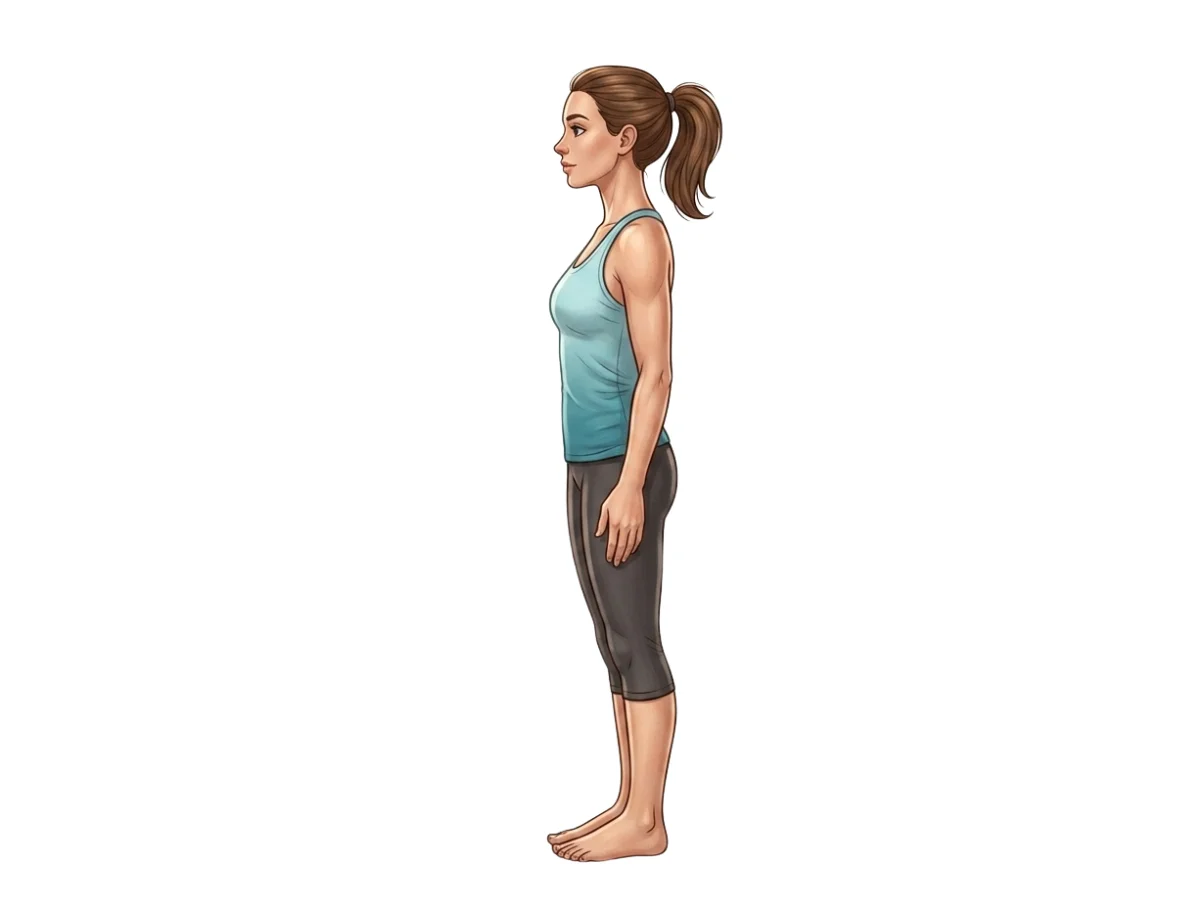
Mountain Pose
TadasanaEstablishes proper pelvic alignment and core engagement before stepping back into the lunge.
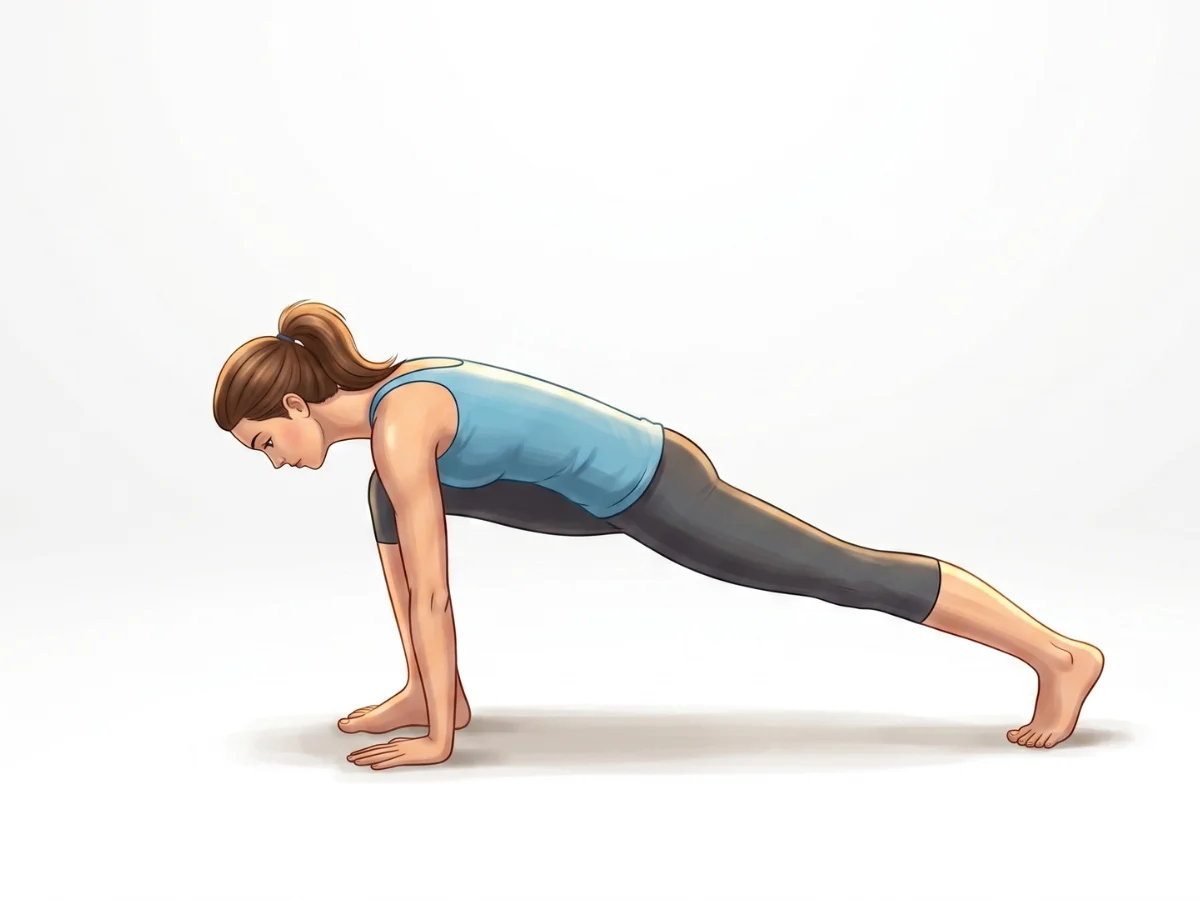
Lunge
Utthita Ashva SanchalanasanaThe active standing version of this pose; a great preparation for opening the hips before dropping the knee.
Follow with neutralizing Counter-poses
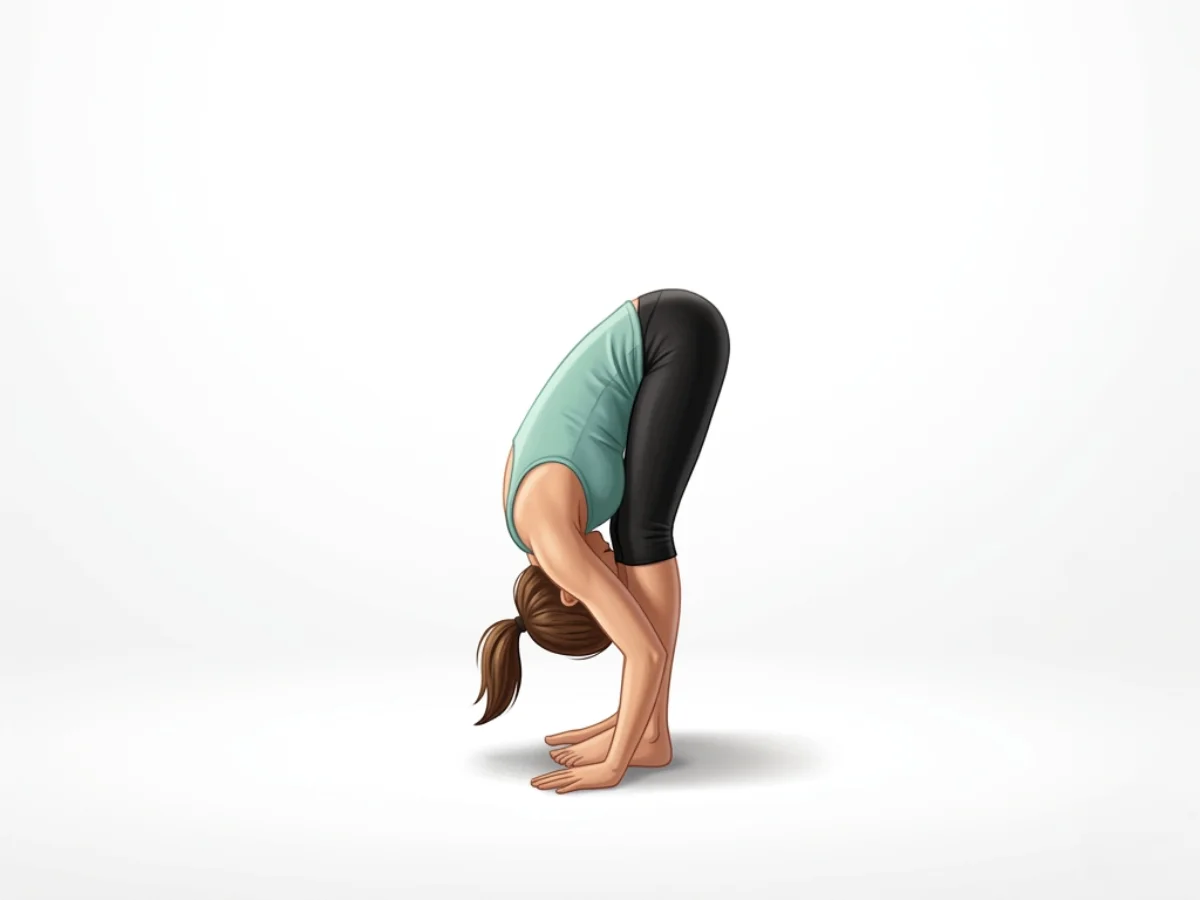
Standing Forward Bend
UttanasanaReleases tension in the lower back and stretches the hamstrings, balancing the deep hip flexion.
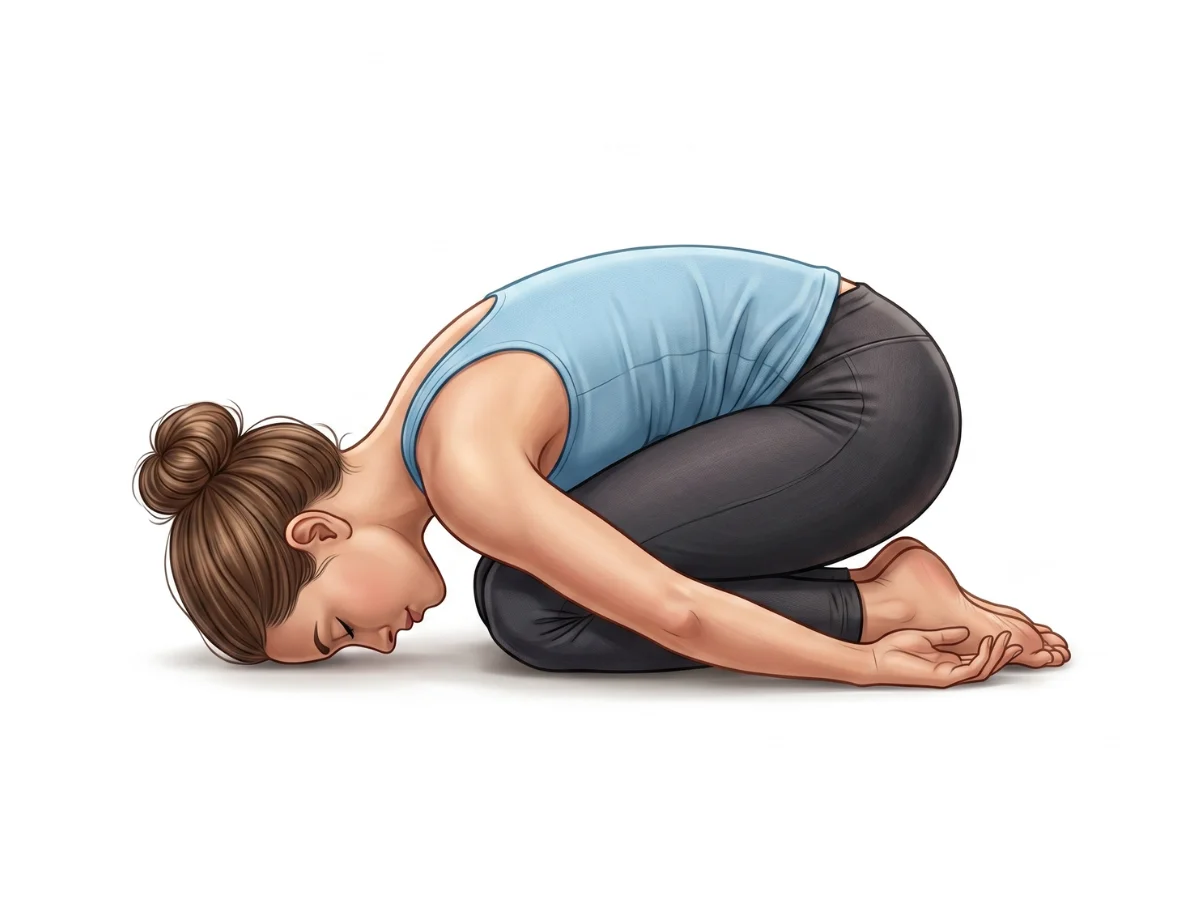
Child's
BalasanaAllows the hips, lower back, and spine to rest in gentle flexion, counteracting the backbend.
Downward-Facing Dog
Adho Mukha ShvanasanaNeutralizes the spine and hips while stretching the calves and hamstrings evenly on both sides.
Frequently Asked Questions
What is the difference between Crescent Lunge and Low Lunge?
These terms are often used interchangeably. Generally, "Low Lunge" (Anjaneyasana) involves dropping the back knee to the mat, whereas "High Lunge" or "Crescent Lunge" keeps the back knee lifted off the ground, engaging the back leg more actively.
How can I stop my back knee from hurting in this pose?
Knee pain is common if the kneecap is pressing directly into the hard floor. First, place a folded blanket or a thick cushion under the knee.
Why do I wobble so much when I lift my arms?
Wobbling often occurs when your feet are aligned as if walking on a tightrope. To improve stability, ensure your front foot and back knee are hip-width apart, like they are on two separate train tracks.
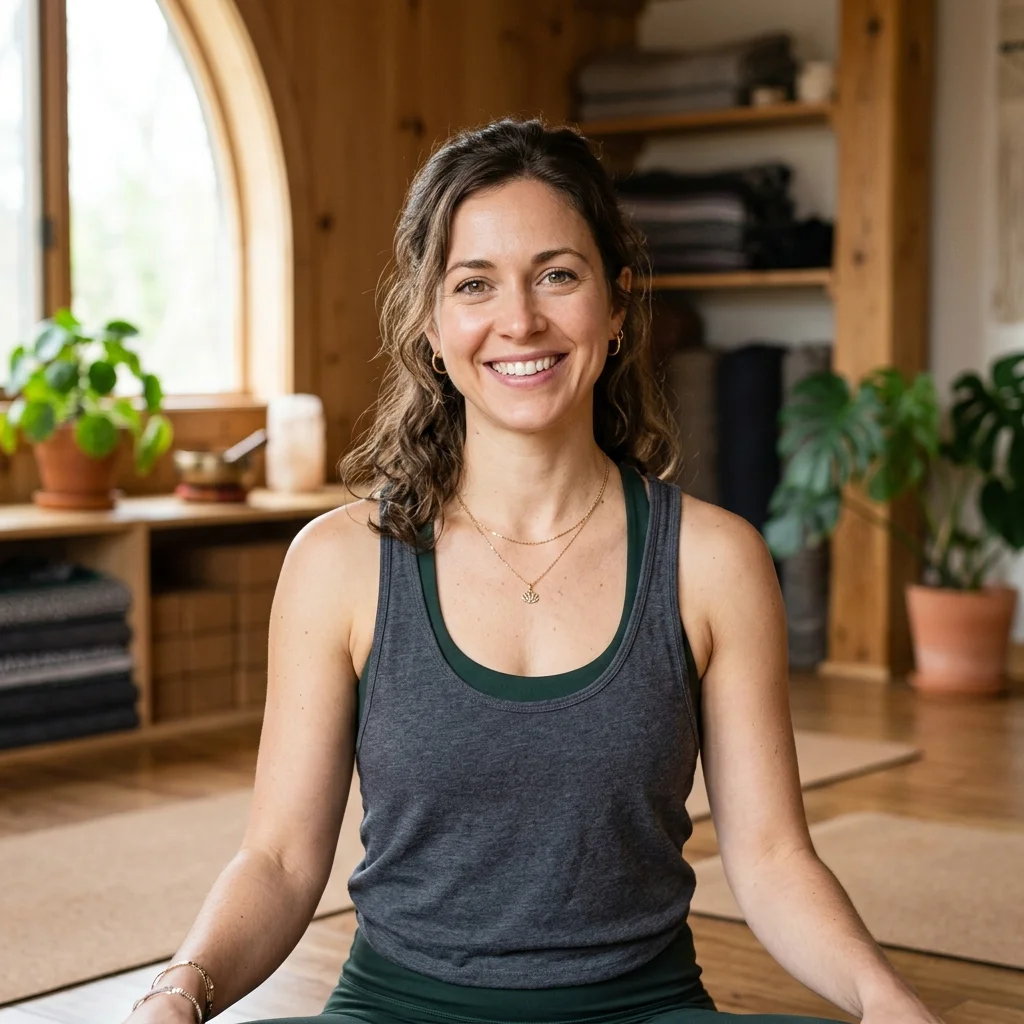
Elena Rostova is an accredited yoga educator and anatomy specialist with over 15 years of clinical experience. She focuses on functional biomechanics and injury prevention, translating complex anatomy into accessible guidance for safe, sustainable practice.
Read Full ProfileContinue Your Yoga Journey
Ready to deepen your practice? Explore our extensive library of poses, or join a structured program designed to build strength, flexibility, and mindfulness.