
Head to Knee II
Janu Sirsasana B
By Elena Rostova Updated: verified Medically Reviewed
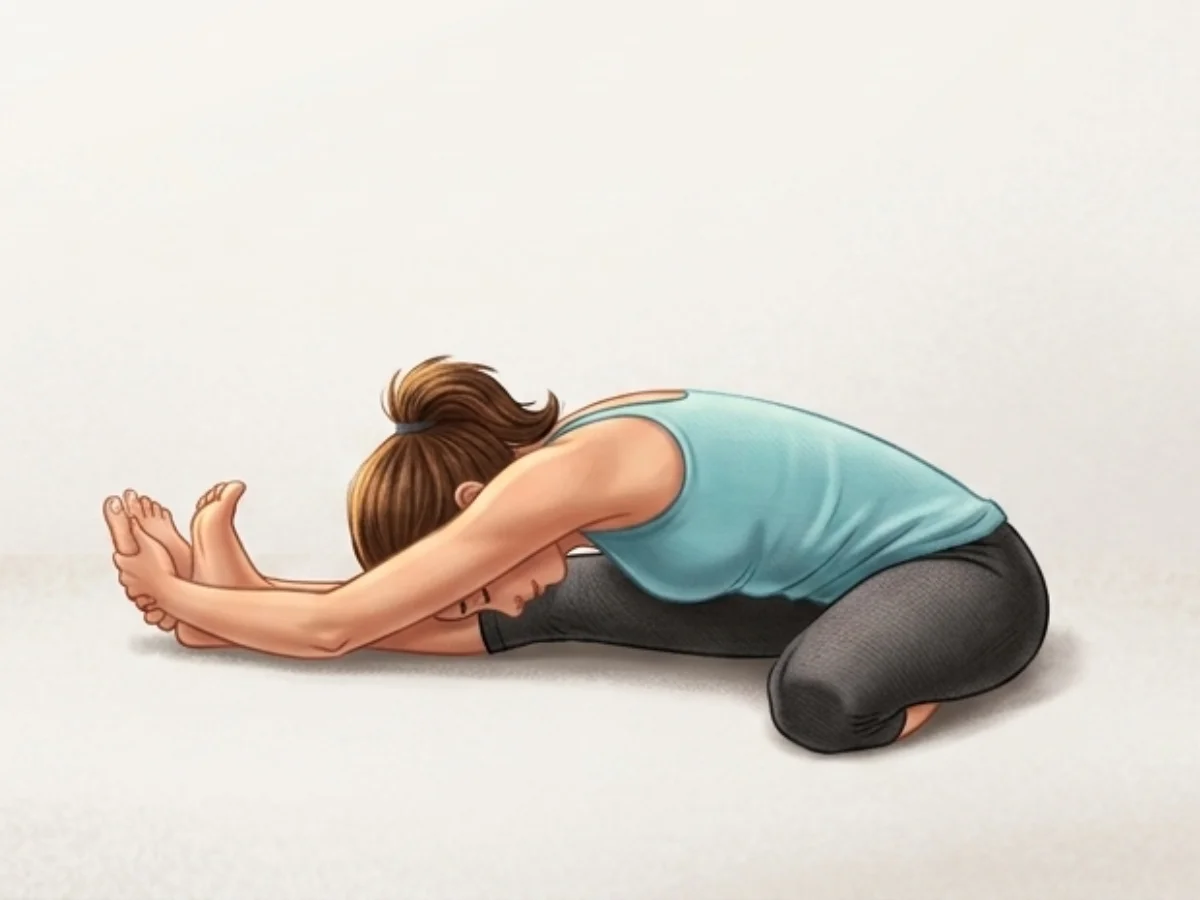
Head to Knee Pose II (Janu Sirsasana B) is an intermediate progression in the Ashtanga primary series. Unlike the first variation where the foot rests against the inner thigh, here practitioners sit directly upon the heel of the bent leg, placing pressure on the perineum (Muladhara Chakra).
Hold Time
30–60 sec · 5–10 breaths per side
Pronunciation
JAH-noo sheer-SHAHS-anna B
About Head to Knee II
Often praised by experienced instructors, Head to Knee II (Janu Sirsasana B) acts as a powerful tool for finding balance and realignment. As you settle into the shape, it gently works the perineal stimulation & hamstring flexibility to increase your overall flexibility. Over time, adding this to your routine is a great way to support activates the pelvic floor while calming the mind.
How to Practice
Initial Setup
Begin seated in Dandasana (Staff Pose) with both legs extended forward, sitting tall through your spine.
Position the Heel
Bend your left knee. Draw the left heel inward and sit slightly forward so that your perineum rests directly on top of your left heel.
Angle the Foot
The toes of the left foot should point outward at an angle, and the top of the foot should rest firmly on the floor. Let the left knee drop open to the side.
Square the Torso
Adjust your posture so your shoulders and chest are squared directly over your extended right leg, keeping the right foot actively flexed.
Inhale and Lengthen
Take a deep breath in, lifting your chest and reaching both arms up overhead to create maximum length along your spine.
Fold Forward
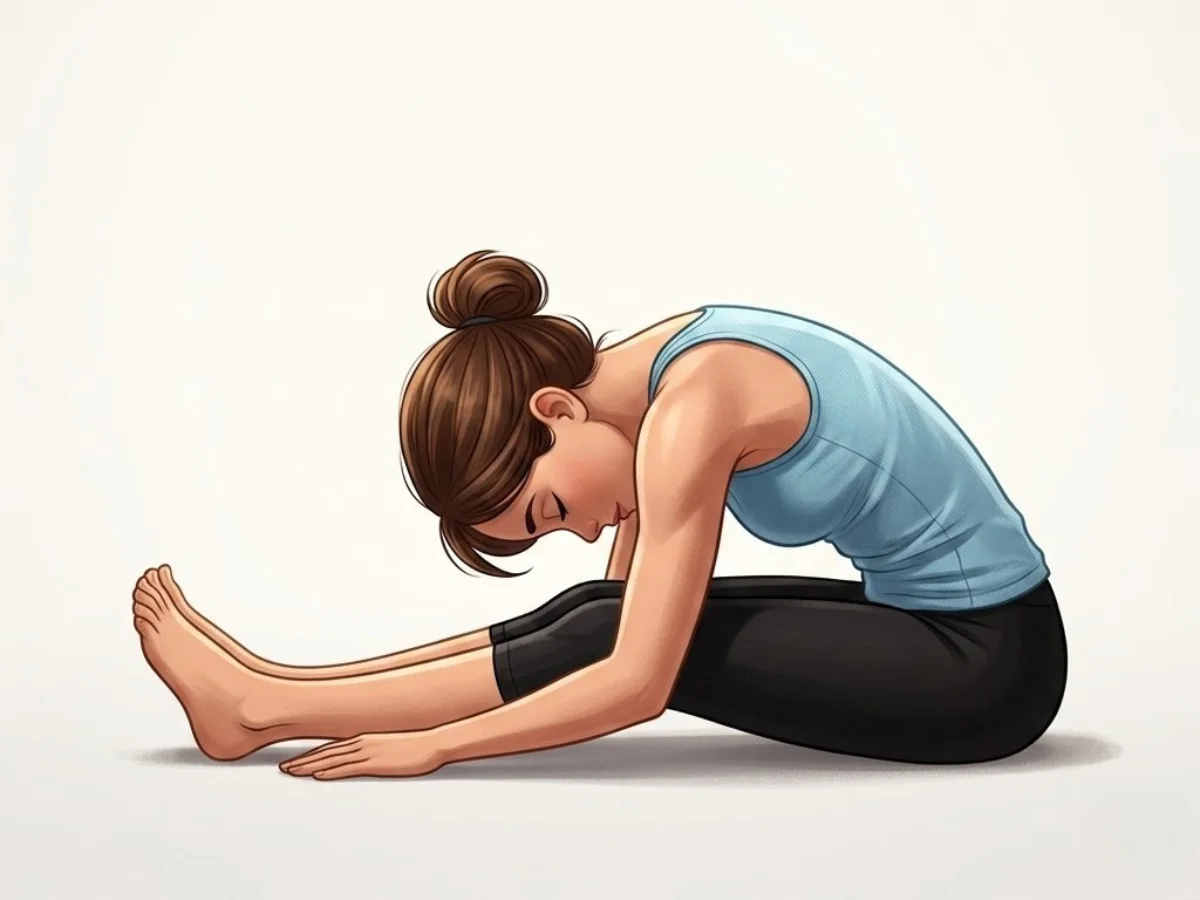
Exhale as you hinge forward from your hips. Keep your spine straight as you reach your hands toward your right foot.
Bind the Foot
Wrap your hands around the right foot. If you have the flexibility, grasp your right wrist with your left hand beyond the sole of the foot.
Deepen with Breath
With each inhalation, gaze forward and lengthen your spine. With each exhalation, pull your navel in and fold deeper, aiming to rest your forehead or chin on your shin.
Maintain the Hold
Hold the posture for 5 deep, steady ujjayi breaths. Keep active pressure on the perineum to engage the pelvic floor.
Release and Switch
Inhale to lift the head and lengthen the spine, exhale to release the bind. Lift your torso up, straighten the left leg, and repeat on the other side.
Practice with the Yoga Timer
Keep track of your hold time and breath count for this pose.
Beginner Modifications & Prop Options
Yoga is a personal journey. These modifications and prop options allow you to adapt the pose to your current level of balance and flexibility, ensuring a safe and supportive practice.
Pad the Ankle
Place a small folded towel or blanket directly under the top of the bent foot and ankle to cushion the bones against the hard floor.
Tip: Focus on alignment rather than depth.
Skip Sitting on the Heel
Revert to Janu Sirsasana A (Head to Knee I) by placing the foot against the inner thigh if sitting on the heel is uncomfortable or painful.
Tip: Focus on alignment rather than depth.
Use a Strap for the Fold
Loop a strap over the ball of the extended foot to keep a straight spine while gaining the benefits of pelvic floor engagement.
Tip: Focus on alignment rather than depth.
Benefits of Head to Knee II
Activates the Pelvic Floor
Sitting on the heel provides direct stimulation to the perineum, helping to engage and strengthen Mula Bandha (the root lock).
Intensifies Hamstring Stretch
The elevated and fixed pelvic position forces the forward fold directly into the hamstrings of the straight leg.
Improves Ankle Flexibility
The top of the bent foot rests firmly on the mat, deeply stretching the anterior ankle and instep.
Aids Digestion
The deep forward compression massages the lower abdomen, stimulating digestive fire and aiding in elimination.
Grounds Nervous Energy
The direct connection with the root chakra fosters a profound sense of psychological grounding and stability.
Common Mistakes to Avoid
Mistake: Incorrect Heel Placement
How to fix: Lift your hips slightly and manually adjust your body forward so you are sitting exactly on top of the heel.
Mistake: Sickling the Extended Foot
How to fix: Flex the extended foot firmly, keeping the kneecap pointing straight up to the ceiling.
Mistake: Rounding the Upper Back
How to fix: Focus on bringing your belly to your thigh, not your head to your knee. Keep the collarbones broad.
Safety and Precautions
Knee Injuries
The knee of the bent leg is under significant torque and pressure. Avoid this variation if you have meniscus issues or general knee pain.
Ankle Sprains
The deep plantar flexion required can aggravate recent ankle sprains or weak ligaments.
Prostate or Pelvic Floor Inflammation
Direct pressure on the perineum may aggravate conditions like prostatitis or severe pelvic floor dysfunction.
Pregnancy
The deep abdominal compression and pelvic pressure are contraindicated in later stages of pregnancy.
Medical Disclaimer: If you have any of the above conditions, consult your doctor or a qualified yoga instructor before attempting this pose.
Muscles Worked in Head to Knee II
Head to Knee II demands synchronized muscular effort, creating a profound sense of engagement and release throughout the body. The activation of the primary muscles supports the structure, while the secondary muscles provide stability and balance.
Primary Muscles
Hamstrings
Provide the primary stretch along the back of the extended leg.
Pelvic Floor Muscles
Engage actively in response to the pressure of the heel.
Erector Spinae
Lengthens across the lower and mid-back to facilitate the fold.
Secondary Muscles
Tibialis Anterior
Stretches deeply over the front of the ankle of the bent leg.
Gluteus Maximus
Stretches on the side of the extended leg.
Rectus Abdominis
Contracts slightly to help pull the torso forward and down.
Poses to Practice Before and After Head to Knee II
Prepare with these Poses
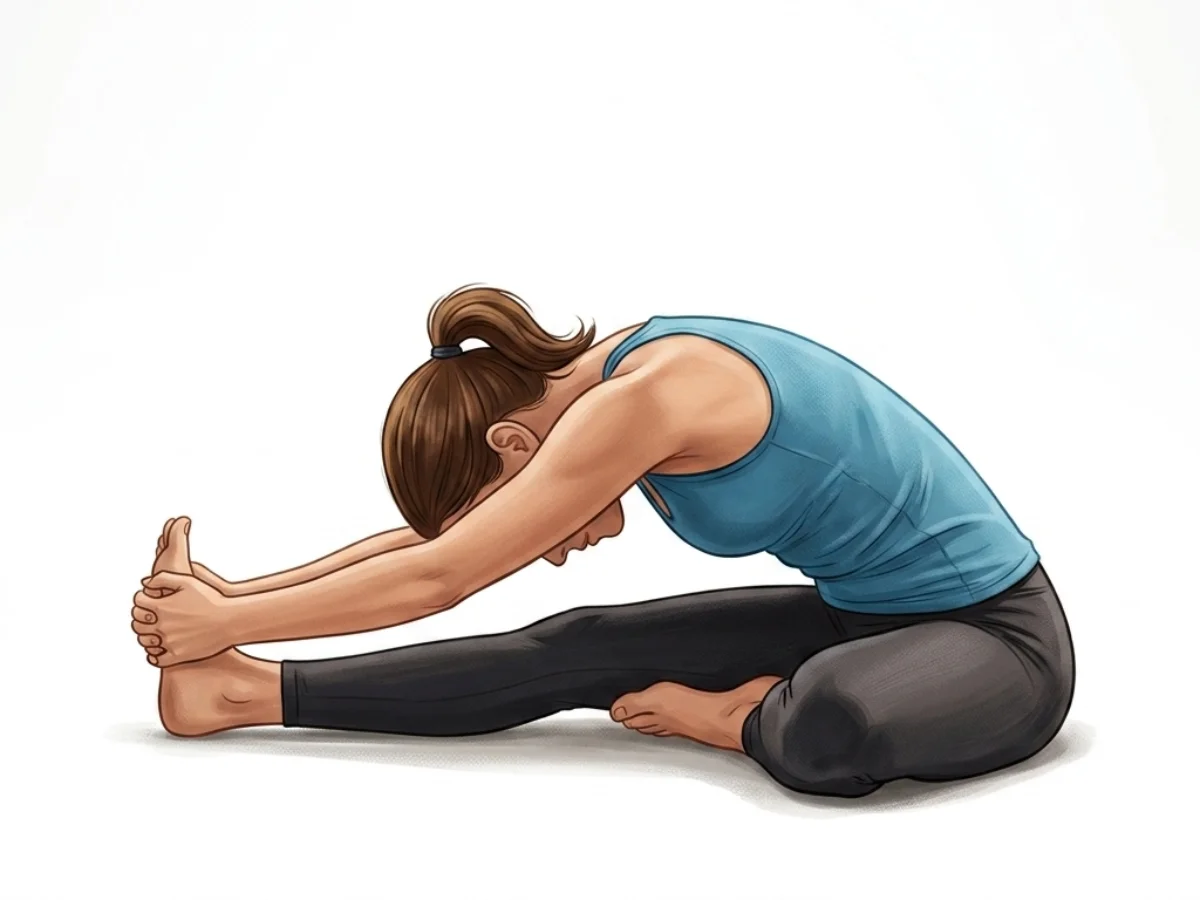
Head to Knee I
Janu Sirsasana AFamiliarizes the body with the asymmetrical forward fold without the pelvic pressure.
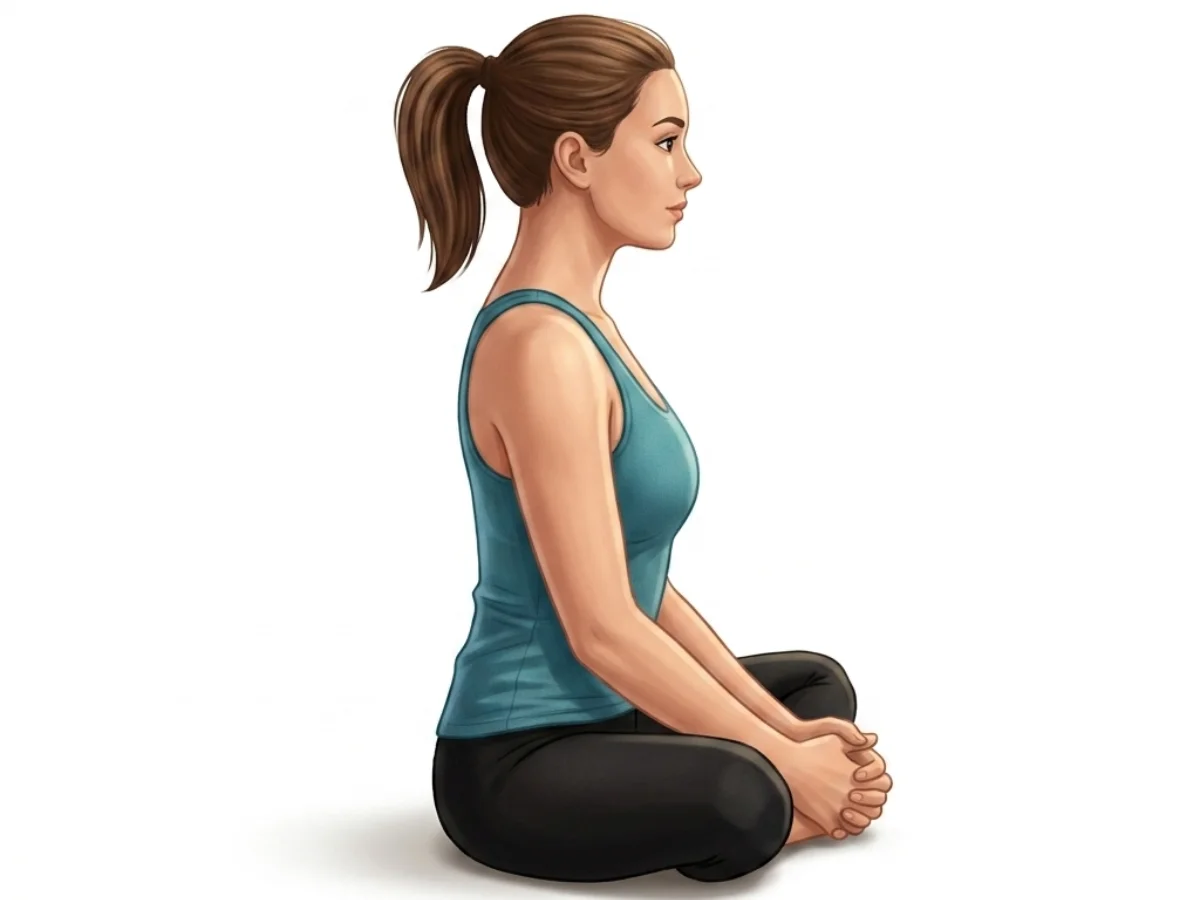
Bound Angle
Baddha KonasanaWarms up the external rotation of the hip joints.
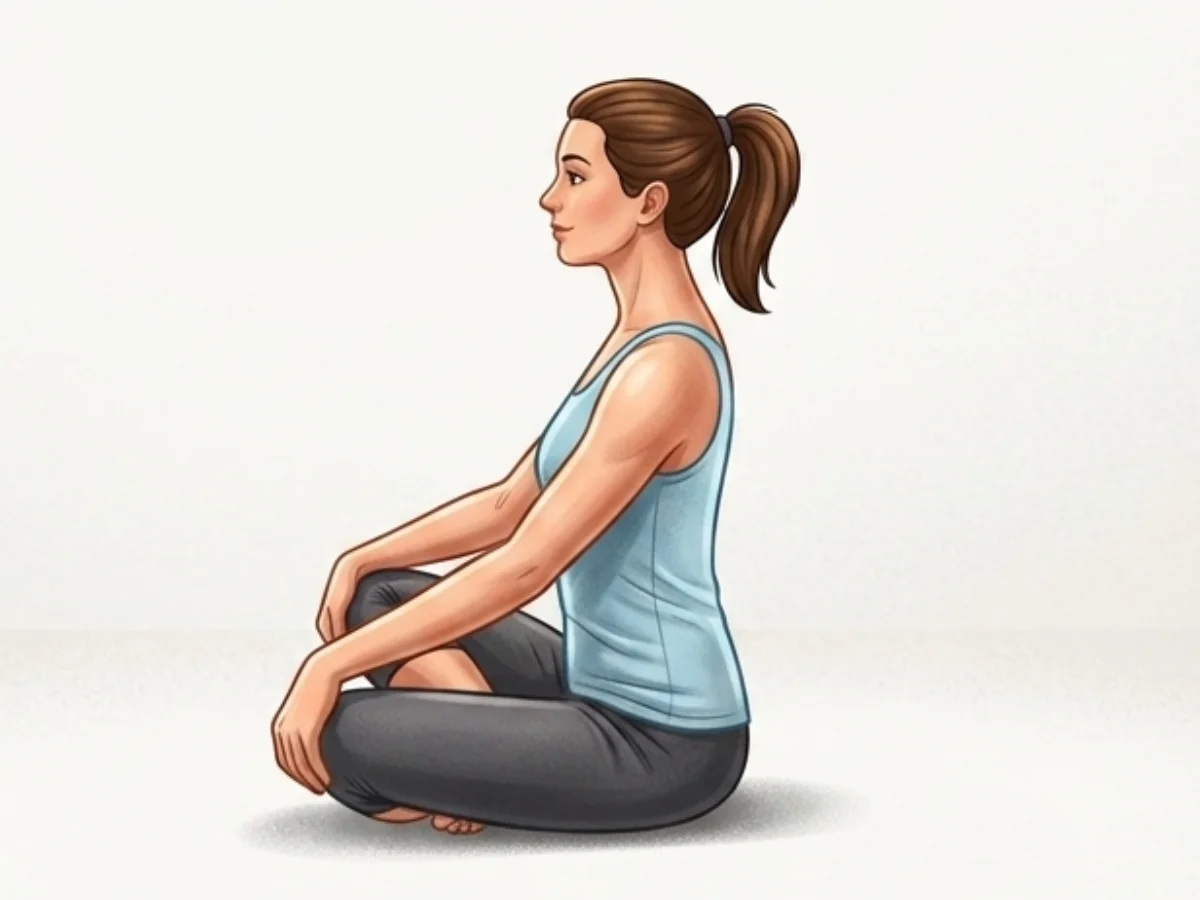
Follow with neutralizing Counter-poses
Frequently Asked Questions
Is it supposed to be uncomfortable to sit on my heel?
It should feel like firm, noticeable pressure, but not sharp or shooting pain. If it feels intensely painful, you may not be flexible enough in the hips yet, or you may need to pad your ankle.
What is the purpose of sitting on the heel?
In Ashtanga yoga, sitting on the heel stimulates the Muladhara (Root) chakra and physically assists in engaging Mula Bandha (the root lock). This engagement seals energy within the body and provides deep pelvic stability.
My bent knee will not touch the floor. Is that okay?
Yes, it is common for the knee to float if the hips are tight. However, to protect the knee joint from bearing the weight of gravity, place a yoga block or blanket under the hovering knee for support.
Elena Rostova is an accredited yoga educator and anatomy specialist with over 15 years of clinical experience. She focuses on functional biomechanics and injury prevention, translating complex anatomy into accessible guidance for safe, sustainable practice.
Read Full ProfileContinue Your Yoga Journey
Ready to deepen your practice? Explore our extensive library of poses, or join a structured program designed to build strength, flexibility, and mindfulness.