
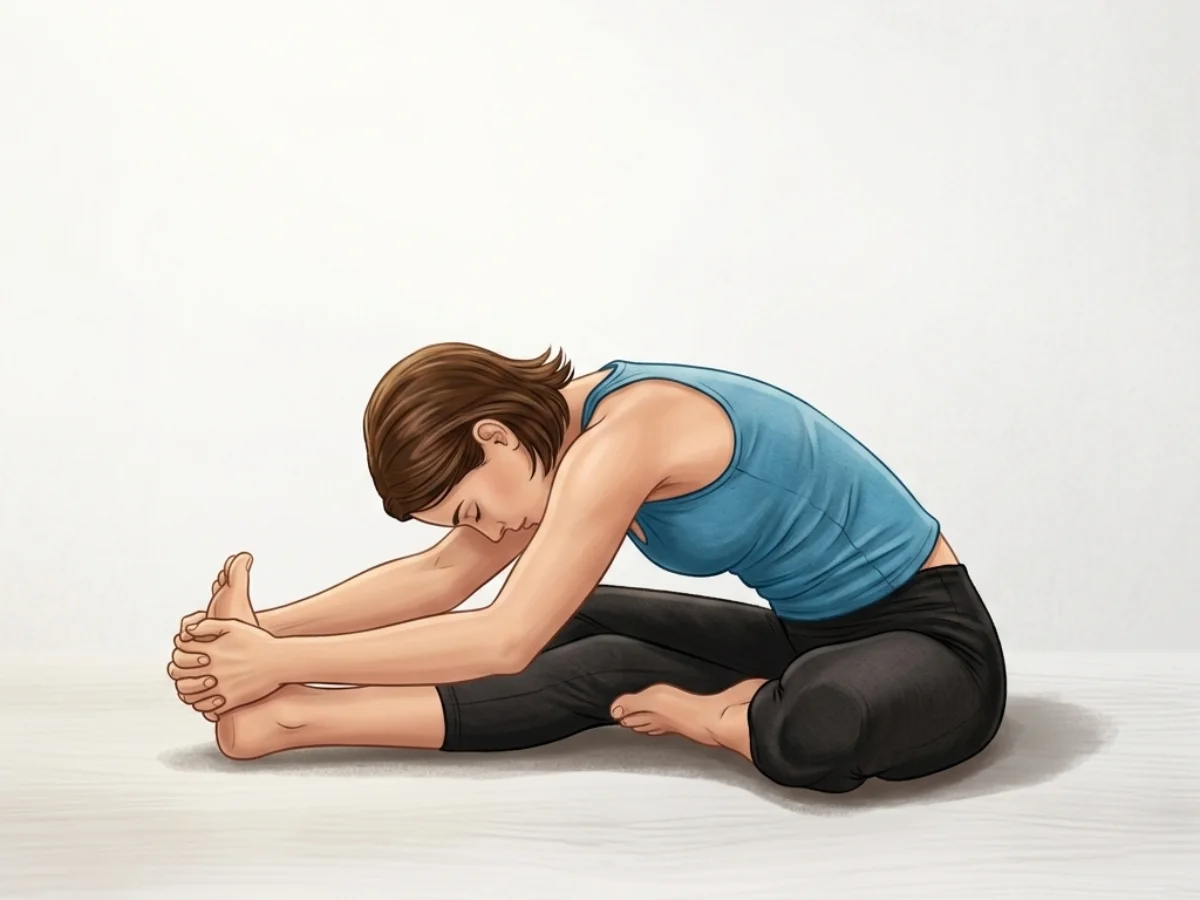
Head to Knee III
Janu Sirsasana C
By Elena Rostova Updated: verified Medically Reviewed
Head to Knee Pose III (Janu Sirsasana C) is an advanced and highly technical posture from the Ashtanga primary series. This variation requires extreme external rotation of the hip and flexibility in the toes and ankle.
Hold Time
30–60 sec · 5–10 breaths per side
Pronunciation
JAH-noo sheer-SHAHS-anna C
About Head to Knee III
Commonly practiced as Head to Knee III (Janu Sirsasana C), this dynamic posture is beautifully designed to help unlock tension. As you settle into the shape, it gently works the extreme hip rotation & ankle stretch to increase your overall flexibility. Consistent practice will actively assist in increases toe and ankle mobility, helping you feel lighter and more balanced off the mat.
How to Practice
Starting Position
Begin in Dandasana (Staff Pose) with both legs extended forward, sitting squarely on your sit bones.
Position the Foot
Bend your left knee. Reach down with both hands and grab your left foot. Externally rotate the left thigh deeply.
Tuck the Toes
Press the ball of the left foot and the toes firmly into the floor. The heel should be pointing straight up toward the ceiling.
Anchor the Heel
Bring the lifted left heel tightly against your lower abdomen or groin area. The sole of the foot rests against the inner right thigh.
Ground the Knee
Carefully allow the left knee to lower toward the floor. Only proceed if there is no sharp pain in the knee joint.
Square and Lengthen
Square your chest over your extended right leg. Inhale deeply, reach your arms up, and lengthen your spine.
Fold Forward
Exhale to hinge at the hips, folding over the straight right leg. Reach for your right foot or interlace your fingers beyond the sole.
Deepen the Fold
Inhale to pull your chest forward; exhale to soften your belly over the thigh, applying pressure against the tucked heel.
Hold and Breathe
Hold for 5 deep ujjayi breaths. Keep the extended leg engaged and ensure the tucked toes remain firmly planted.
Release Safely
Inhale to lift the torso. Carefully use your hands to untuck the toes and guide the left leg back to straight. Repeat on the right side.
Practice with the Yoga Timer
Keep track of your hold time and breath count for this pose.
Beginner Modifications & Prop Options
Yoga is a personal journey. These modifications and prop options allow you to adapt the pose to your current level of balance and flexibility, ensuring a safe and supportive practice.
Do Not Fold Forward
Keep your torso upright until your foot and ankle can sustain the position comfortably. Do not fold forward prematurely.
Tip: Focus on alignment rather than depth.
Support the Floating Knee
Wedge a firm block or rolled blanket underneath the bent knee if it does not reach the floor. Never let the knee hang unsupported.
Tip: Focus on alignment rather than depth.
Revert to Janu Sirsasana A
Stop immediately and practice Head to Knee I instead if this variation causes any joint pain, especially in the knee.
Tip: Focus on alignment rather than depth.
Benefits of Head to Knee III
Increases Toe and Ankle Mobility
The intense toe-tucking position powerfully stretches the plantar fascia and improves flexibility in the metatarsal joints.
Deepens Hip External Rotation
Requires and builds extreme external rotation of the femur bone within the hip socket.
Massages Lower Abdomen
The heel pressing into the groin and lower abdomen stimulates the reproductive and digestive organs during the forward fold.
Stretches the Hamstrings
Provides a deep, intense stretch to the posterior chain of the extended leg.
Builds Intense Focus
The technical difficulty and physical sensations of the pose demand high levels of concentration and mental presence.
Common Mistakes to Avoid
Mistake: Forcing the Knee Down
How to fix: Allow gravity to do the work. If the hip does not rotate enough to lower the knee, pad the knee and practice patience.
Mistake: Incorrect Foot Placement
How to fix: Use your hands to actively curl the toes under and plant the ball of the foot firmly on the mat.
Mistake: Ignoring Sharp Pain
How to fix: Distinguish between muscular stretch (good) and joint pain (bad). Never endure joint pain.
Safety and Precautions
Knee Injuries
This pose places massive torsional strain on the knee. It is strictly contraindicated for anyone with meniscus tears or ligament damage.
Ankle or Foot Issues
Conditions like plantar fasciitis (in acute stages), broken toes, or severe ankle sprains make this pose unsafe.
Hip Replacements
The extreme external rotation required is not suitable for individuals with hip replacements.
Pregnancy
The heel aggressively pressing into the lower abdomen makes this posture entirely unsuitable for pregnant practitioners.
Medical Disclaimer: If you have any of the above conditions, consult your doctor or a qualified yoga instructor before attempting this pose.
Muscles Worked in Head to Knee III
Head to Knee III demands synchronized muscular effort, creating a profound sense of engagement and release throughout the body. The activation of the primary muscles supports the structure, while the secondary muscles provide stability and balance.
Primary Muscles
Hamstrings
Provide the main stretch along the extended leg.
Plantar Fascia
Stretches aggressively under the foot due to the tucked toes.
Hip External Rotators
Contract heavily to rotate the femur and lower the knee.
Secondary Muscles
Erector Spinae
Lengthens to support the forward fold.
Gastrocnemius (Calf)
Stretches as the extended foot is flexed.
Rectus Abdominis
Massaged and compressed by the heel during the fold.
Poses to Practice Before and After Head to Knee III
Prepare with these Poses
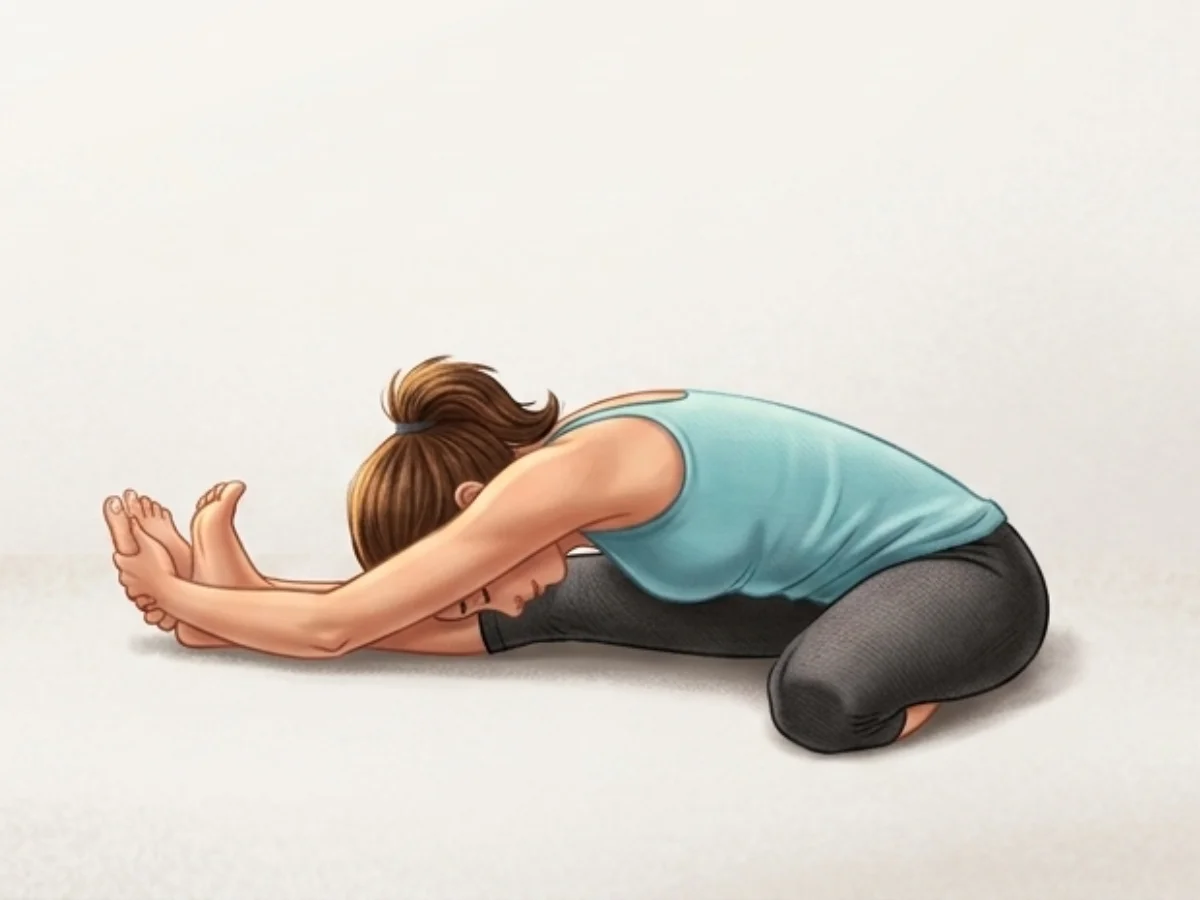
Head to Knee II
Janu Sirsasana BPrepares the body for advanced hip rotation and forward folding.
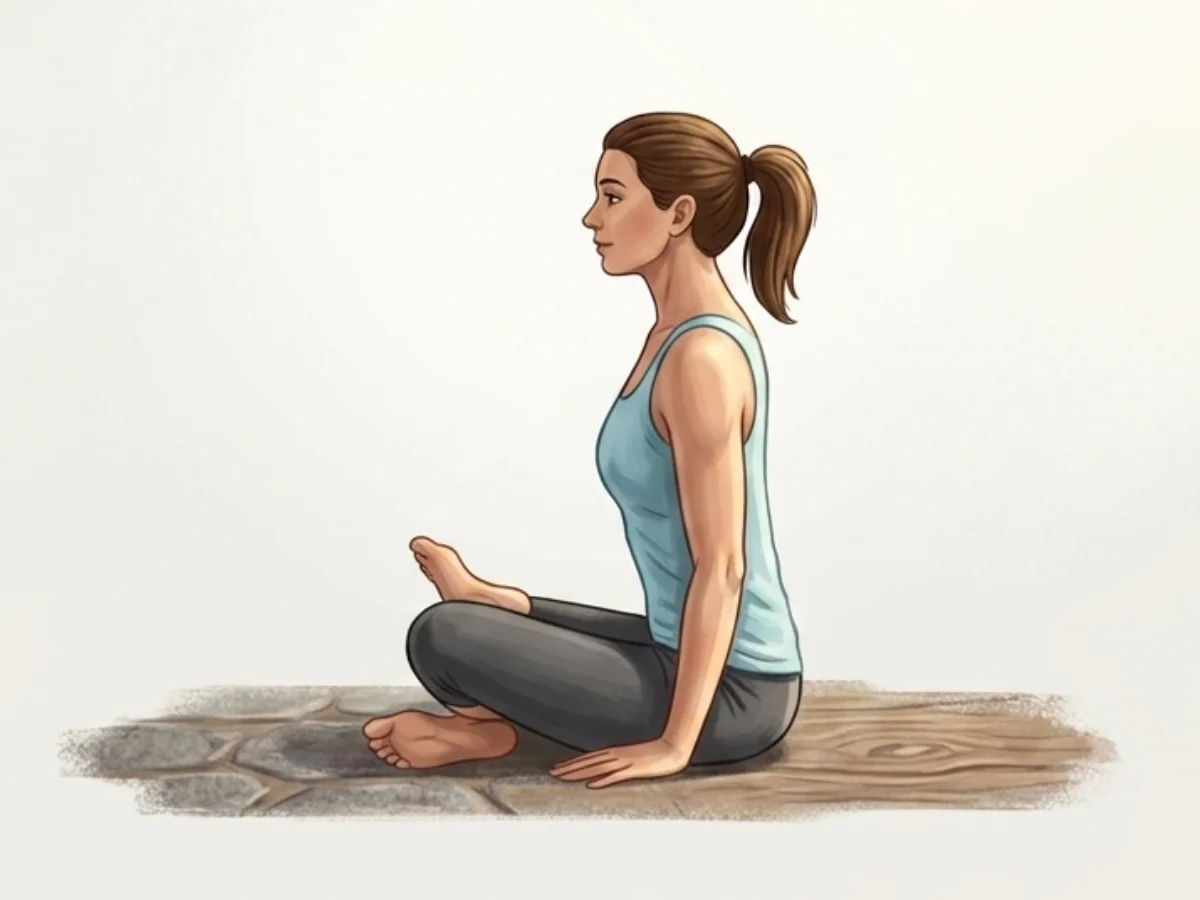
Fire Log Pose
AgnistambhasanaDeeply opens the outer hips and prepares them for extreme rotation.
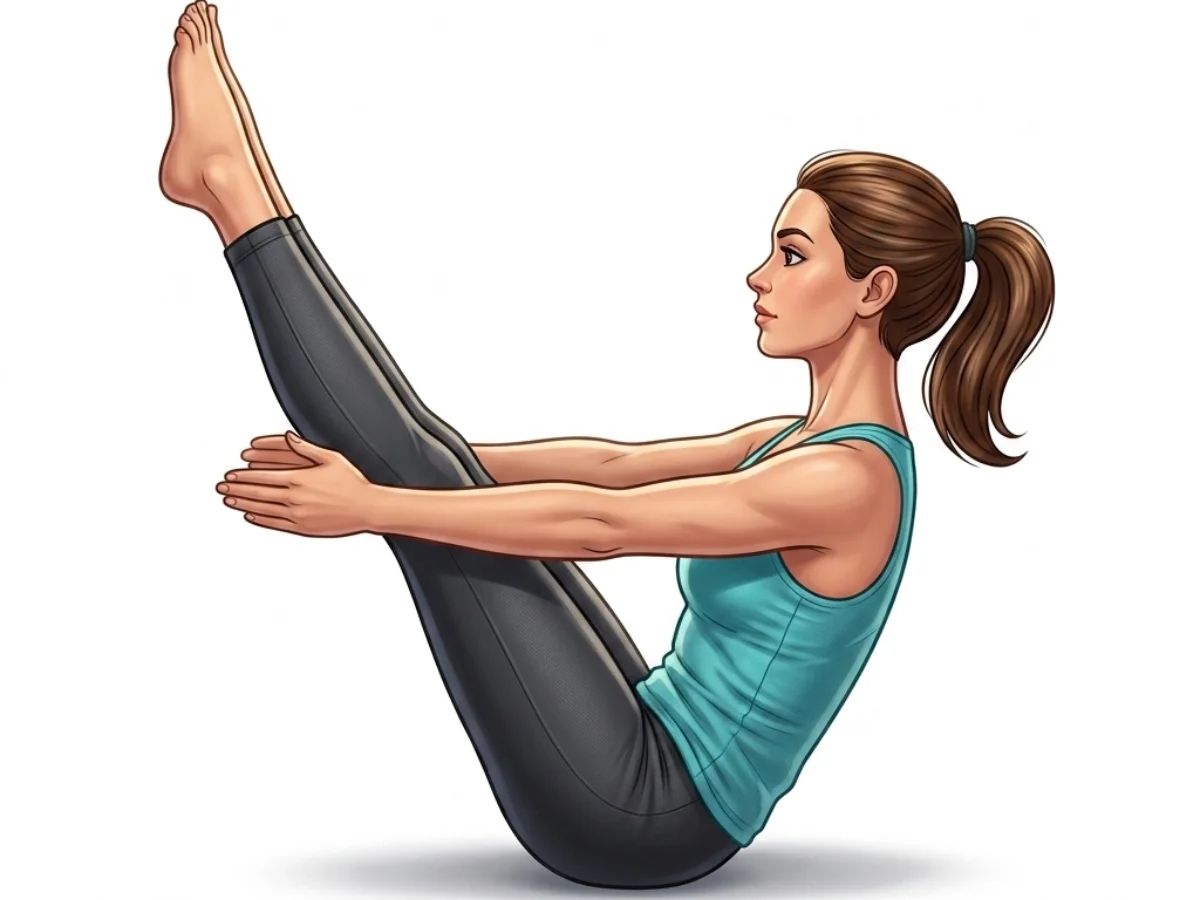
Follow with neutralizing Counter-poses
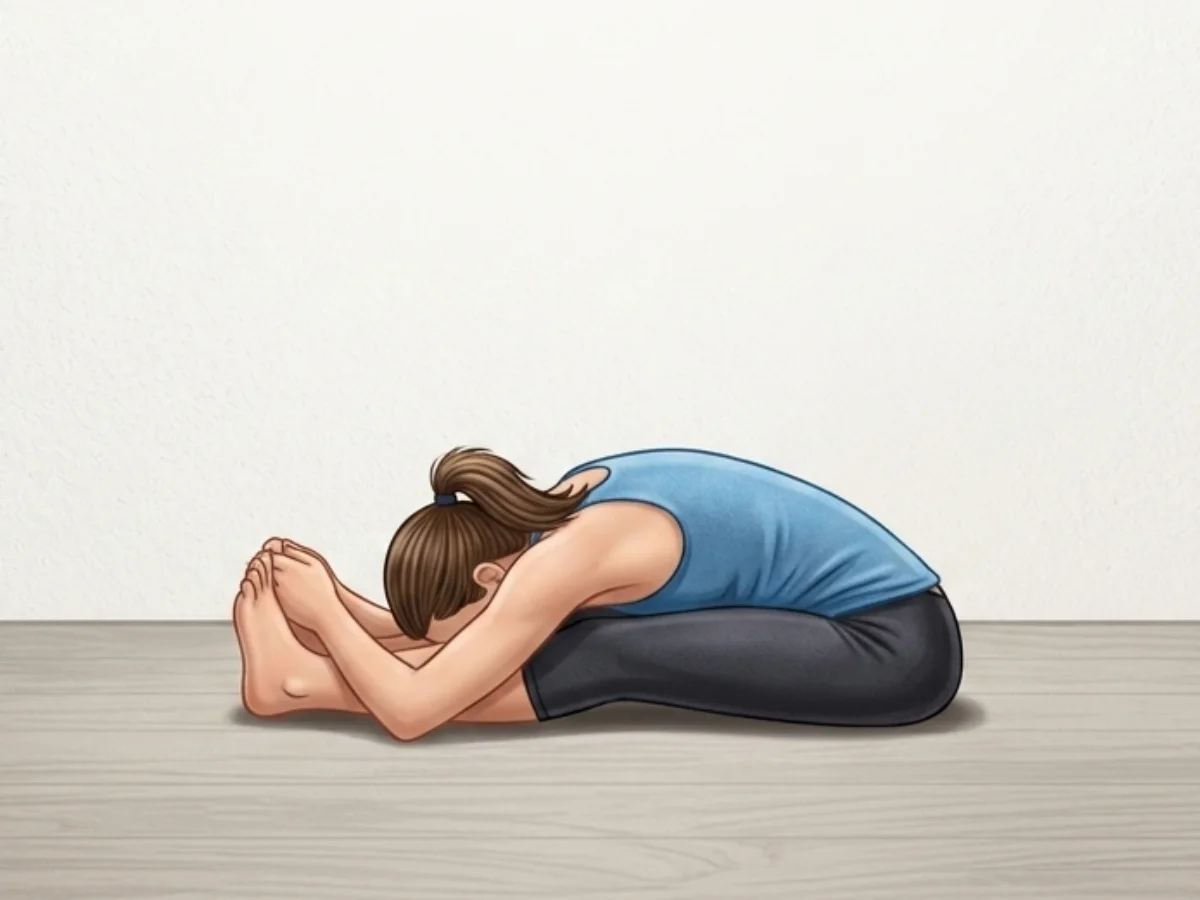
Frequently Asked Questions
Is it dangerous for my knee?
It can be. Janu Sirsasana C requires extreme hip mobility.
My toes scream in this pose. Is that normal?
Yes, the plantar fascia and toe joints rarely get stretched this intensely in daily life. It will be uncomfortable at first.
Why is this pose so important in Ashtanga?
In the Ashtanga system, this posture prepares the feet, ankles, and hips for full Lotus pose (Padmasana) while simultaneously stimulating internal organs and energy channels.

Elena Rostova is an accredited yoga educator and anatomy specialist with over 15 years of clinical experience. She focuses on functional biomechanics and injury prevention, translating complex anatomy into accessible guidance for safe, sustainable practice.
Read Full ProfileContinue Your Yoga Journey
Ready to deepen your practice? Explore our extensive library of poses, or join a structured program designed to build strength, flexibility, and mindfulness.