
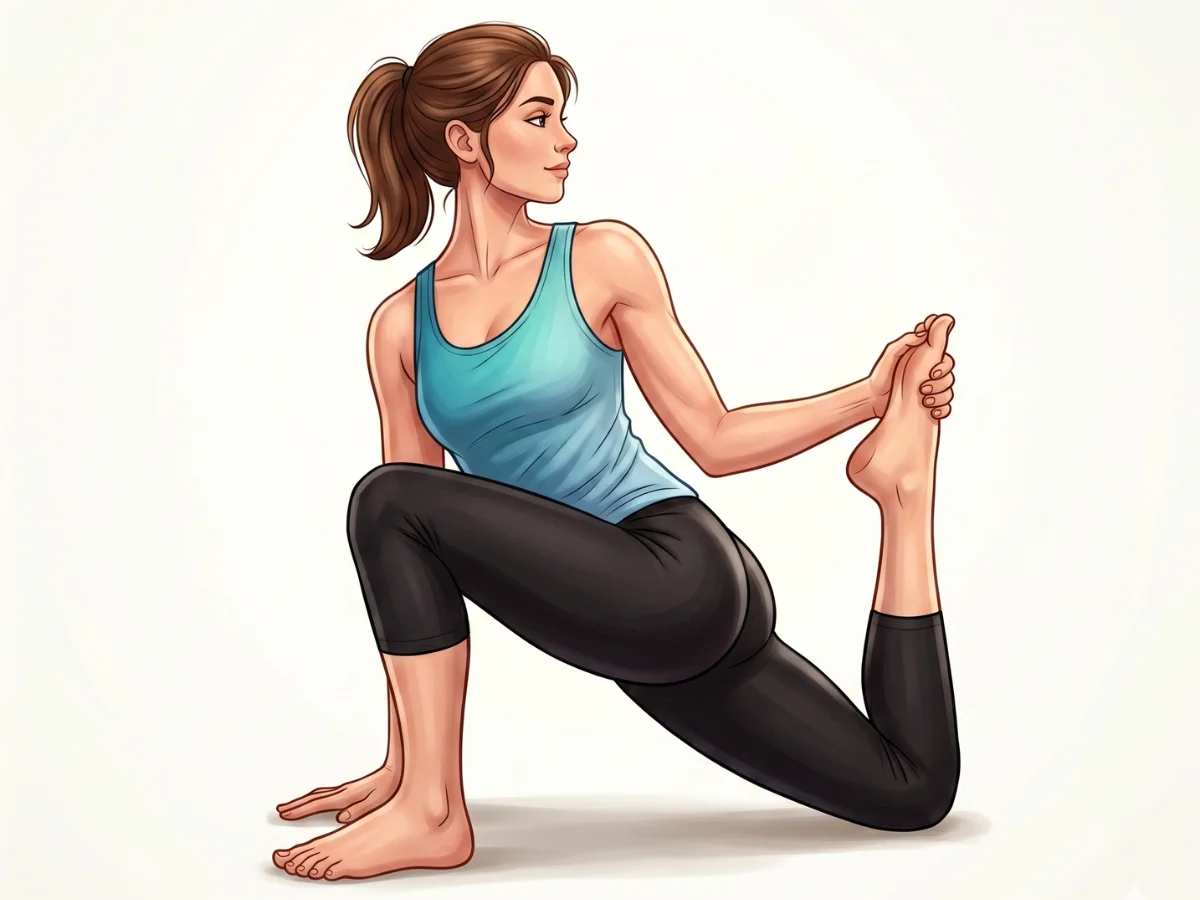
Crooked Monkey
Koundinyasana
By Elena Rostova Updated: verified Medically Reviewed
Crooked Monkey Pose (Koundinyasana), often practiced as Eka Pada Koundinyasana (One-Legged Pose dedicated to the sage Koundinya), is a challenging advanced arm balance. It requires profound core strength, hip flexibility, and upper body power to float the legs asymmetrically while balancing the torso on bent arms.
Hold Time
15–30 sec · 3–5 breaths
Pronunciation
kown-din-YAHS-anna
About Crooked Monkey
Crooked Monkey (Koundinyasana) is a grounding posture that draws its natural shape from the animal kingdom. As you settle into the shape, it gently works the upper body strength & core stability to increase your overall flexibility. Practicing this pose regularly helps with builds massive upper body strength and leaves you feeling completely refreshed.
How to Practice
Starting Position
Begin in Lizard Pose (Utthan Pristhasana) with your right foot forward outside your right hand, and your left leg extended straight back.
Shoulder Placement
Wiggle your right shoulder underneath your right knee. Plant your right hand firmly on the floor outside your right foot, fingers spread wide.
Chaturanga Arms
Bend both elbows straight back to create a 90-degree angle, establishing a Chaturanga-like shelf with your upper arms to support your body weight.
Shift Weight
Lean your chest and head forward, shifting your center of gravity past your fingertips. Your core must engage deeply to maintain balance.
Lift the Front Leg
Squeeze your right inner thigh against your right tricep. As you lean forward, allow your right foot to float off the floor, extending the right leg straight out to the side.
Float the Back Leg
Continue to lean your weight forward until your back left foot naturally floats off the mat. Extend the left leg strongly straight back behind you.
Engage Core and Lift
Draw your navel toward your spine. Press firmly through your palms to lift your chest slightly, avoiding collapsing your face toward the floor.
Hold and Breathe
Maintain this intense balance for 3 to 5 smooth breaths. Keep your gaze directed slightly forward of your mat to help stabilize your equilibrium.
Safe Exit
To release, gently lower your back foot, then your front foot back to the floor, returning to Lizard Pose.
Symmetrical Release
Step back to Downward-Facing Dog to stretch the spine, then repeat the sequence on the left side to maintain muscular balance.
Practice with the Yoga Timer
Keep track of your hold time and breath count for this pose.
Beginner Modifications & Prop Options
Yoga is a personal journey. These modifications and prop options allow you to adapt the pose to your current level of balance and flexibility, ensuring a safe and supportive practice.
Keep the Back Foot Down
Practice the arm placement and core engagement by lifting only the front leg while keeping the back toes tucked firmly on the floor for support.
Tip: Focus on alignment rather than depth.
Use a Block Under Shoulders
Place a yoga block beneath your chest or front shoulder. This provides a safety net, allowing you to lean forward confidently without fear of hitting the floor.
Tip: Focus on alignment rather than depth.
Bent Knee Variation
If extending the front leg straight out to the side is too challenging due to hamstring tension, keep the front knee deeply bent over the tricep while you balance.
Tip: Focus on alignment rather than depth.
Benefits of Crooked Monkey
Builds Massive Upper Body Strength
Requires intense activation of the pectorals, triceps, and deltoids to hold the entire body weight suspended on bent arms.
Fortifies Deep Core Stability
Lifting and suspending the legs asymmetrically demands immense strength from the obliques, transversus abdominis, and rectus abdominis.
Increases Hip Flexibility
The split-leg variation requires significant flexibility in the hip flexors of the back leg and the adductors of the front leg.
Enhances Balance & Proprioception
Balancing on the hands requires intense focus and body awareness to find the exact center of gravity without falling.
Builds Confidence & Mental Resilience
Overcoming the fear of falling forward and mastering the mechanics of arm balances fosters profound mental toughness and focus.
Common Mistakes to Avoid
Mistake: Elbows Splaying Outward
How to fix: Hug your elbows tightly toward your ribs. Splaying them outwards compromises the shoulder joints and eliminates the supportive "shelf" for your body.
Mistake: Looking Straight Down
How to fix: Looking down guarantees you will go down. Keep your gaze slightly forward of your hands to help shift your center of gravity appropriately.
Mistake: Forcing the Lift
How to fix: The back leg should lift effortlessly as a counterweight to your torso leaning forward. Do not jump or kick up into the pose.
Safety and Precautions
Wrist Injuries or Carpal Tunnel Syndrome
The intense load-bearing required at a sharp wrist extension can severely aggravate wrist conditions.
Shoulder or Rotator Cuff Injuries
The Chaturanga arm position places immense strain on the anterior deltoids and rotator cuff.
Lower Back Pain
Lack of core strength can cause the lumbar spine to sag violently under the weight of the legs, risking disc injury.
Pregnancy
Arm balances pose a risk of falling and involve intense abdominal compression, making them unsuitable for pregnant practitioners.
High Blood Pressure
The intense muscular effort and inversion of the head can cause unsafe spikes in blood pressure.
Medical Disclaimer: If you have any of the above conditions, consult your doctor or a qualified yoga instructor before attempting this pose.
Muscles Worked in Crooked Monkey
Crooked Monkey demands synchronized muscular effort, creating a profound sense of engagement and release throughout the body. The activation of the primary muscles supports the structure, while the secondary muscles provide stability and balance.
Primary Muscles
Pectoralis Major & Minor
Work eccentrically to support the chest weight in the bent arm position.
Triceps Brachii
Engages intensely to hold the elbow flexion against gravity.
Obliques
Critical for stabilizing the asymmetrical split of the legs.
Secondary Muscles
Serratus Anterior
Protracts the scapulae to keep the upper back engaged and supportive.
Hip Flexors (Psoas)
Actively holds the front leg lifted and extended.
Hamstrings
Engage to straighten both the front and back extended legs.
Poses to Practice Before and After Crooked Monkey
Prepare with these Poses
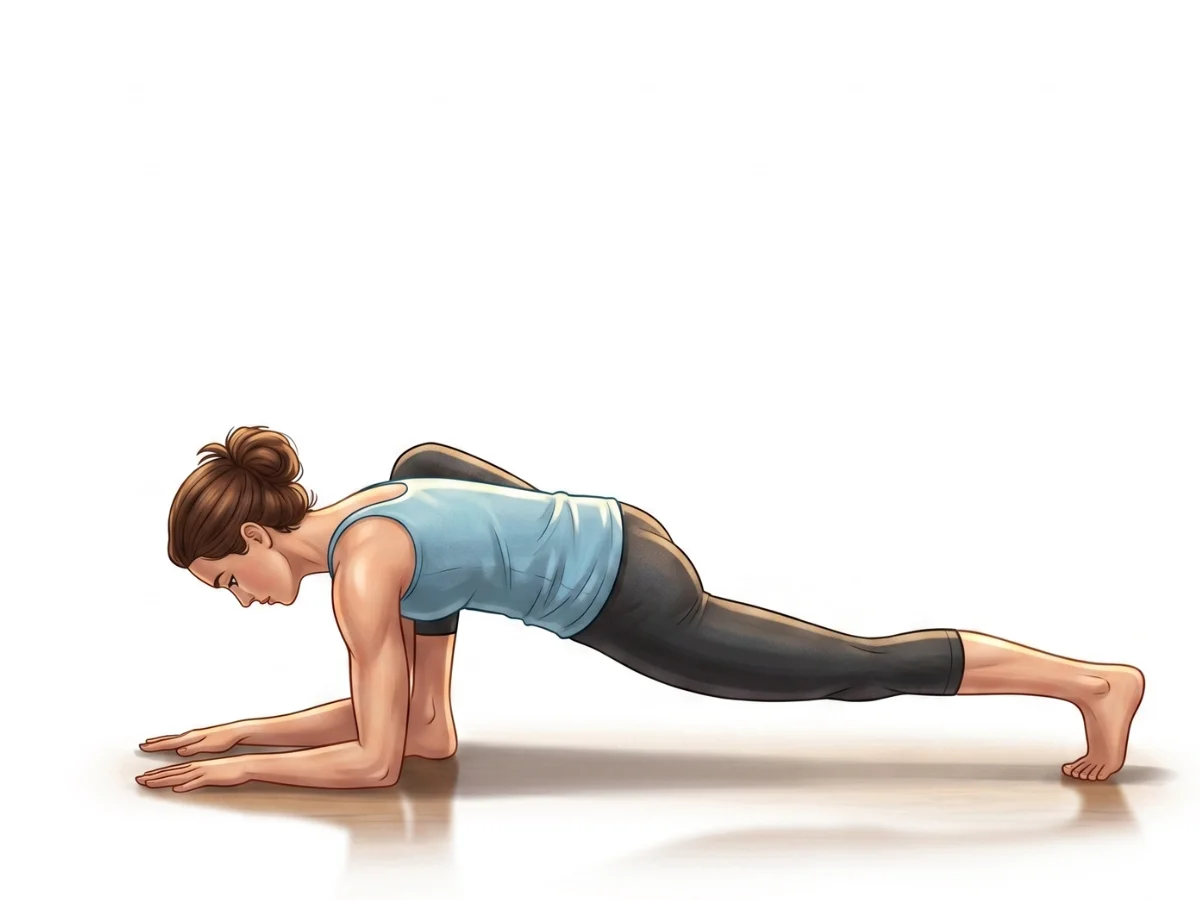
Lizard Pose
Utthan PristhasanaOpens the hips deeply and prepares the shoulder-under-knee action required for liftoff.
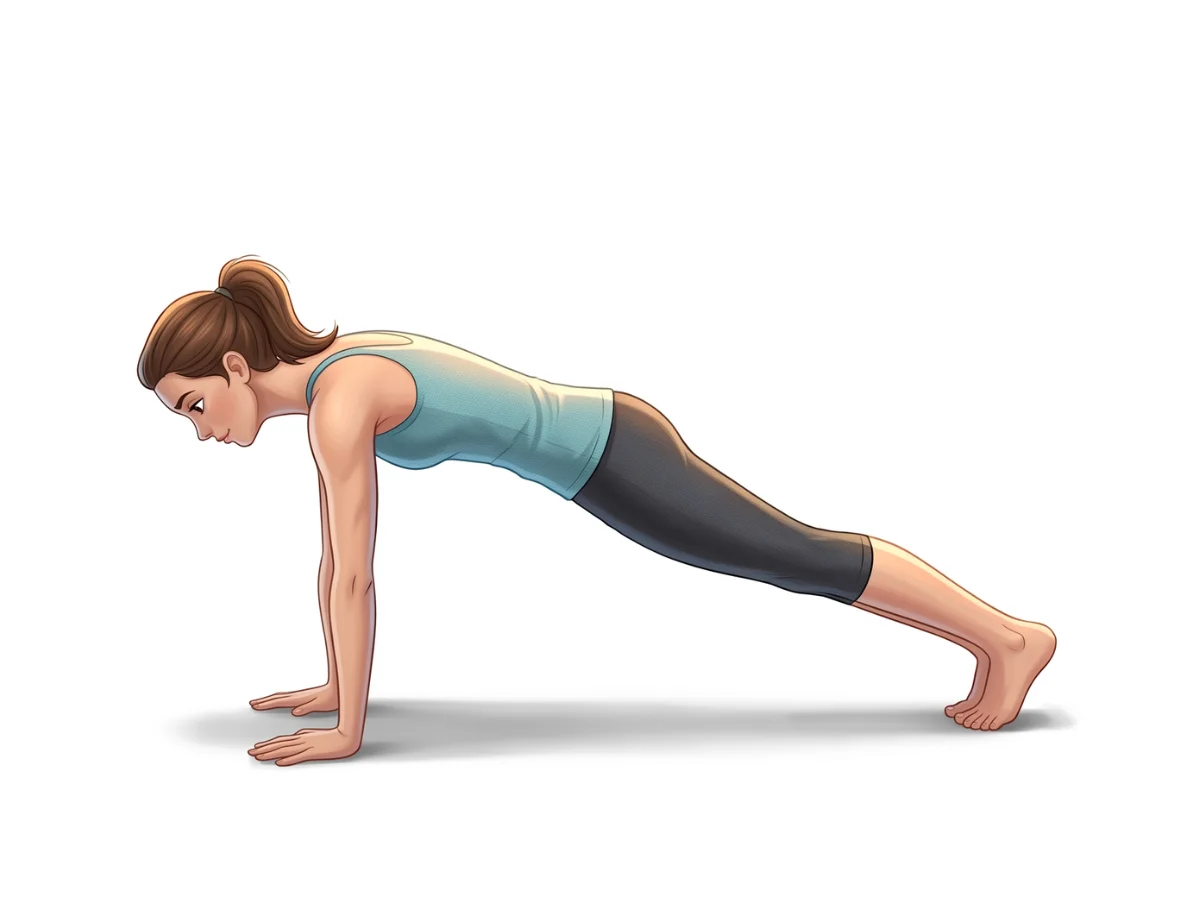
Plank Pose
PhalakasanaBuilds the foundational core and upper body strength needed to support body weight on the hands.
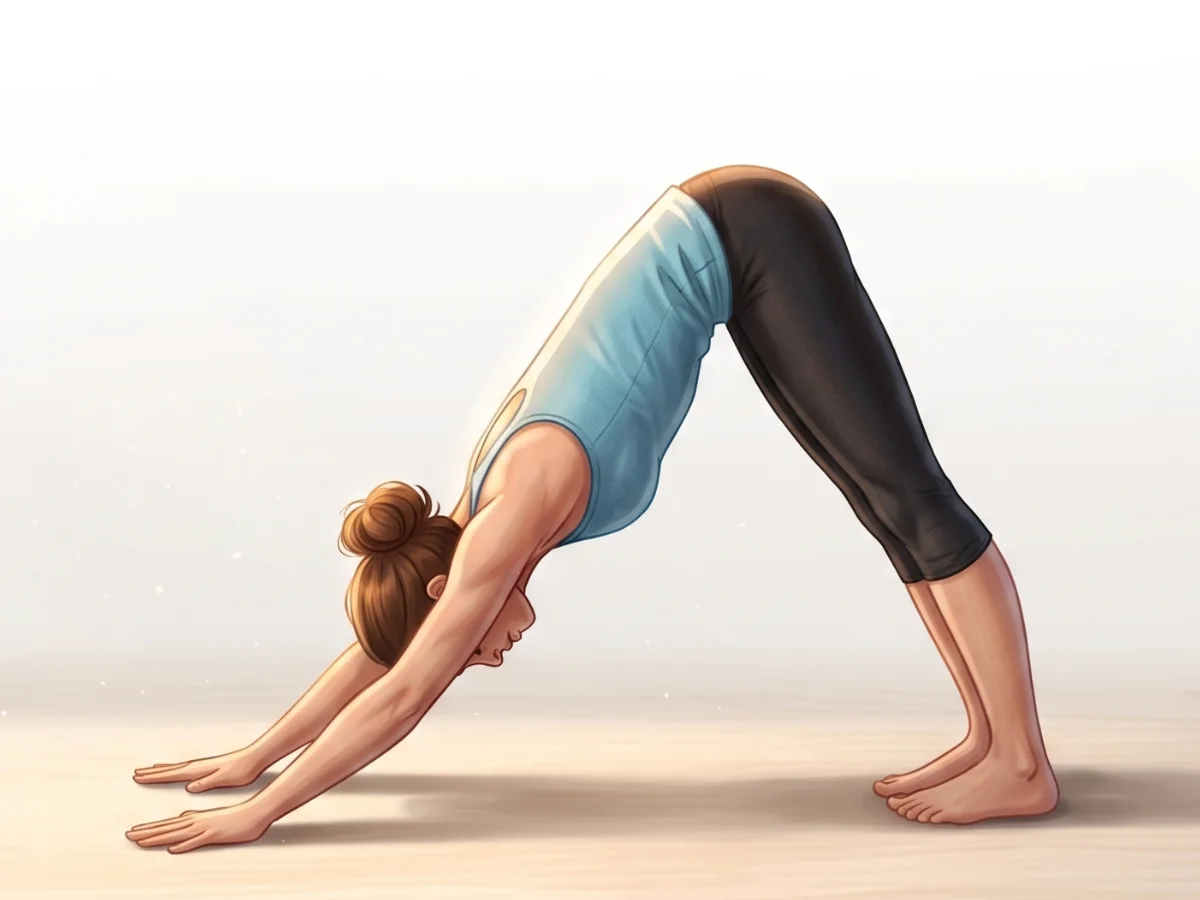
Downward-Facing Dog
Adho Mukha SvanasanaWarms up the shoulders, wrists, and hamstrings prior to deep arm balancing.
Follow with neutralizing Counter-poses
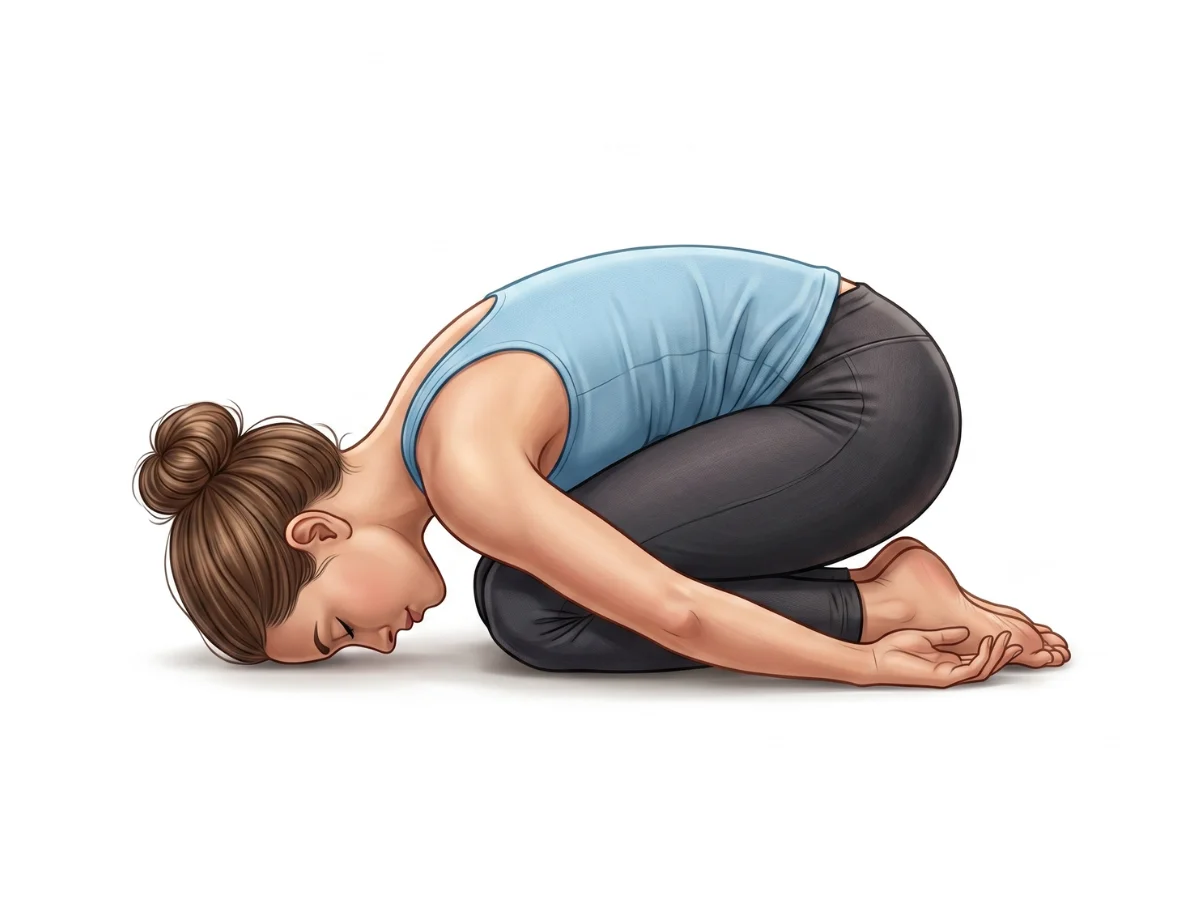
Child's Pose
BalasanaAllows the wrists, shoulders, and core to completely release and rest after intense effort.
Downward-Facing Dog
Adho Mukha SvanasanaStretches out the arms and spine symmetrically following the asymmetrical hold.
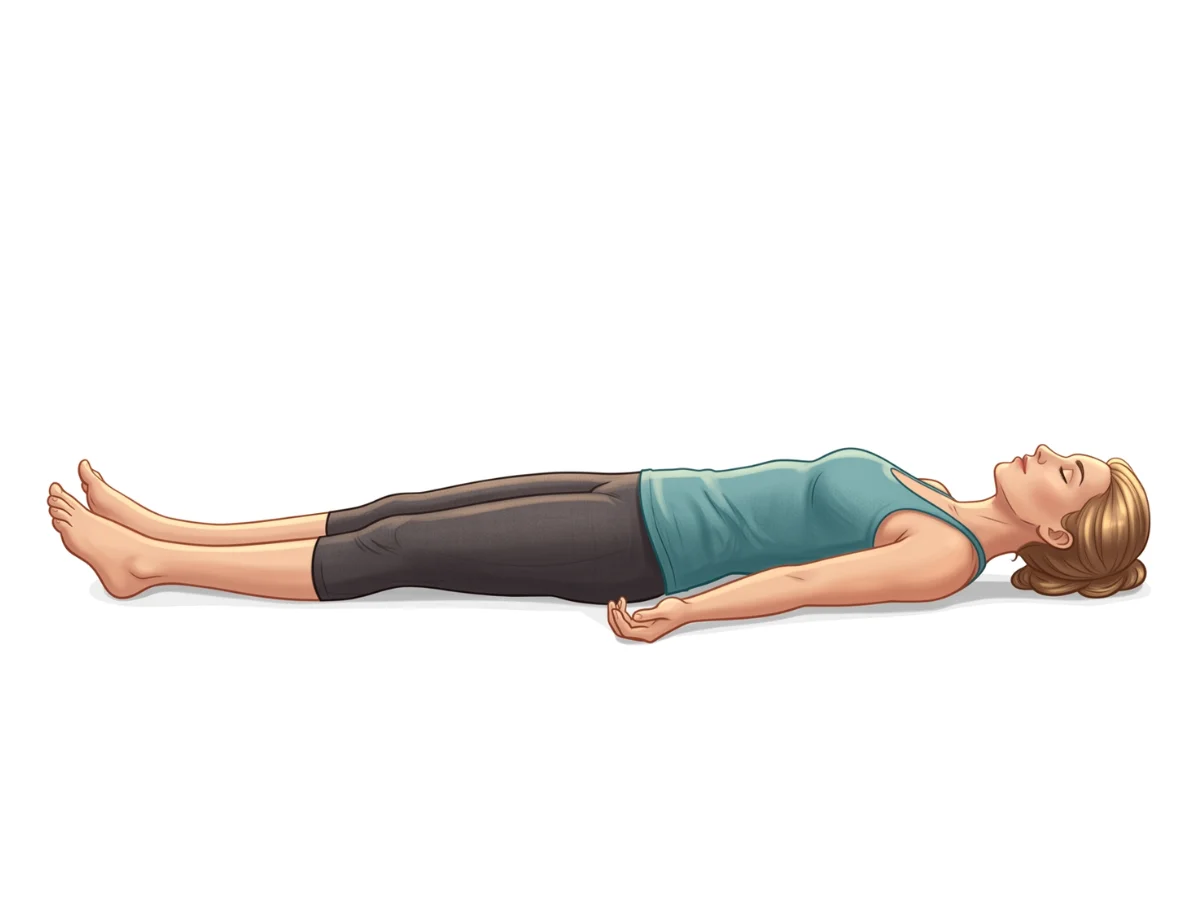
Corpse Pose
SavasanaIntegrates the nervous system and relaxes all muscular tension.
Frequently Asked Questions
How do I stop falling on my face?
Fear of falling often causes practitioners to hold back their weight. You must trust the forward lean; your head acts as a counterweight to your back leg. Keep your gaze forward, not down, and use a block under your shoulder while learning.
My wrists hurt when practicing this. What can I do?
Ensure you are distributing your weight across the entire hand, gripping the mat lightly with your fingertips (the "cambered hand" technique) rather than dumping weight into the heels of your palms. Stretch your wrists thoroughly before and after.
Do I need to be able to do the splits first?
While full splits (Hanumanasana) flexibility helps, it is not strictly required. You can practice Crooked Monkey with slightly bent knees as you build the necessary flexibility and strength simultaneously.
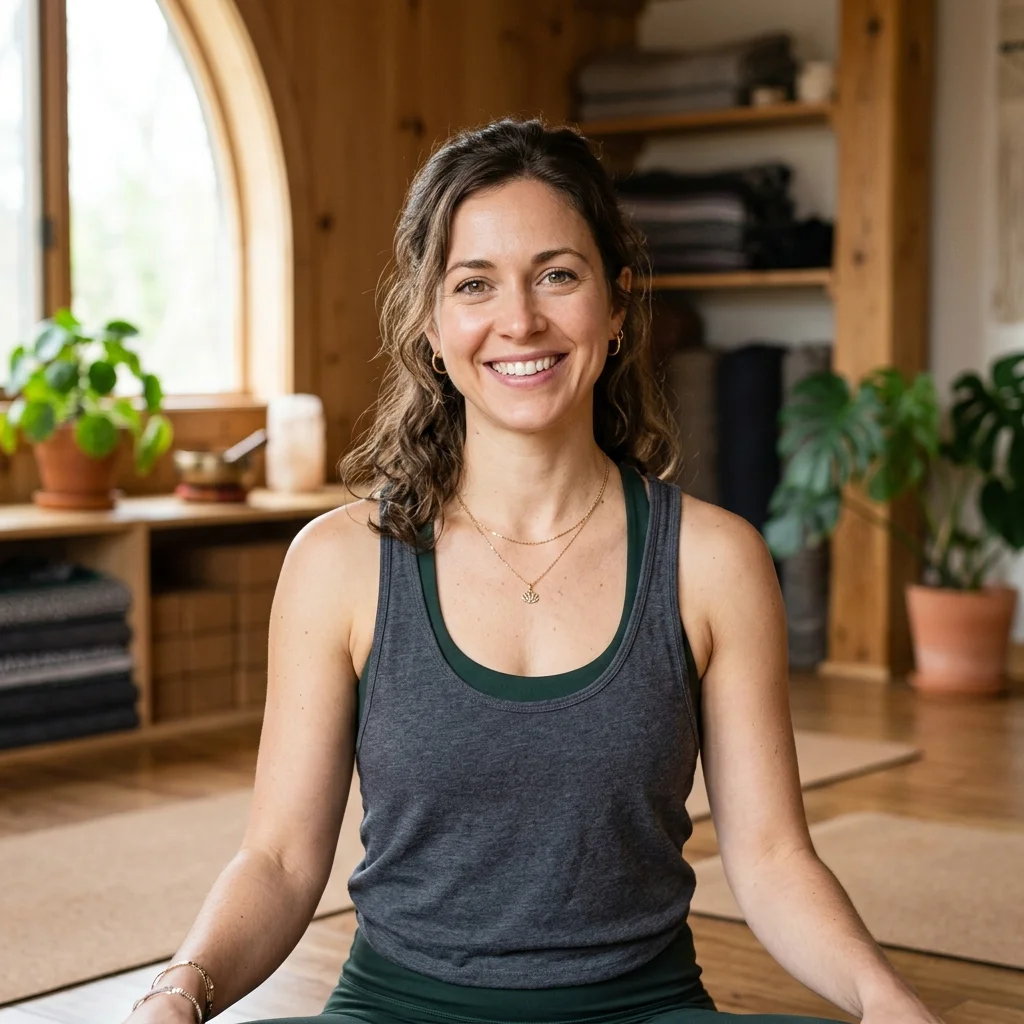
Elena Rostova is an accredited yoga educator and anatomy specialist with over 15 years of clinical experience. She focuses on functional biomechanics and injury prevention, translating complex anatomy into accessible guidance for safe, sustainable practice.
Read Full ProfileContinue Your Yoga Journey
Ready to deepen your practice? Explore our extensive library of poses, or join a structured program designed to build strength, flexibility, and mindfulness.