
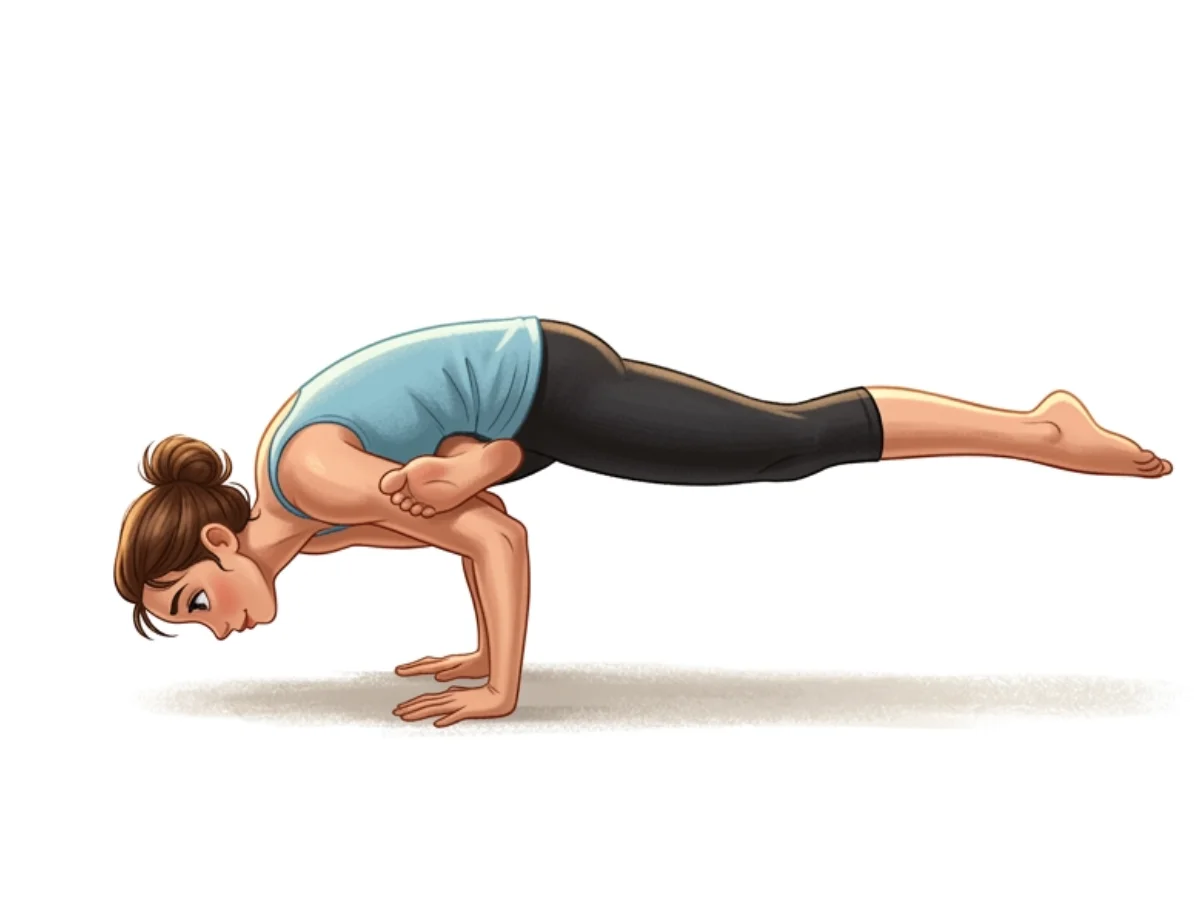
Flying Pigeon
Eka Pada Galavasana
By Elena Rostova Updated: verified Medically Reviewed
Flying Pigeon Pose (Eka Pada Galavasana) is a striking advanced arm balance that combines deep hip opening with intense core and upper body strength. The pose involves hooking one leg around the upper arms while extending the other leg straight back, mimicking a bird taking flight.
Hold Time
10–20 sec · 3–5 breaths
Pronunciation
eh-KAH pah-DAH gah-lah-VAHS-anna
About Flying Pigeon
Drawing inspiration from nature, Flying Pigeon (Eka Pada Galavasana) is a powerful pose that encourages a deep connection to movement. This posture specifically engages the hip opening & arm balance, making it highly effective for developing both strength and mobility. Ultimately, it is a fantastic pose for strengthens upper body, leaving you with a profound sense of grounded energy.
How to Practice
Figure Four Chair
Begin in Chair Pose (Utkatasana). Shift your weight into your left foot, lift your right leg, and cross your right ankle over your left thigh just above the knee, creating a Figure Four shape.
Deepen the Fold
Flex your right foot strongly. Sink your hips deeper and lean your torso forward, placing your fingertips on the floor or on blocks.
Hook the Leg
Hook your right foot firmly around your left upper arm (triceps). Your right knee should rest high up on your right upper arm. This "shelf" is crucial for the balance.
Plant the Hands
Place your palms flat on the mat, shoulder-width apart, fingers spread wide. Bend your elbows straight back like in Chaturanga (Low Push-Up).
Shift Weight Forward
Lean your weight forward into your hands. Gaze slightly ahead of your fingertips, not straight down. Keep your right foot tightly hooked to prevent slipping.
Lift the Back Foot
As you lean forward, the left foot will become light. Squeeze your core and lift your left heel toward your glutes.
Extend the Leg
Once balanced and stable, slowly begin to extend your left leg straight back and up behind you. Squeeze the glute of the extended leg to maintain the lift.
Hold and Breathe
Hold the balance for 3 to 5 smooth breaths. Keep pressing the floor away with your hands to keep your chest lifted.
Exit the Pose
To release, gently bend the extended leg and lower the foot back to the mat. Unhook the right leg, return to a forward fold, and repeat on the other side.
Practice with the Yoga Timer
Keep track of your hold time and breath count for this pose.
Beginner Modifications & Prop Options
Yoga is a personal journey. These modifications and prop options allow you to adapt the pose to your current level of balance and flexibility, ensuring a safe and supportive practice.
Keeping the Back Leg Bent
Stop at the step where your back heel is tucked near your glutes. Do not extend the leg back until you feel completely stable resting on your arms.
Tip: Focus on alignment rather than depth.
Resting the Back Foot on a Block
Place a block behind you and rest your back toes on it while leaning forward. This gives a sense of the arm balance without fully bearing weight.
Tip: Focus on alignment rather than depth.
Focusing on the Figure Four Fold
If you cannot hook the foot securely on the tricep, focus entirely on the Standing Figure Four stretch to open the hips over time.
Tip: Focus on alignment rather than depth.
Benefits of Flying Pigeon
Strengthens Upper Body
Builds powerful triceps, shoulders, and chest muscles by supporting the body's weight.
Deep Hip Opener
Provides an intense stretch to the piriformis and external rotators of the bent leg.
Tones the Core
Demands significant abdominal engagement to lift and hold the extended leg in the air.
Enhances Balance and Coordination
Improves proprioception and focus by integrating multiple complex actions simultaneously.
Cultivates Courage
Arm balances require facing the fear of falling, building mental resilience and confidence.
Common Mistakes to Avoid
Mistake: Not Flexing the Hooked Foot
How to fix: Keep the foot of the bent leg strongly flexed. This locks it securely around the tricep and protects the knee joint.
Mistake: Looking Straight Down
How to fix: Always gaze slightly forward. Looking down will make you roll forward and lose balance.
Mistake: Elbows Splaying Out
How to fix: Hug your elbows in toward your ribs, keeping them parallel like in Chaturanga, to create a sturdy foundation.
Safety and Precautions
Wrist Injuries
Heavy weight bearing on flexed wrists can aggravate carpal tunnel or sprains.
Knee Injuries
The hooked leg position places torque on the knee; avoid if you have meniscus or ligament tears.
Hip or Lower Back Issues
The intense external rotation and lifting can exacerbate sciatica or sacroiliac joint pain.
Medical Disclaimer: If you have any of the above conditions, consult your doctor or a qualified yoga instructor before attempting this pose.
Muscles Worked in Flying Pigeon
Flying Pigeon demands synchronized muscular effort, creating a profound sense of engagement and release throughout the body. The activation of the primary muscles supports the structure, while the secondary muscles provide stability and balance.
Primary Muscles
Triceps and Pectorals
Support the body weight and maintain the bent-arm shelf.
Gluteus Maximus
Engages to lift and hold the extended back leg high.
Piriformis
Stretched deeply in the bent, hooked leg.
Secondary Muscles
Rectus Abdominis
Maintains core stability to bridge the upper and lower body.
Hamstrings
Actively extend the back leg straight.
Wrist Flexors
Stabilize the hands against the floor.
Poses to Practice Before and After Flying Pigeon
Prepare with these Poses
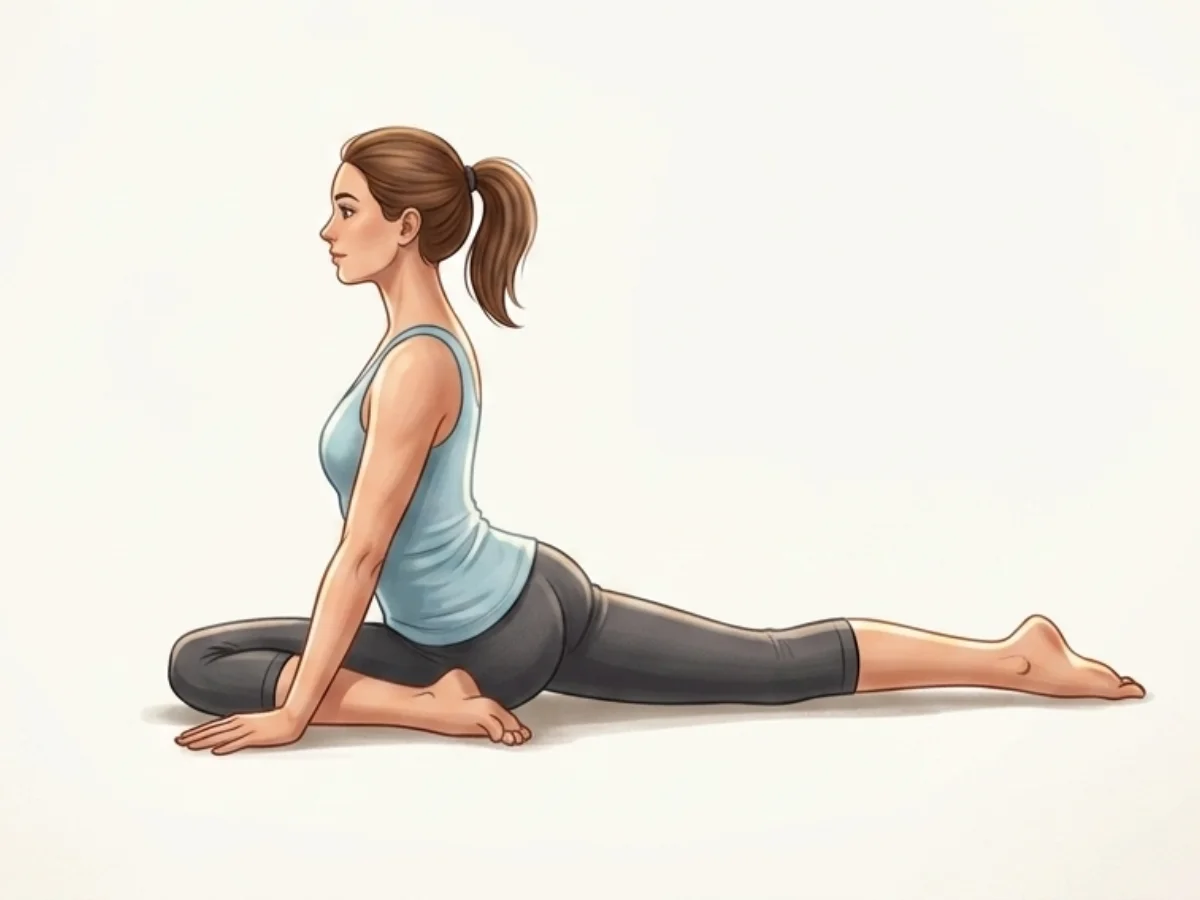
Half Pigeon Pose
Ardha KapotasanaOpens the hips deeply, preparing them for the Figure Four shape.
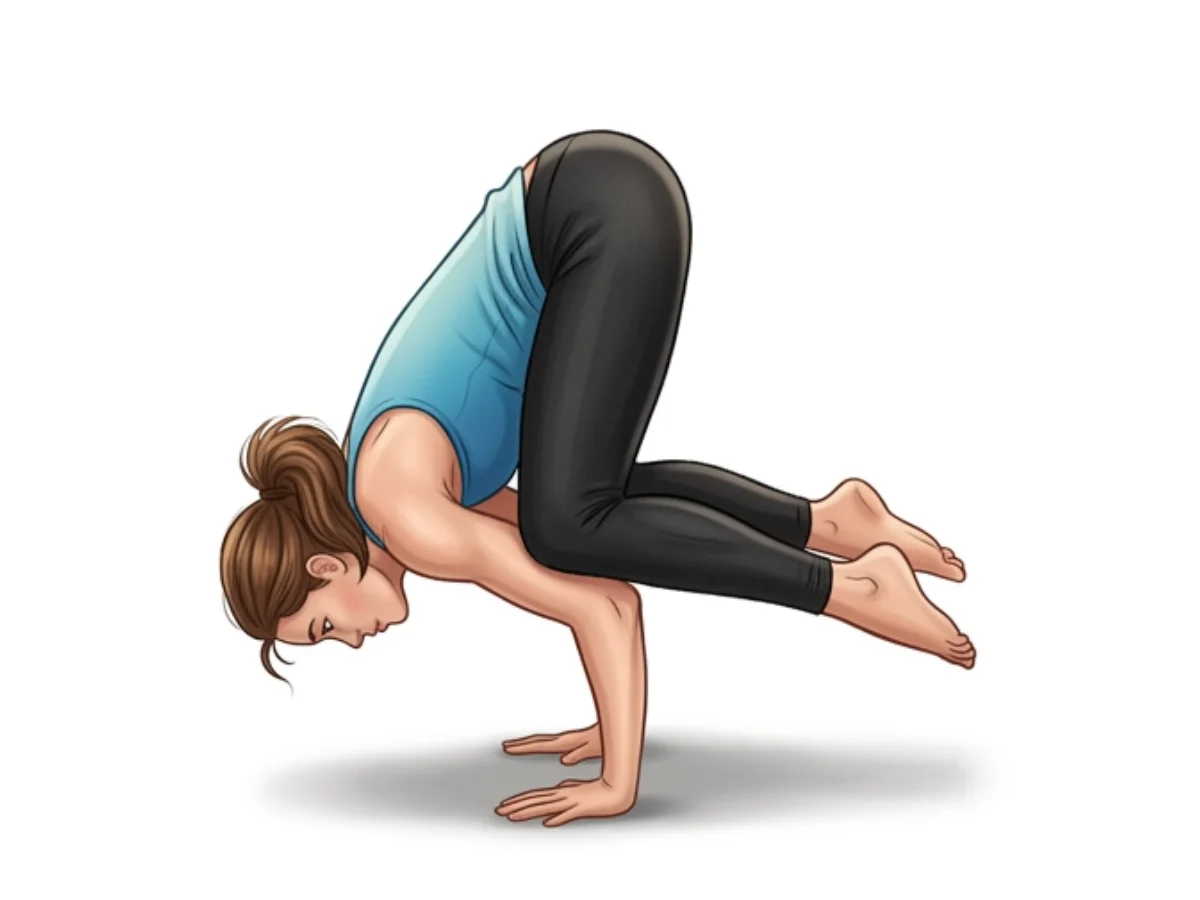
Crow Pose
BakasanaTeaches the mechanics of shifting weight forward onto the hands.
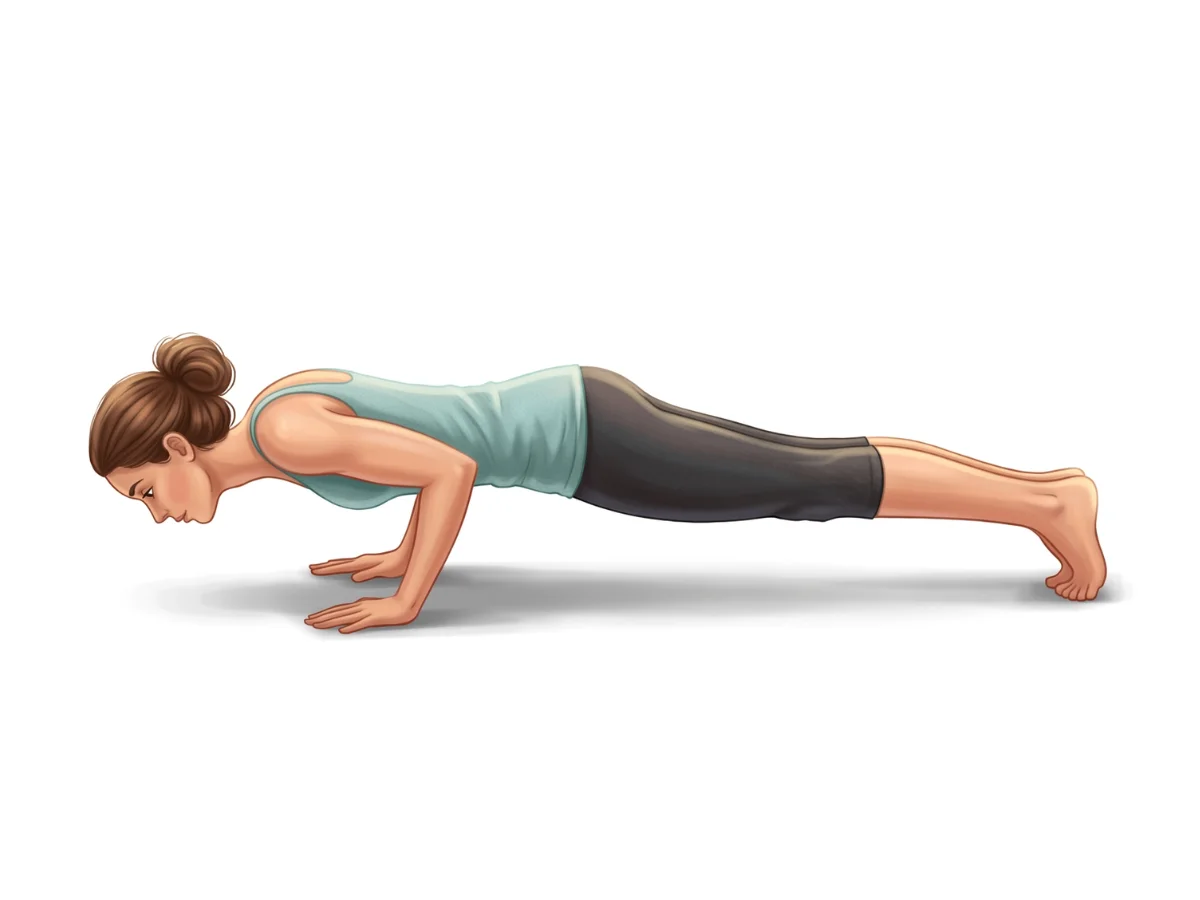
Low Push-Up
Chaturanga DandasanaBuilds the foundational arm strength required for the "shelf".
Follow with neutralizing Counter-poses
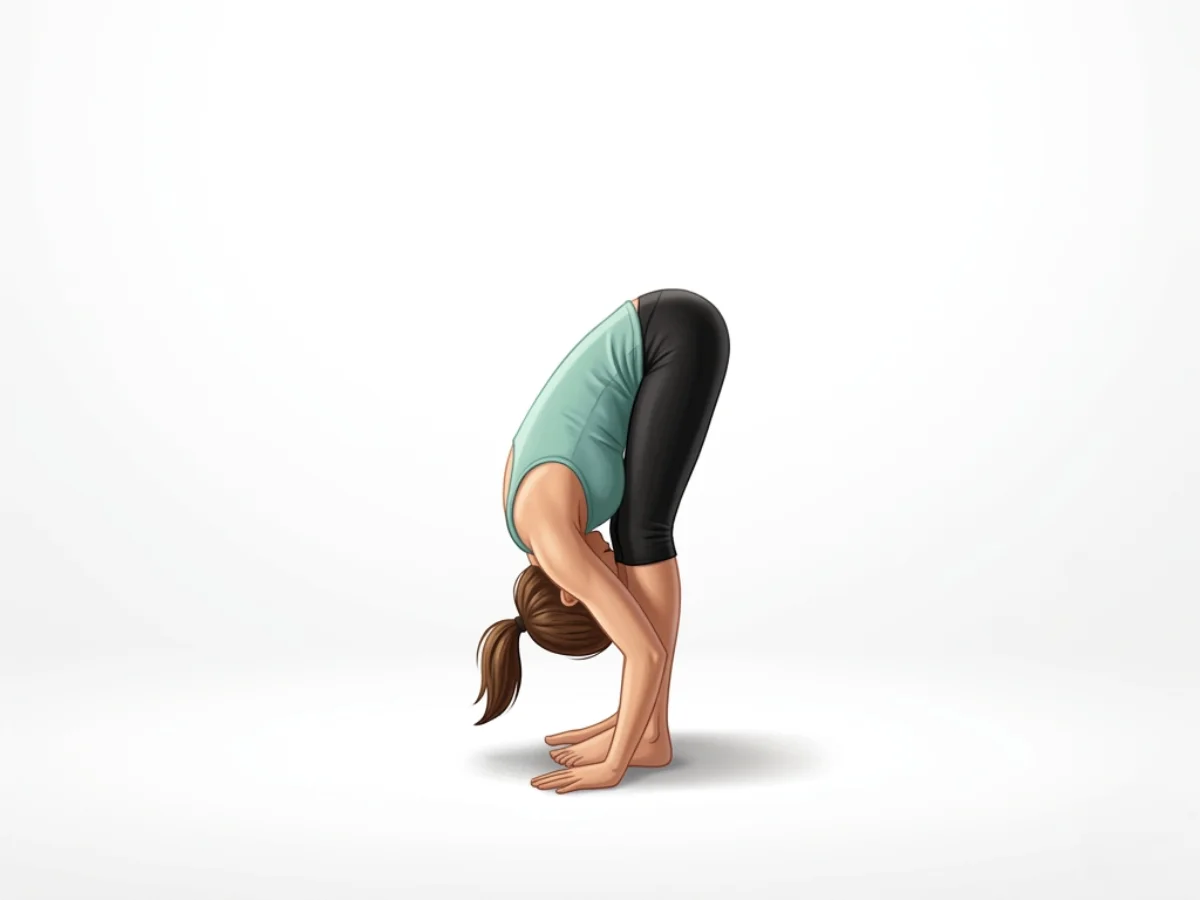
Standing Forward Bend
UttanasanaReleases tension in the lower back and hips after the balance.
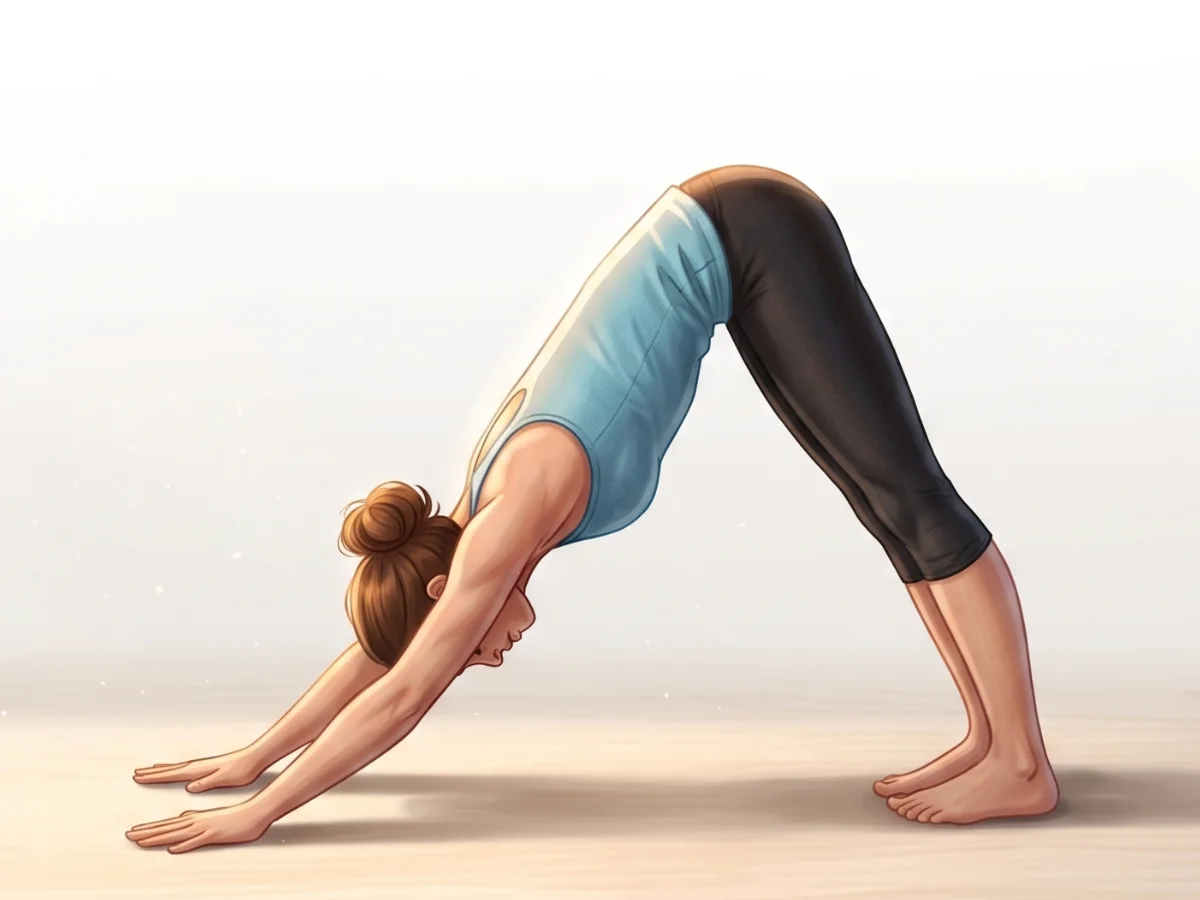
Downward-Facing Dog
Adho Mukha SvanasanaStretches the arms, shoulders, and legs, re-establishing symmetry.
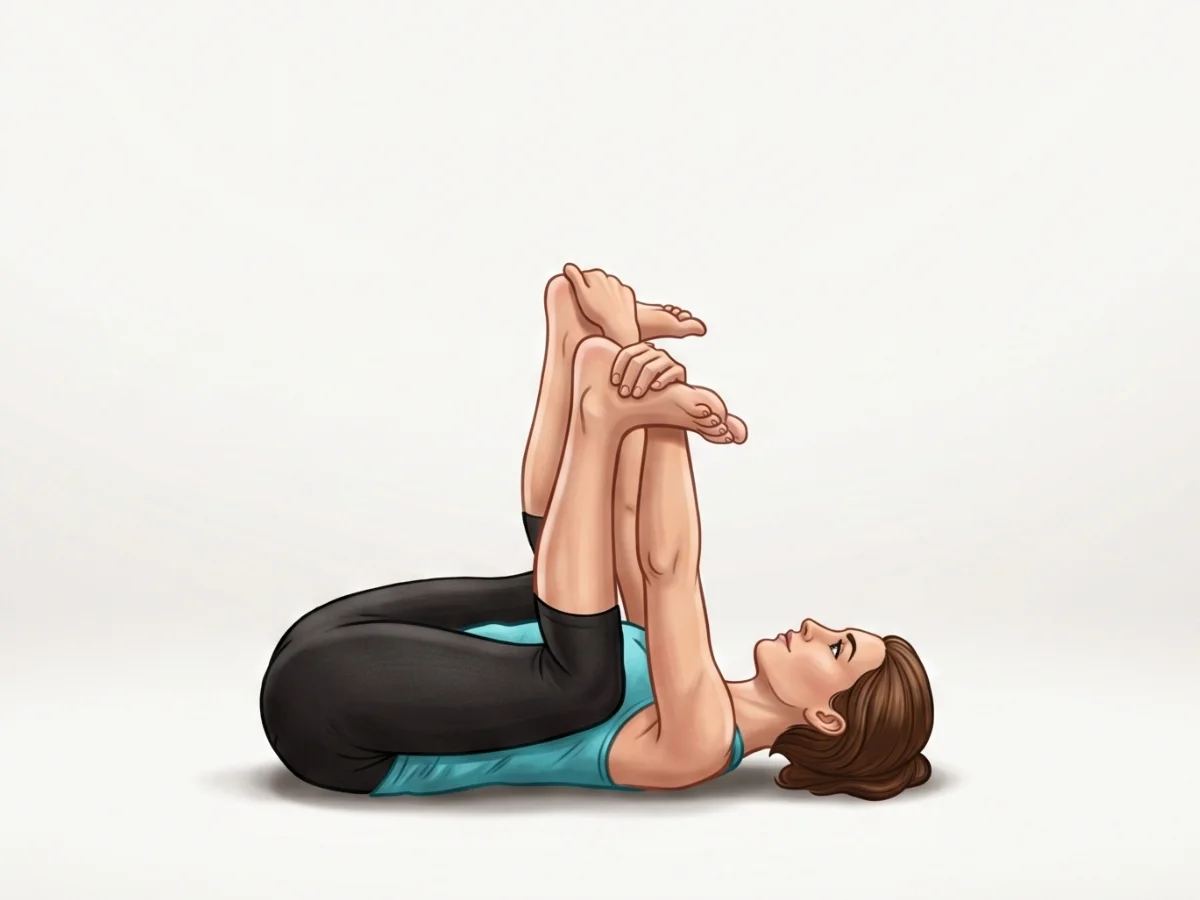
Happy Baby Pose
Ananda BalasanaGently releases the hips and lower back in a supine position.
Frequently Asked Questions
My foot keeps sliding off my arm. What can I do?
Ensure your foot is strongly flexed, wrapping the toes around the tricep. If you are wearing long sleeves, fabric can be slippery—try practicing with bare arms. Also, make sure your knee is resting high up near the armpit.
Is it normal to feel pressure on my triceps?
Yes, the shin and foot rest heavily on the triceps. It can feel uncomfortable at first, but over time, your arms will get used to the pressure. Do not push through sharp joint pain, but muscle pressure is normal.

Elena Rostova is an accredited yoga educator and anatomy specialist with over 15 years of clinical experience. She focuses on functional biomechanics and injury prevention, translating complex anatomy into accessible guidance for safe, sustainable practice.
Read Full ProfileContinue Your Yoga Journey
Ready to deepen your practice? Explore our extensive library of poses, or join a structured program designed to build strength, flexibility, and mindfulness.