
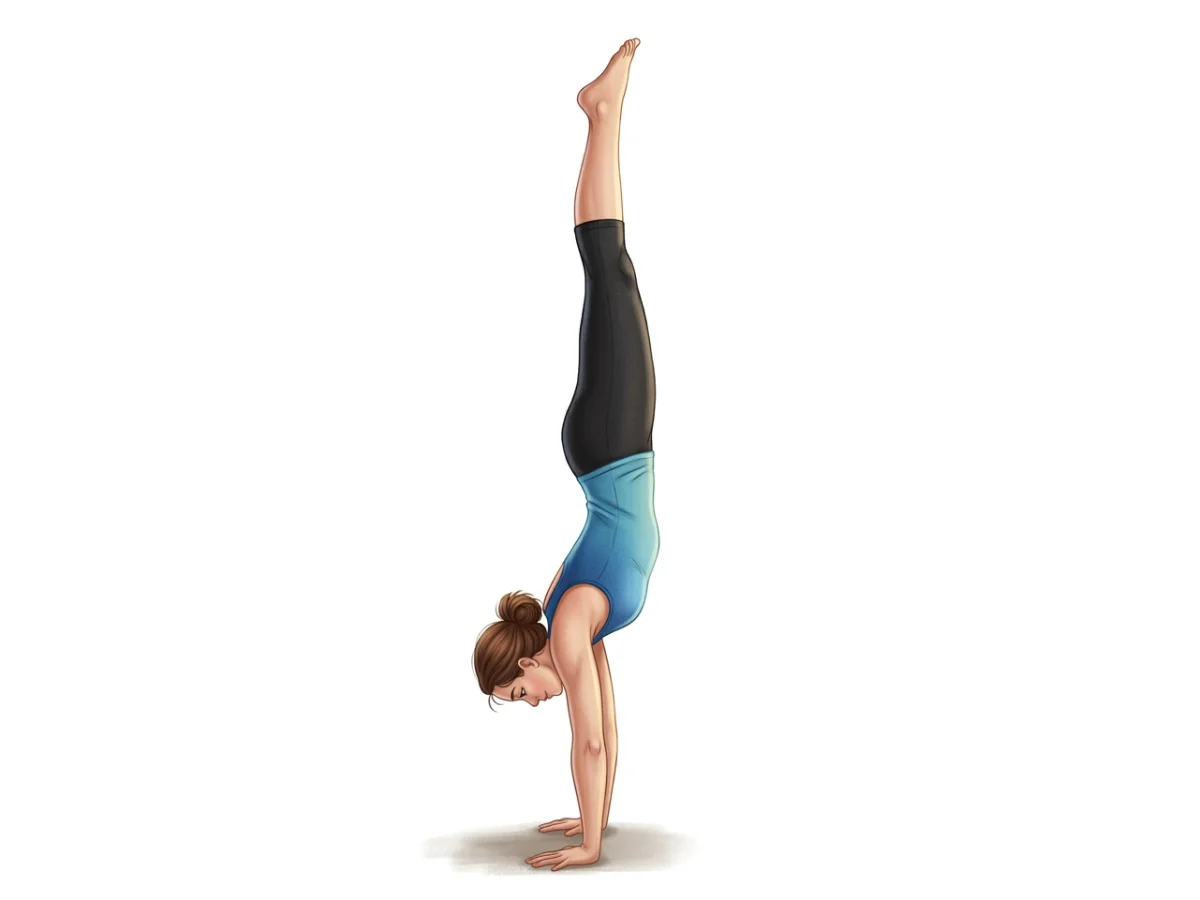
Handstand
Adho Mukha Vrksasana
By Elena Rostova Updated: verified Medically Reviewed
Handstand (Adho Mukha Vrksasana), directly translated as Downward-Facing Tree Pose, is the pinnacle of inversions in modern yoga. It demands full-body integration, combining profound upper-body strength, core stability, and precise alignment to balance entirely on the hands.
Hold Time
10–30 sec · 3–5 breaths
Pronunciation
ah-doh moo-kah vrik-SHAHS-anna
About Handstand
A vital part of many yoga sequences, Handstand (Adho Mukha Vrksasana) offers wonderful benefits that go beyond its simple shape. By gently focusing on total body strength & balance, it actively stretches your muscles and builds heat. Over time, adding this to your routine is a great way to support builds total upper body strength while calming the mind.
How to Practice
Start in Downward Dog
Begin in Downward-Facing Dog. Ensure your hands are shoulder-width apart, fingers spread wide with index fingers pointing forward.
Shorten Your Stance
Walk your feet in slightly, bringing your shoulders directly over your wrists. Keep your arms completely straight.
Gaze Point
Look at the floor slightly forward of your fingertips. Keep your gaze steady.
Lift One Leg
Lift your dominant leg straight up behind you into a Standing Splits variation. Keep the leg strong and engaged.
Push and Hop
Bend your bottom knee slightly, then push off the ball of the bottom foot while simultaneously swinging the top leg upward.
Find the Balance
As your hips stack over your shoulders, bring the bottom leg up to meet the top leg. Squeeze your inner thighs together.
Engage Core and Glutes
Draw your lower ribs in, engage your abdominals, and squeeze your glutes to maintain a straight, vertical line without arching the back.
Press the Floor Away
Actively push down through your palms, extending through the shoulders to lift out of your joints. Reach upward through your toes.
Release Safely
To come down, slowly lower one leg at a time to the floor, returning to Downward-Facing Dog, then rest in Child's Pose.
Practice with the Yoga Timer
Keep track of your hold time and breath count for this pose.
Beginner Modifications & Prop Options
Yoga is a personal journey. These modifications and prop options allow you to adapt the pose to your current level of balance and flexibility, ensuring a safe and supportive practice.
L-Shape at the Wall
Sit facing the wall to measure leg distance. Turn around, place hands where hips were, and walk feet up the wall until your body forms a 90-degree angle (legs parallel to floor).
Tip: Focus on alignment rather than depth.
Kick Up Against a Wall
Place your hands a few inches from a wall. Kick up, allowing your heels to lightly rest against the wall. Slowly practice pulling one foot away from the wall to find balance.
Tip: Focus on alignment rather than depth.
Benefits of Handstand
Builds Total Upper Body Strength
Intensely strengthens the wrists, arms, shoulders, and upper back.
Develops Core Stability
Requires massive core engagement to prevent the back from overarching.
Boosts Energy and Circulation
As a full inversion, it increases blood flow to the brain, stimulating the nervous system.
Enhances Proprioception
Improves spatial awareness, balance, and intense mental focus.
Common Mistakes to Avoid
Mistake: Bending the Arms
How to fix: Keep the arms completely straight and locked. Bending the elbows relies entirely on muscle rather than bone stacking, causing rapid fatigue.
Mistake: "Banana Back"
How to fix: Do not let your lower back arch wildly. Zip your front ribs down, tuck your pelvis slightly, and squeeze your glutes to maintain a straight line.
Safety and Precautions
Wrist or Shoulder Injuries
Handstand places immense load on these joints; avoid if injured or recovering.
High Blood Pressure
The inversion increases blood pressure in the head and chest.
Glaucoma
Increased ocular pressure can be dangerous for eye conditions.
Medical Disclaimer: If you have any of the above conditions, consult your doctor or a qualified yoga instructor before attempting this pose.
Muscles Worked in Handstand
Handstand demands synchronized muscular effort, creating a profound sense of engagement and release throughout the body. The activation of the primary muscles supports the structure, while the secondary muscles provide stability and balance.
Primary Muscles
Deltoids
Stabilize and elevate the shoulder girdle.
Triceps Brachii
Keep the elbows locked out and straight.
Rectus Abdominis
Maintains spinal alignment and prevents overarching.
Secondary Muscles
Latissimus Dorsi
Assists in shoulder stability.
Gluteus Maximus
Squeezes to keep the legs straight and aligned.
Poses to Practice Before and After Handstand
Prepare with these Poses
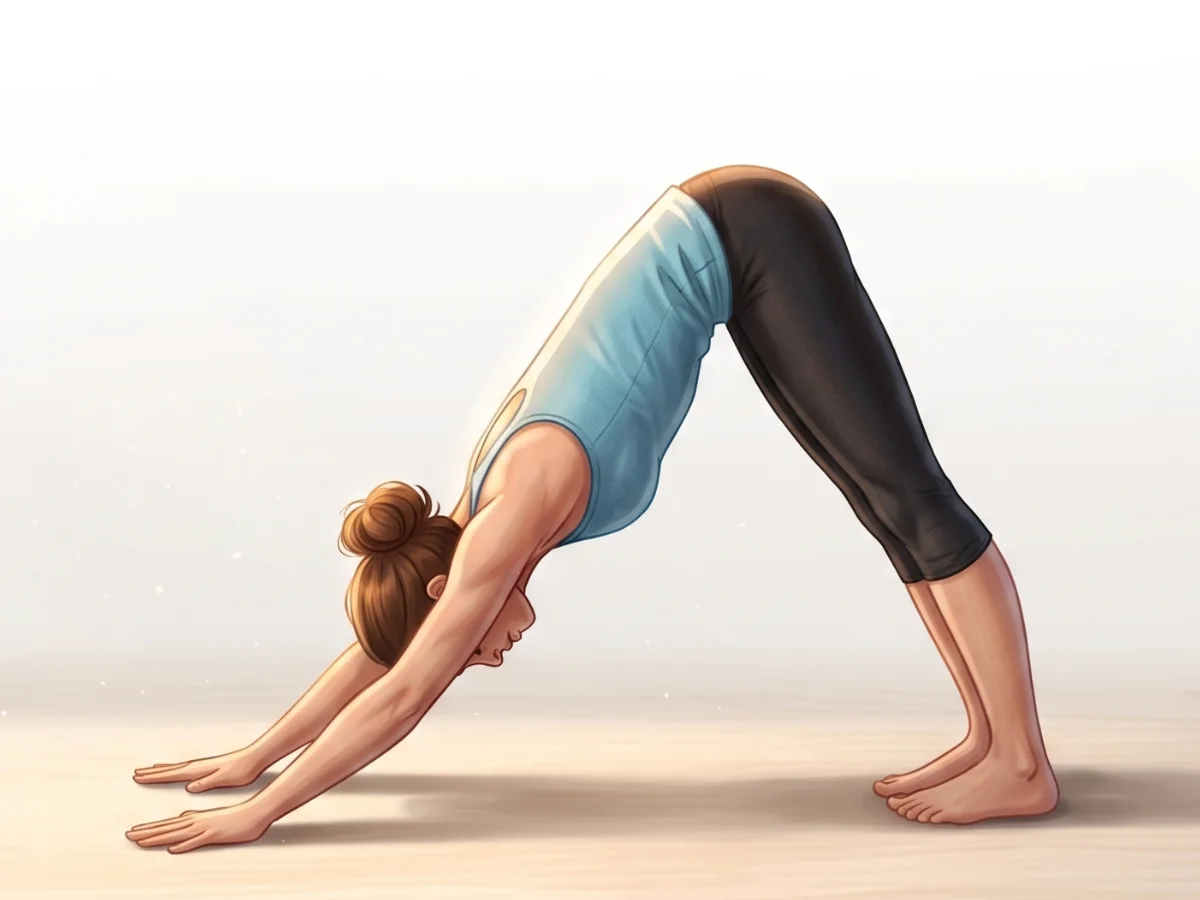
Downward-Facing Dog
Adho Mukha SvanasanaOpens the shoulders and hamstrings, establishing the foundational arm alignment.
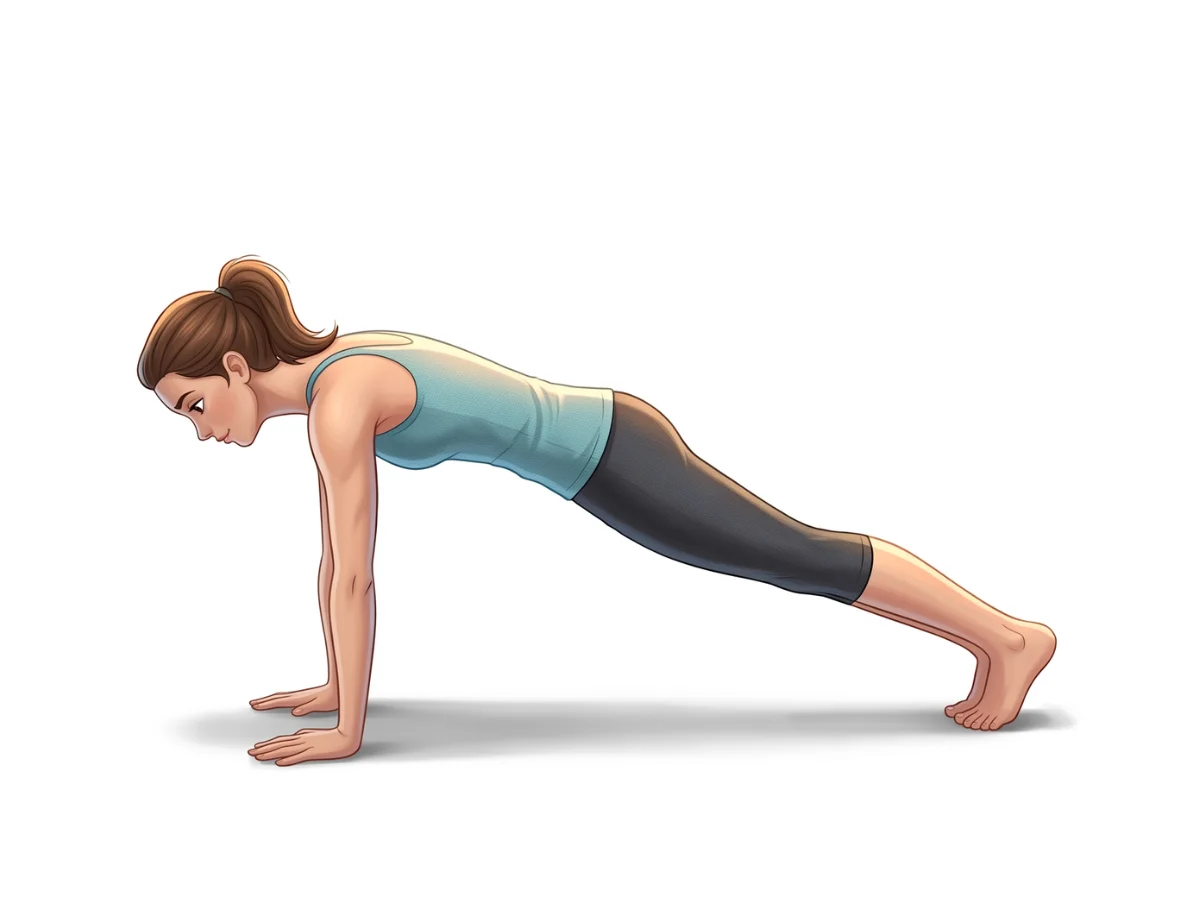
Plank Pose
PhalakasanaBuilds straight-arm strength and core integration.
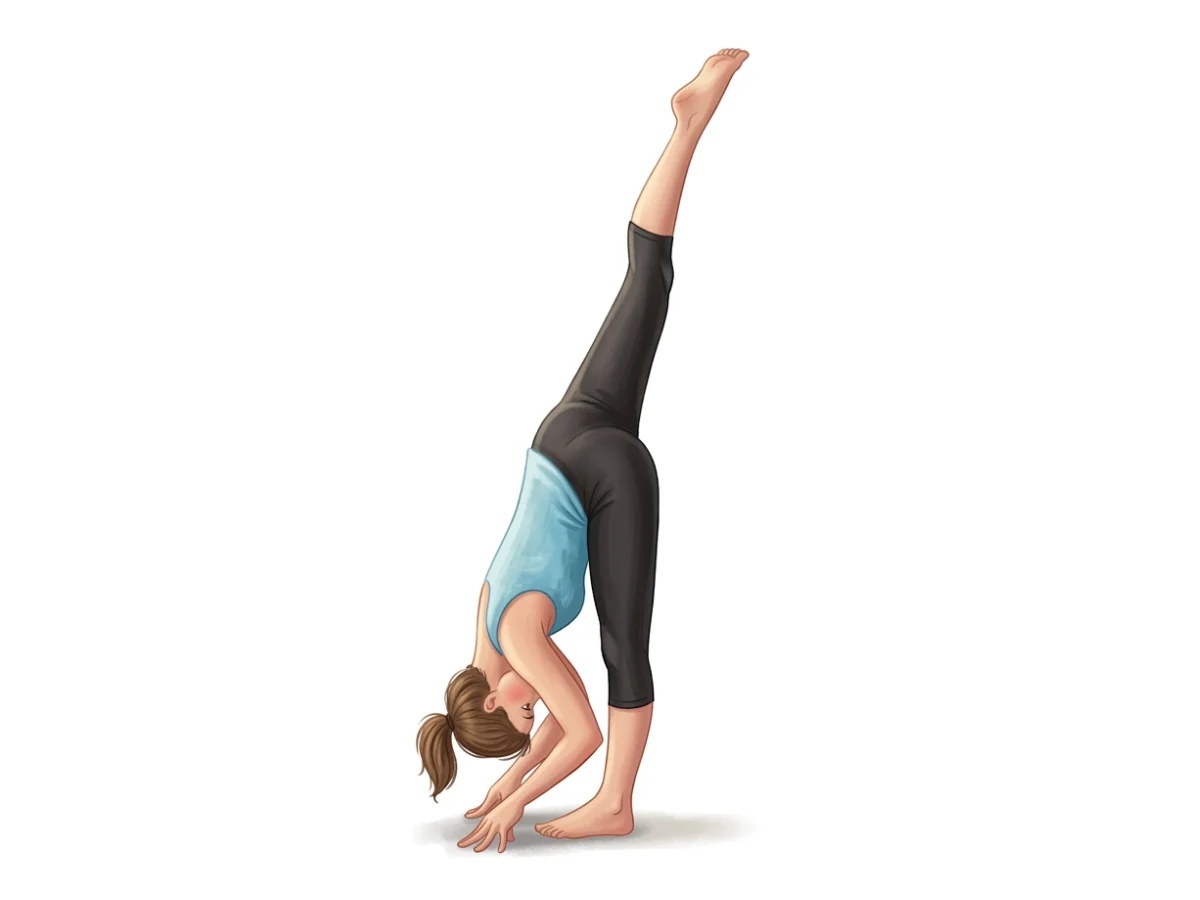
Standing Splits
Urdhva Prasarita Eka PadasanaPrepares the legs and hips for the initial kick-up motion.
Follow with neutralizing Counter-poses
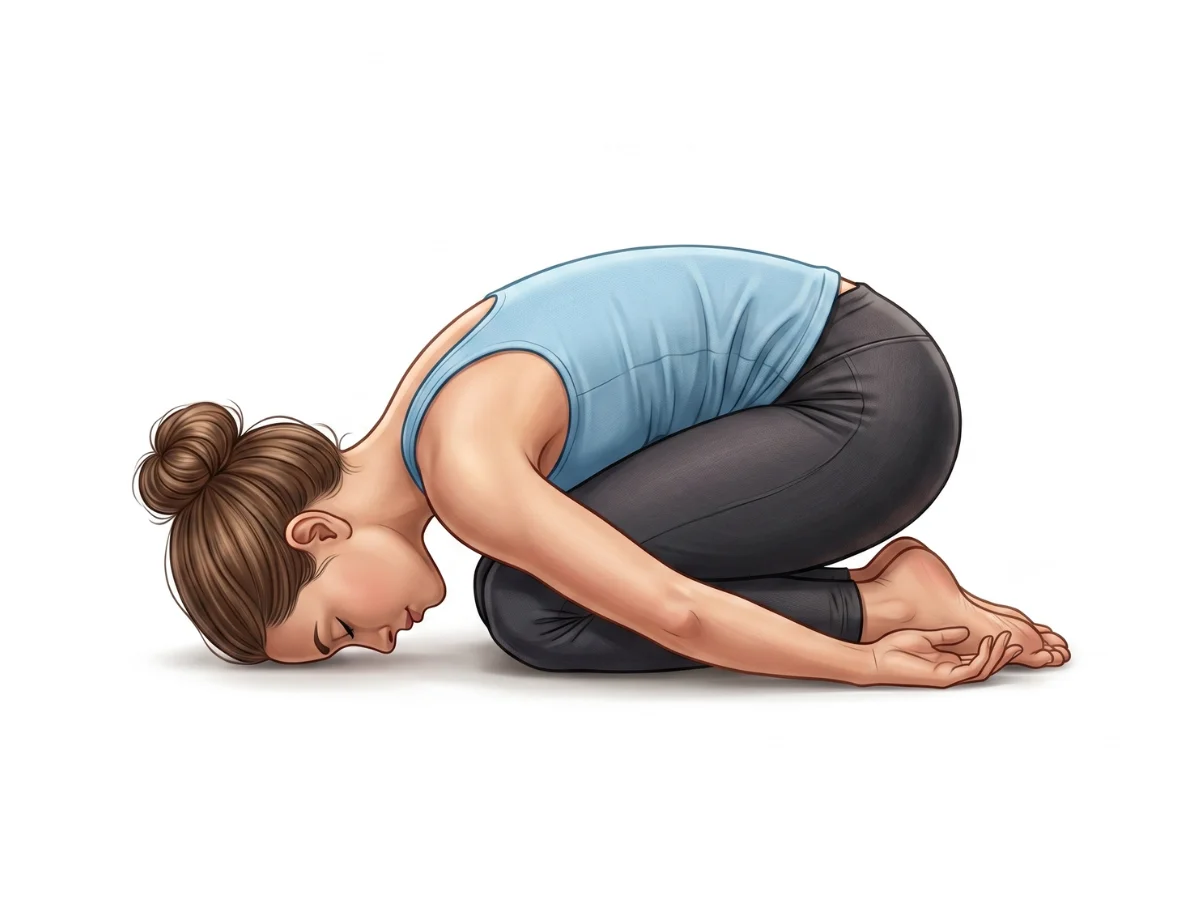
Child's Pose
BalasanaAllows the body to rest, blood pressure to normalize, and wrists to recover.
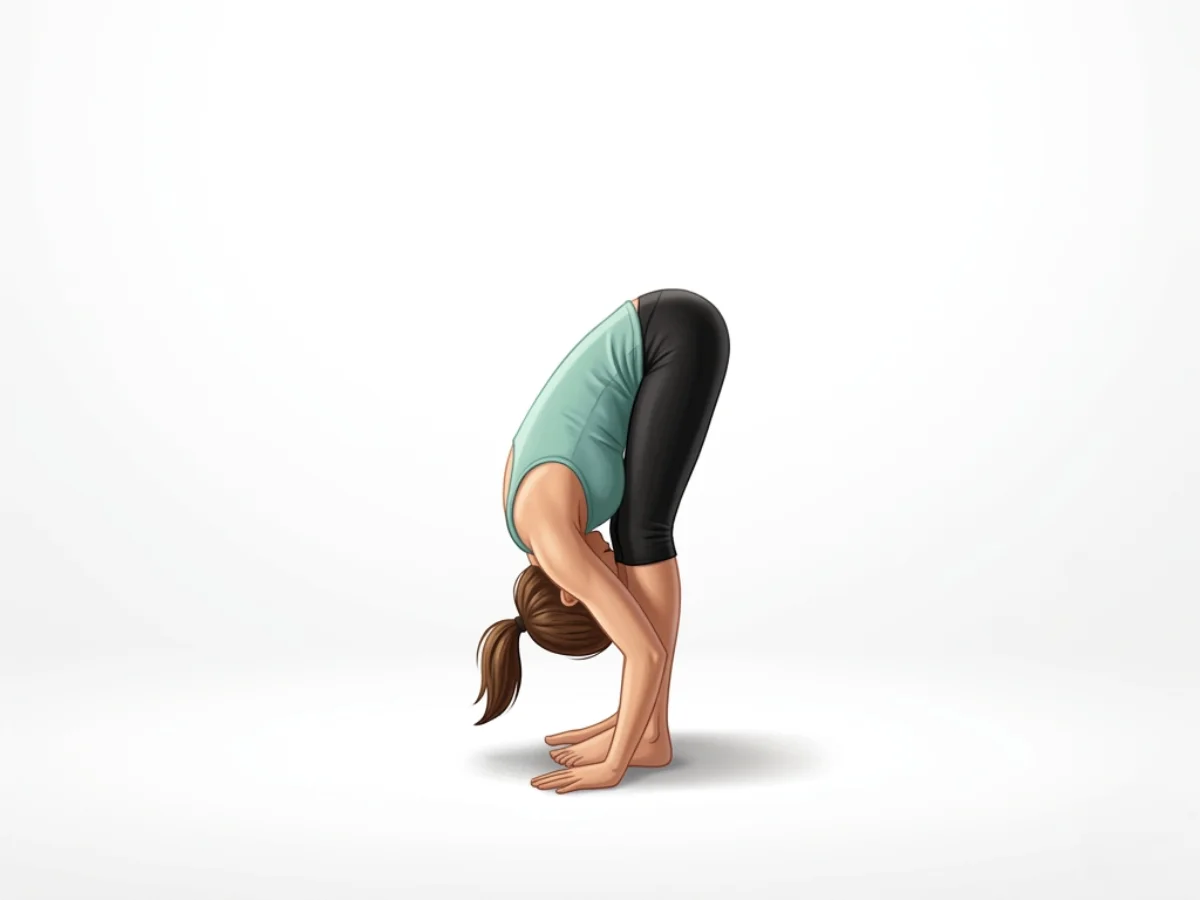
Standing Forward Bend
UttanasanaRelieves tension in the neck and shoulders after holding weight.
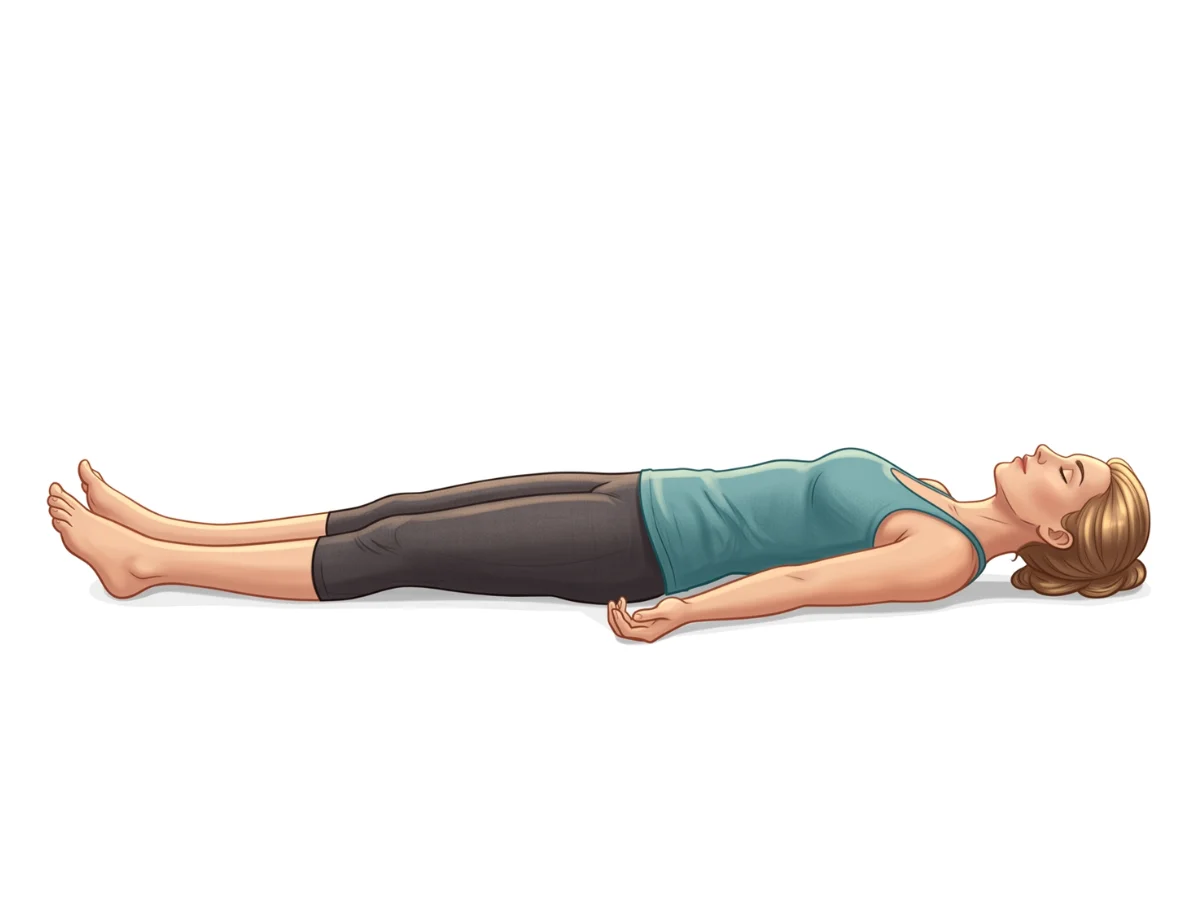
Corpse Pose
SavasanaProvides deep rest and integration after intense exertion.
Frequently Asked Questions
How long does it take to learn a Handstand?
It varies wildly. For some, it takes months; for others, years. Consistent practice focusing on wrist health, shoulder mobility, and core strength is more important than rushing to balance.
How do I safely fall out of a Handstand?
Learn to cartwheel out. If you feel yourself falling past the balance point, step one hand slightly forward and twist your hips to land safely on your feet sideways.
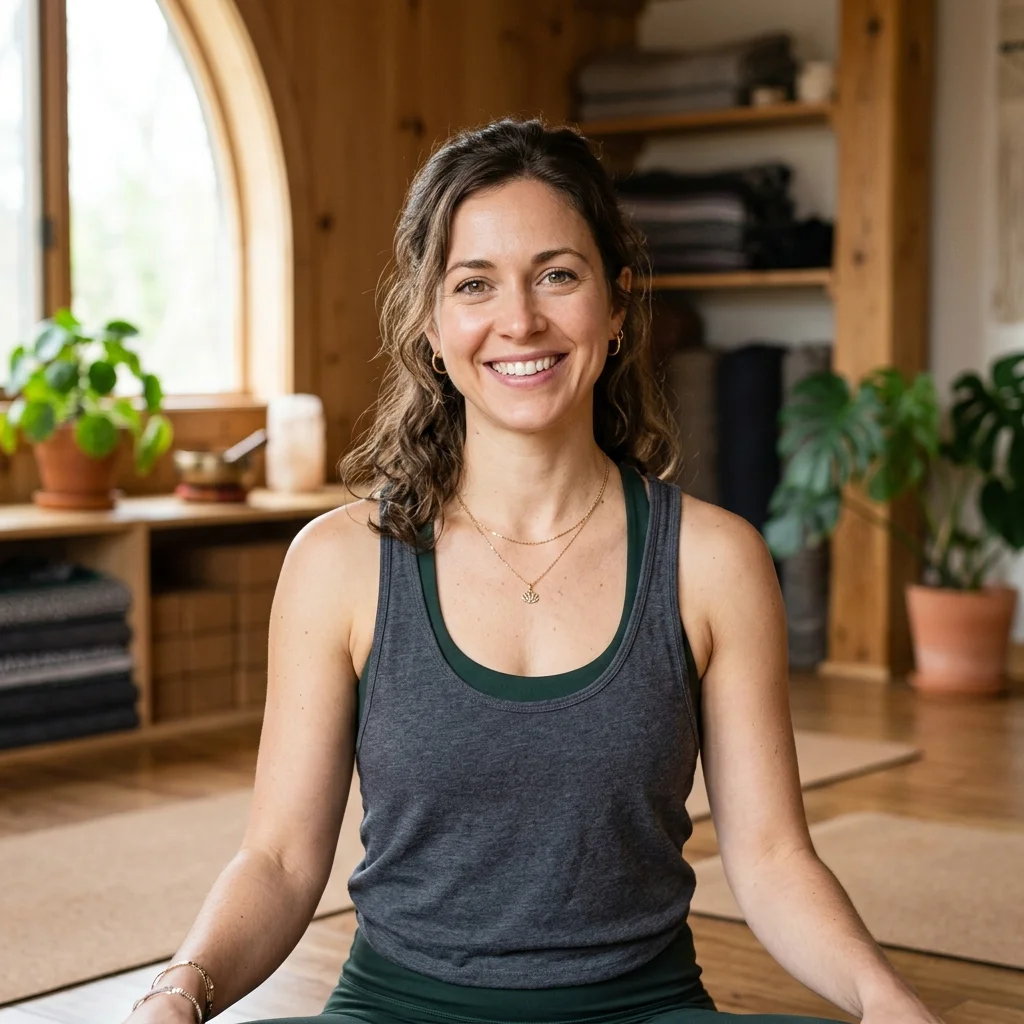
Elena Rostova is an accredited yoga educator and anatomy specialist with over 15 years of clinical experience. She focuses on functional biomechanics and injury prevention, translating complex anatomy into accessible guidance for safe, sustainable practice.
Read Full ProfileContinue Your Yoga Journey
Ready to deepen your practice? Explore our extensive library of poses, or join a structured program designed to build strength, flexibility, and mindfulness.