
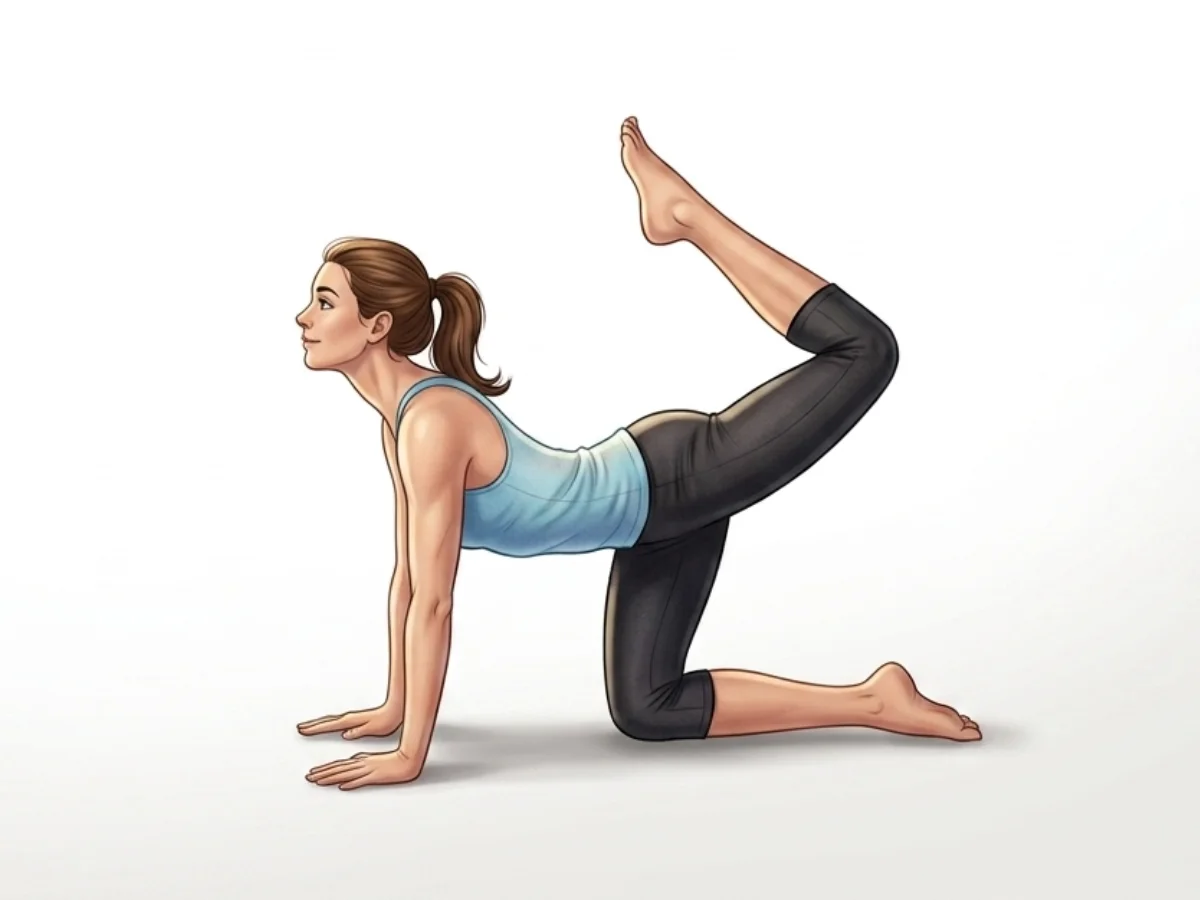
Tiger
Vyaghrasana
By Elena Rostova Updated: verified Medically Reviewed
Tiger Pose (Vyaghrasana) is an accessible, dynamic kneeling posture that warms up the spine, stretches the abdominal muscles, and activates the glutes. Mimicking a waking tiger stretching its limbs, it helps release tension in the lower back while gently engaging the core.
Hold Time
5–8 breaths per side
Pronunciation
vyah-GRAHS-anna
About Tiger
Drawing inspiration from nature, Tiger (Vyaghrasana) is a powerful pose that encourages a deep connection to movement. This posture specifically engages the spinal mobility & core activation, making it highly effective for developing both strength and mobility. Practicing this pose regularly helps with warms up the spine and leaves you feeling completely refreshed.
How to Practice
Tabletop Foundation
Begin on your hands and knees in Tabletop position. Ensure your wrists are directly under your shoulders and your knees are under your hips.
Inhale and Extend
Inhale deeply as you sweep your right leg back and up toward the ceiling, bending your right knee so the sole of your foot points upward.
Arch the Back
As the leg lifts, gently dip your belly toward the floor and lift your chest and gaze upward, creating a mild backbend similar to Cow Pose.
Reach Back (Optional)
For a deeper stretch and balance challenge, reach your left hand back to grasp your right ankle or foot, kicking the foot into the hand.
Hold and Breathe
Hold the extended position for 5 to 8 steady breaths, keeping your core engaged to protect your lower back.
Exhale and Curl
Exhale as you release the foot (if holding it) and swing your right knee forward underneath your torso, aiming to touch your nose to your knee while rounding your spine like a Cat.
Release and Repeat
Inhale to return to Tabletop position, or repeat the dynamic movement for several rounds before switching to the left leg.
Practice with the Yoga Timer
Keep track of your hold time and breath count for this pose.
Beginner Modifications & Prop Options
Yoga is a personal journey. These modifications and prop options allow you to adapt the pose to your current level of balance and flexibility, ensuring a safe and supportive practice.
Pad the Knees
Place a folded blanket or double-roll your yoga mat under your knees for extra cushioning.
Tip: Focus on alignment rather than depth.
Keep the Leg Straight
Instead of bending the knee and arching deeply, simply extend the leg straight back, keeping the spine neutral like in Bird Dog pose.
Tip: Focus on alignment rather than depth.
Forearm Support
Practice the pose by lowering onto your forearms instead of pressing into your palms, keeping the elbows under the shoulders.
Tip: Focus on alignment rather than depth.
Benefits of Tiger
Warms Up the Spine
The dynamic arching and rounding gently mobilizes the vertebrae, reducing stiffness in the back and neck.
Activates Core and Glutes
Lifting the leg engages the gluteus maximus, while stabilizing the posture requires active core engagement.
Stretches the Front Body
Opens the chest, abdomen, and hip flexors, counteracting the tension of prolonged sitting.
Improves Balance and Focus
Balancing on opposite hands and knees enhances proprioception and mental concentration.
Stimulates Digestion
The compression of the abdomen during the curling phase can mildly massage digestive organs.
Common Mistakes to Avoid
Mistake: Sinking into the Shoulders
How to fix: Actively press the floor away with your hands to keep your shoulders broad and prevent collapsing into the joints.
Mistake: Overextending the Neck
How to fix: Keep the gaze softly upward but avoid crunching the back of your neck. The neck should follow the natural curve of the spine.
Mistake: Opening the Hip Too Much
How to fix: Keep both hip bones pointing squarely toward the floor. Avoid rolling the lifted hip open to the side.
Safety and Precautions
Severe Wrist Injuries
Bearing weight on the hands can aggravate carpal tunnel syndrome or recent sprains.
Acute Knee Injuries
Kneeling may be uncomfortable or unsafe for recovering meniscus tears or bursitis.
Recent Abdominal Surgery
The deep stretching and compression of the belly should be avoided during recovery.
Medical Disclaimer: If you have any of the above conditions, consult your doctor or a qualified yoga instructor before attempting this pose.
Muscles Worked in Tiger
Tiger demands synchronized muscular effort, creating a profound sense of engagement and release throughout the body. The activation of the primary muscles supports the structure, while the secondary muscles provide stability and balance.
Primary Muscles
Gluteus Maximus
Contracts to lift the leg high behind you.
Erector Spinae
Engages to arch the back and lift the chest.
Rectus Abdominis
Stretches during the arch, and powerfully contracts during the knee-to-nose phase.
Secondary Muscles
Hamstrings
Engage to bend the knee and point the foot upward.
Pectoralis Major
Stretches to open the chest in the arched position.
Poses to Practice Before and After Tiger
Prepare with these Poses
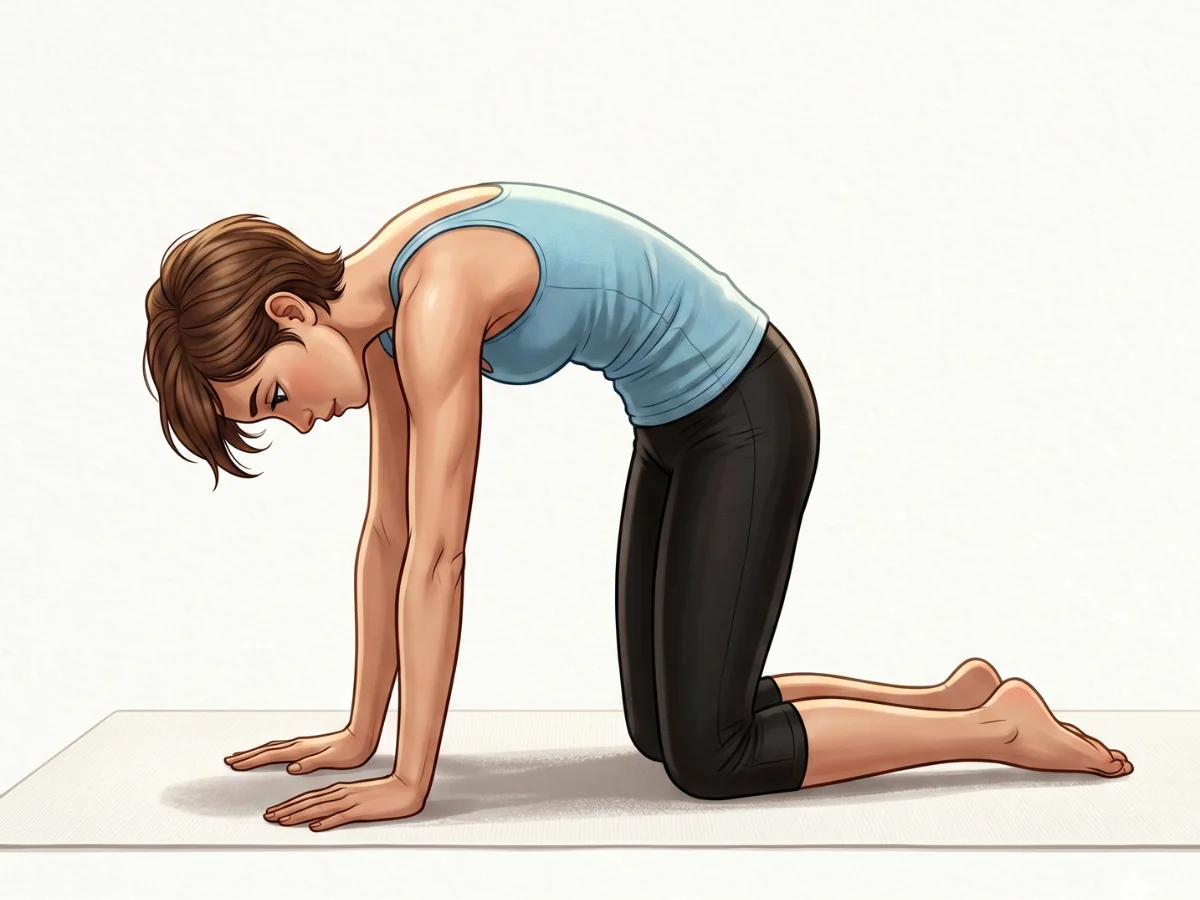
Cat Pose
MarjaryasanaEstablishes the tabletop foundation and begins warming up spinal flexion.
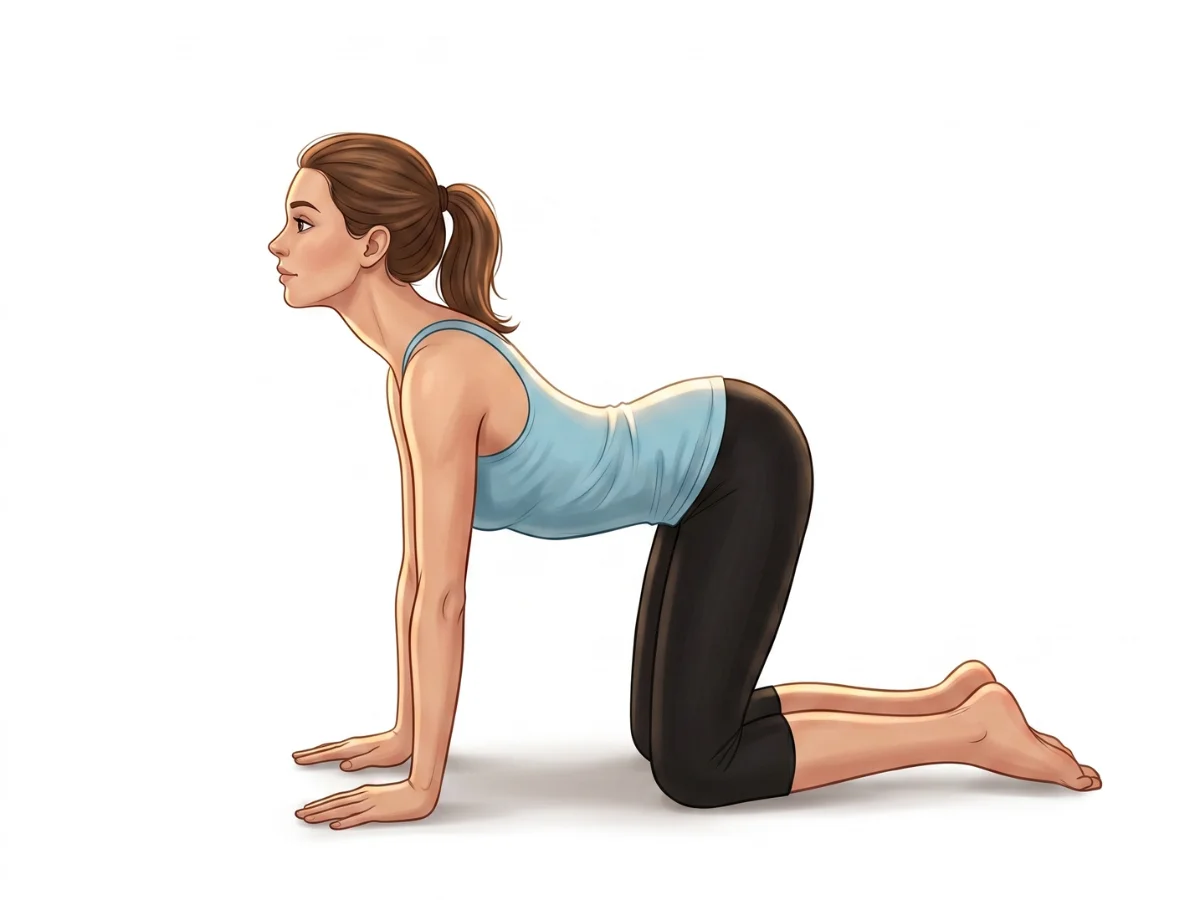
Cow Pose
BitilasanaPairs with Cat to warm up spinal extension, mimicking the arch of Tiger Pose.
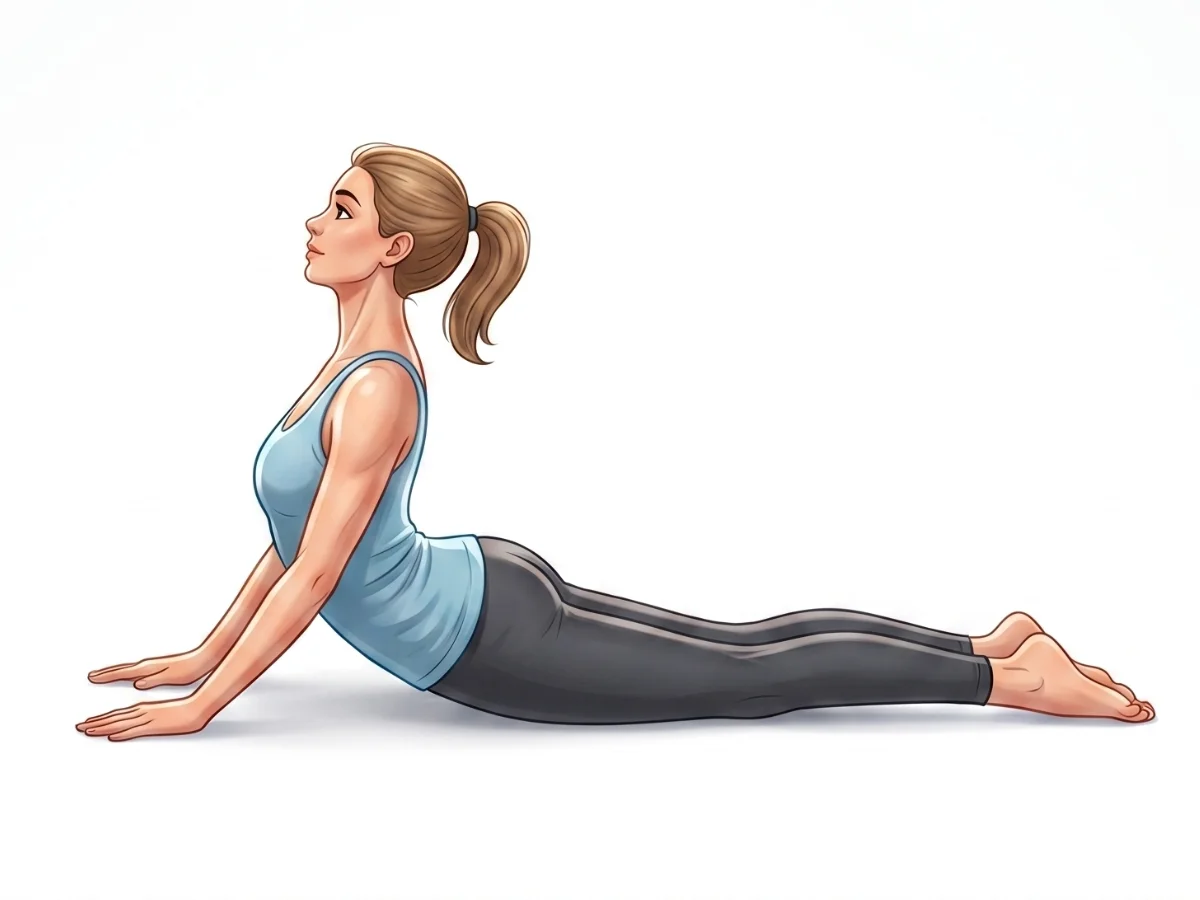
Cobra Pose
BhujangasanaOpens the chest and strengthens the lower back muscles.
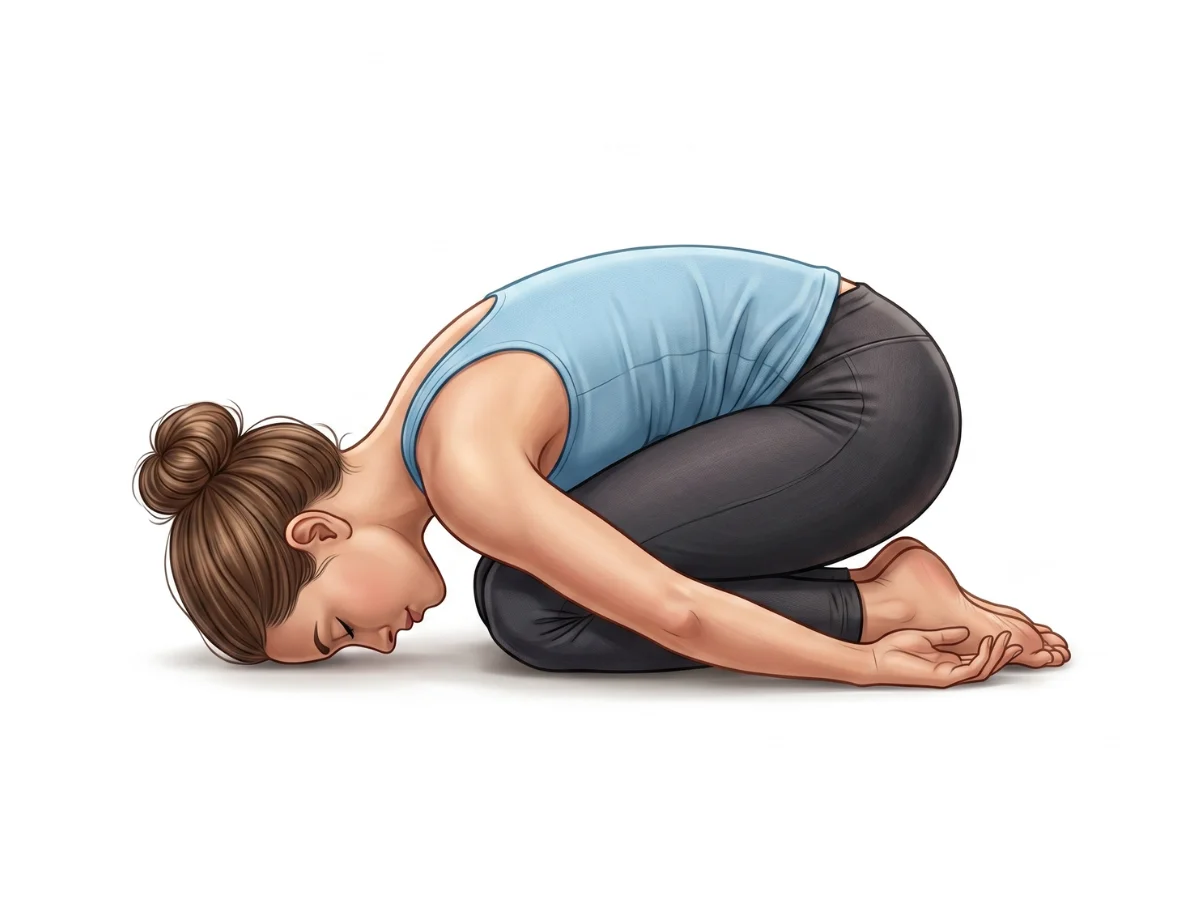
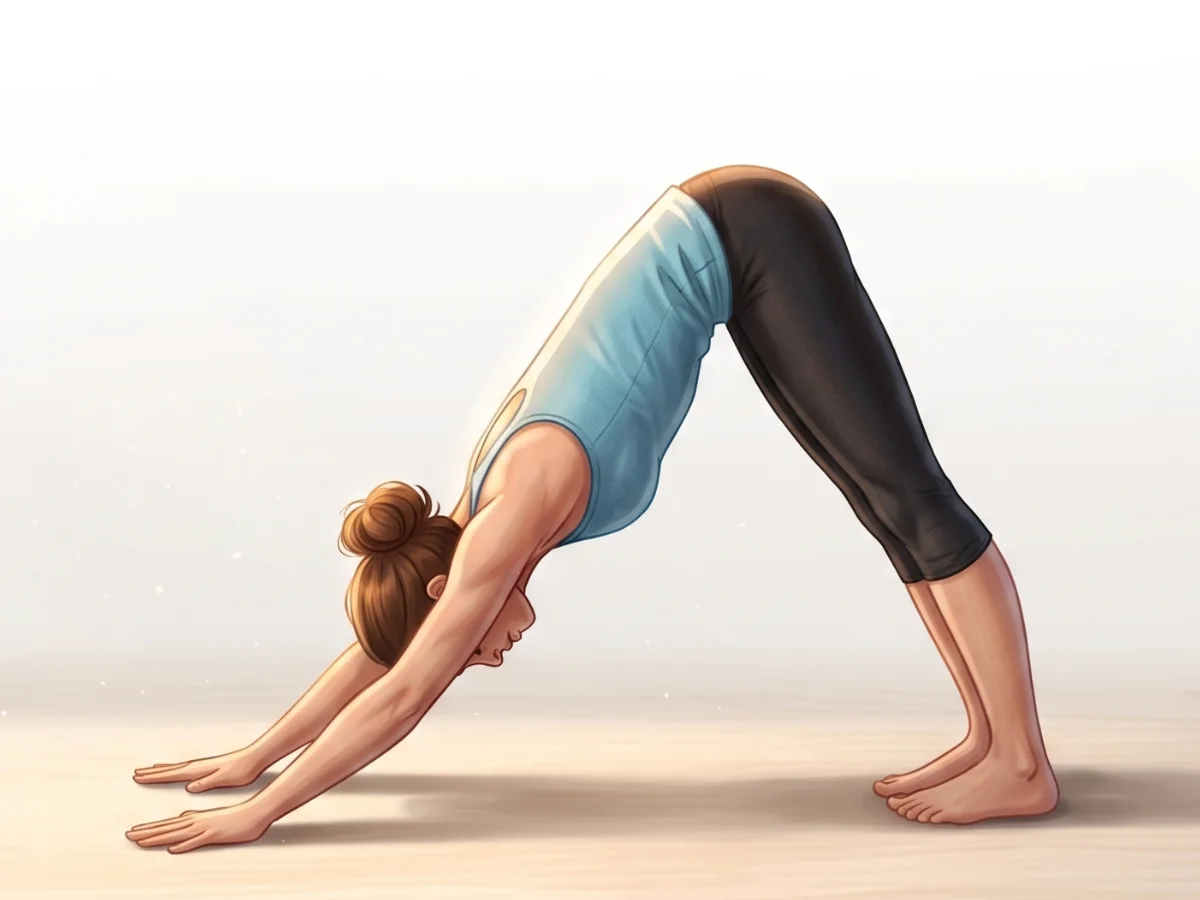
Follow with neutralizing Counter-poses
Frequently Asked Questions
Should I do Tiger Pose dynamically or hold it static?
You can do both. Moving dynamically with your breath (inhale to arch, exhale to curl) is great for warming up. Holding the arched position for several breaths builds more strength and balance.
My knee hurts when I kneel. What can I do?
Always prioritize joint comfort. Place a thick, folded blanket under your knees, or fold your yoga mat over itself to create a double layer of padding.

Elena Rostova is an accredited yoga educator and anatomy specialist with over 15 years of clinical experience. She focuses on functional biomechanics and injury prevention, translating complex anatomy into accessible guidance for safe, sustainable practice.
Read Full ProfileContinue Your Yoga Journey
Ready to deepen your practice? Explore our extensive library of poses, or join a structured program designed to build strength, flexibility, and mindfulness.