
Flying Lizard
Eka Pada Uttana Prasthasana
By Elena Rostova Updated: verified Medically Reviewed
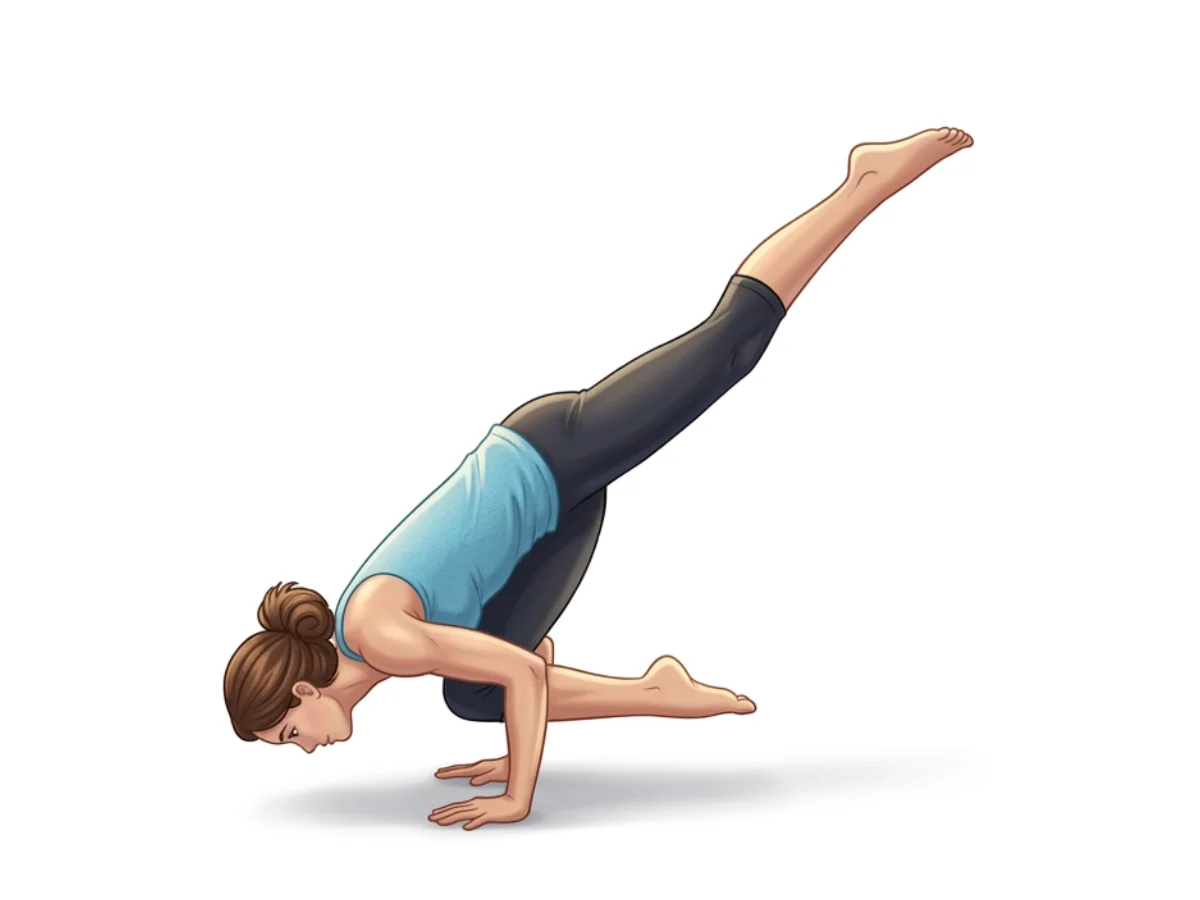
Flying Lizard Pose is a breathtaking, advanced arm balance that evolves organically from a deep Lizard Lunge. By weaving the front arm under the lead leg and shifting the body weight forward into a Chaturanga-like shelf, practitioners float the back leg off the mat. This dramatic pose requires highly open hips, robust upper body strength, and the fearless ability to pitch the body weight forward to find the fulcrum of balance.
Hold Time
15–30 sec · 3–5 breaths
Pronunciation
eh-kah PAH-dah oot-TAH-nah prahs-THAH-sah-nah
About Flying Lizard
Drawing inspiration from nature, Flying Lizard (Eka Pada Uttana Prasthasana) is a powerful pose that encourages a deep connection to movement. It primarily targets the hip opening, upper body strength & balance, helping to create length and strength exactly where you need it most. Consistent practice will actively assist in deepens hip flexibility, helping you feel lighter and more balanced off the mat.
How to Practice
Start in Lizard Lunge
Begin in Lizard Pose with your right foot outside your right hand, both hands flat on the inside of your front foot, and the back left leg straight.
Weave the Arm
Thread your right arm completely under your right thigh. Plant your right hand firmly outside the right foot, fingers pointing forward.
Create the Shelf
Bend both elbows straight back to 90 degrees, exactly like Chaturanga arms. Your right thigh should now be resting heavily on the "shelf" of your right tricep.
Position the Left Arm
Keep your left elbow hugged tightly into your left ribs. Do not let it splay outward. Your chest will begin to hover low over the mat.
Shift Weight Forward
Gaze forward past your fingertips. Slowly begin to rock your body weight forward into your hands, coming high onto the toes of your back left foot.
Extend Front Leg (Optional)
You can keep the right knee bent around the shoulder, or begin to straighten the right leg powerfully forward for a more advanced expression.
Float the Back Leg
Continue leaning your heart forward until the back left foot naturally becomes light and floats up off the floor. Keep the back leg straight and active.
Engage Core and Lift
Pull your navel toward your spine. Actively squeeze the right leg into the right arm to lock the pose, lifting the chest to avoid nose-diving.
Hold and Breathe
Hold the balance for 3 to 5 steady breaths, visualizing energy shooting forward through the crown of the head and backward through the lifted toes.
Exit Smoothly
To exit, slowly lower the back foot to the mat, unthread the right arm, step back to Downward-Facing Dog, and repeat on the opposite side.
Practice with the Yoga Timer
Keep track of your hold time and breath count for this pose.
Beginner Modifications & Prop Options
Yoga is a personal journey. These modifications and prop options allow you to adapt the pose to your current level of balance and flexibility, ensuring a safe and supportive practice.
Keep the Back Foot Down
Practice the deep Chaturanga arms and leg hook while keeping the back toes firmly on the floor. Focus on shifting weight forward without the pressure of lifting off.
Tip: Focus on alignment rather than depth.
Rest the Back Knee
Lower your back knee to the mat while setting up the front arm hook. This removes the intense core demand and allows you to focus purely on the hip opening and arm placement.
Tip: Focus on alignment rather than depth.
Use Blocks Under Hands
Placing blocks under your hands gives you extra elevation, making it easier to thread the arm under the thigh and preventing the face from getting too close to the floor.
Tip: Focus on alignment rather than depth.
Benefits of Flying Lizard
Deepens Hip Flexibility
The profound external rotation and flexion required to hook the leg over the shoulder deeply opens the hip flexors, groin, and hamstrings.
Builds Superior Arm Strength
Supporting the entire body weight on bent elbows fortifies the triceps, pectoralis major, and deltoids.
Enhances Core Integration
Lifting the back leg and preventing the torso from collapsing relies heavily on the transversus abdominis and spinal erectors.
Improves Wrist Resilience
Bears intense weight through the wrists in extension, gradually strengthening the tendons and forearms when aligned correctly.
Boosts Confidence and Focus
Overcoming the fear of pitching forward and finding flight creates a deep sense of mental empowerment and razor-sharp concentration.
Common Mistakes to Avoid
Mistake: Looking Down at the Floor
How to fix: Where your eyes go, your body follows. If you look down, you will somersault forward. Keep your gaze cast softly forward to lift the chest.
Mistake: Elbows Winging Out
How to fix: Keep your elbows energetically squeezing in toward your ribs. Splayed elbows lose structural integrity and place dangerous pressure on the rotator cuffs.
Mistake: Dead Back Leg
How to fix: If the lifted back leg is limp, it acts as dead weight dragging you down. Actively fire the glutes and point the toes to make the leg feel lighter.
Safety and Precautions
Wrist Injuries
Conditions like Carpal Tunnel Syndrome or wrist sprains will be severely aggravated by the extreme extension and weight-bearing.
Shoulder Issues
Rotator cuff injuries or instability are strict contraindications due to the heavy load placed on the anterior shoulder.
Hip or Groin Tears
The intense external rotation and flexion required can easily re-injure healing groin or hip flexor strains.
Pregnancy
The deep abdominal compression and risk of falling forward on the stomach make this pose completely unsuitable for pregnancy.
Lower Back Pain
Lifting the back leg places a high demand on the lumbar extensors, which can exacerbate existing lower back conditions.
Medical Disclaimer: If you have any of the above conditions, consult your doctor or a qualified yoga instructor before attempting this pose.
Muscles Worked in Flying Lizard
Flying Lizard demands synchronized muscular effort, creating a profound sense of engagement and release throughout the body. The activation of the primary muscles supports the structure, while the secondary muscles provide stability and balance.
Primary Muscles
Pectoralis Major & Triceps
Provide the main upward pressing force to support the body in the bent-arm position.
Gluteus Maximus
Fires intensely on the extended leg side to lift and hold the leg parallel to the floor.
Iliopsoas
Flexes the front hip deeply to keep the knee hooked securely over the tricep.
Secondary Muscles
Transversus Abdominis
Braces the spine and links the action of the upper and lower body.
Latissimus Dorsi
Engages to draw the shoulders away from the ears and stabilize the back.
Hamstrings
Work to keep the front knee bent (or extended, if taking the straight leg variation).
Poses to Practice Before and After Flying Lizard
Prepare with these Poses
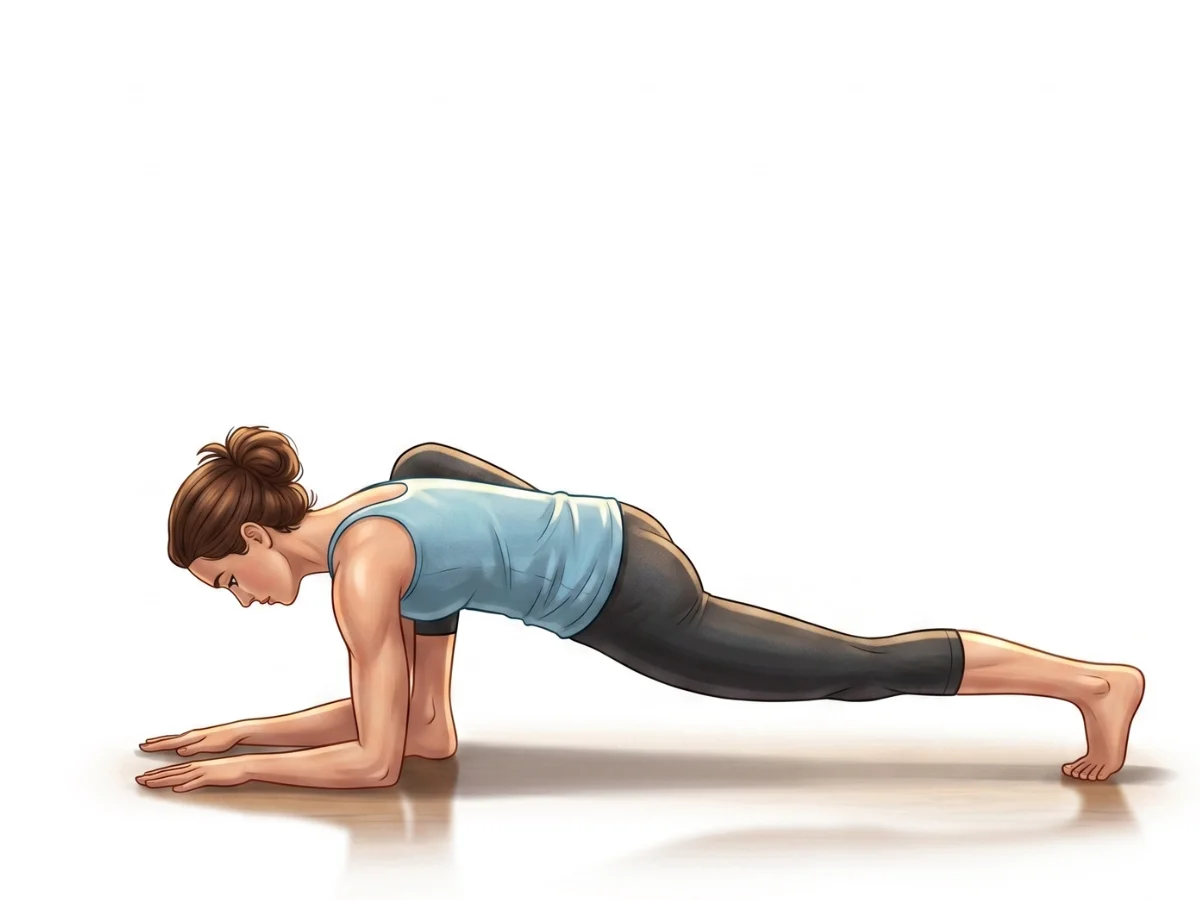
Lizard Pose
Utthan PristhasanaThe absolute prerequisite, opening the exact hip and groin pathways needed for the arm thread.
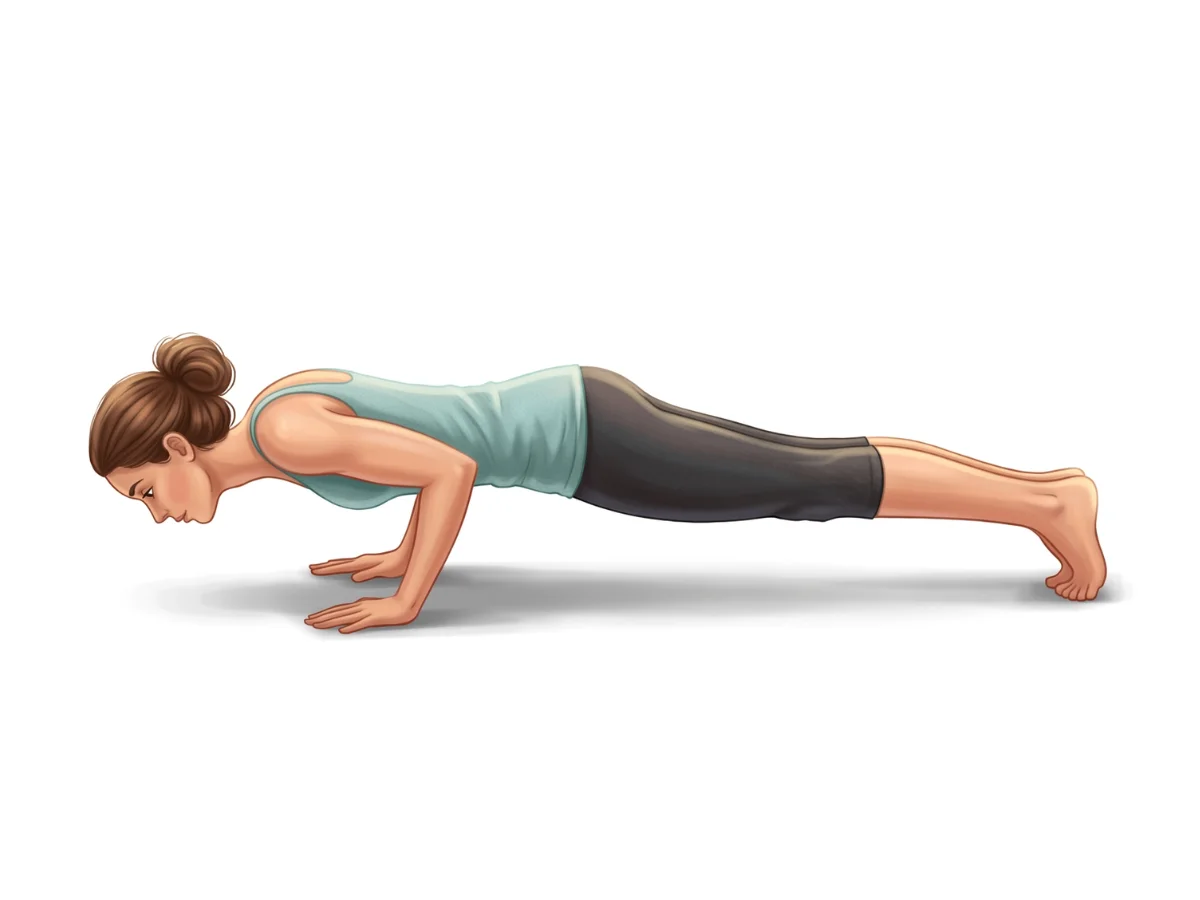
Low Push-Up
Chaturanga DandasanaBuilds the precise tricep, chest, and core strength required for the foundational "shelf" of the pose.
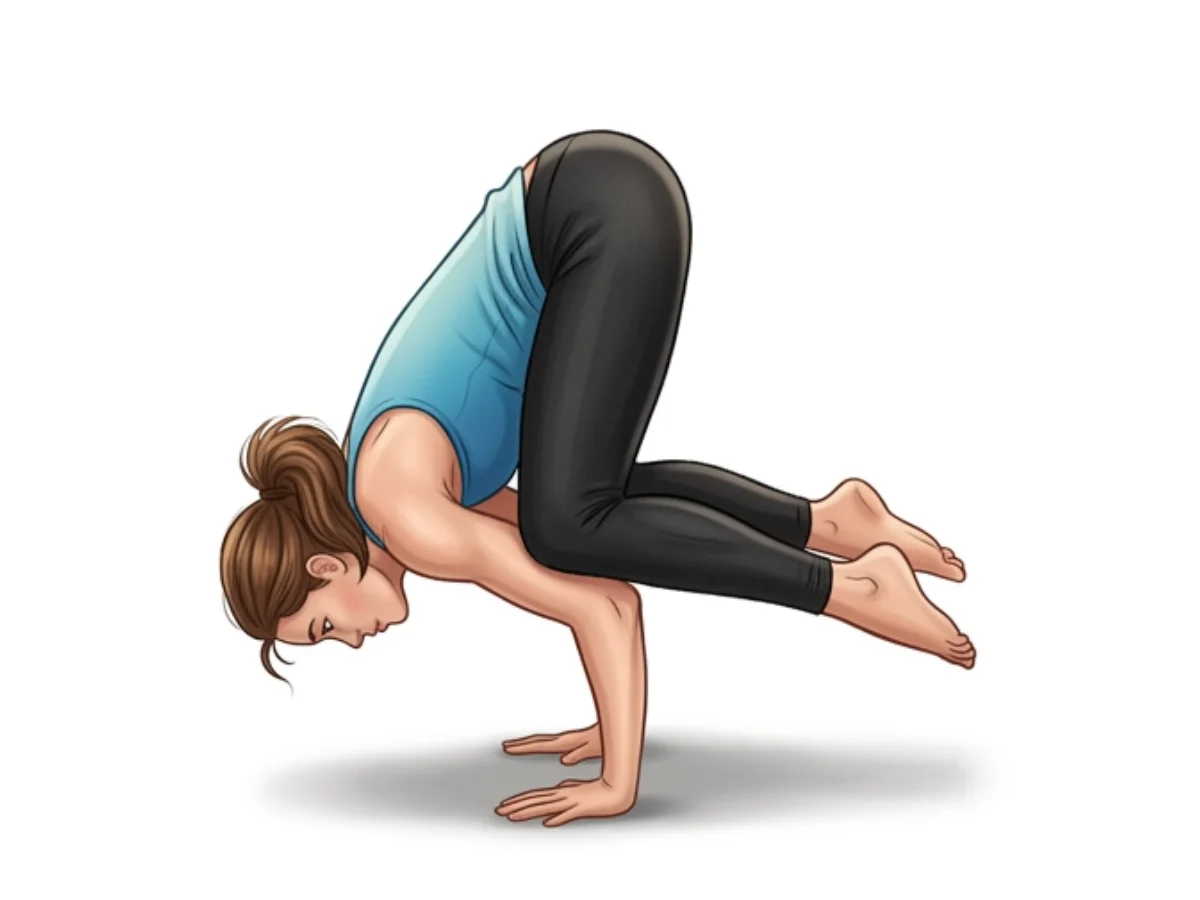
Crow Pose
BakasanaFamiliarizes the body with the sensation of leaning forward and balancing weight on the hands.
Follow with neutralizing Counter-poses
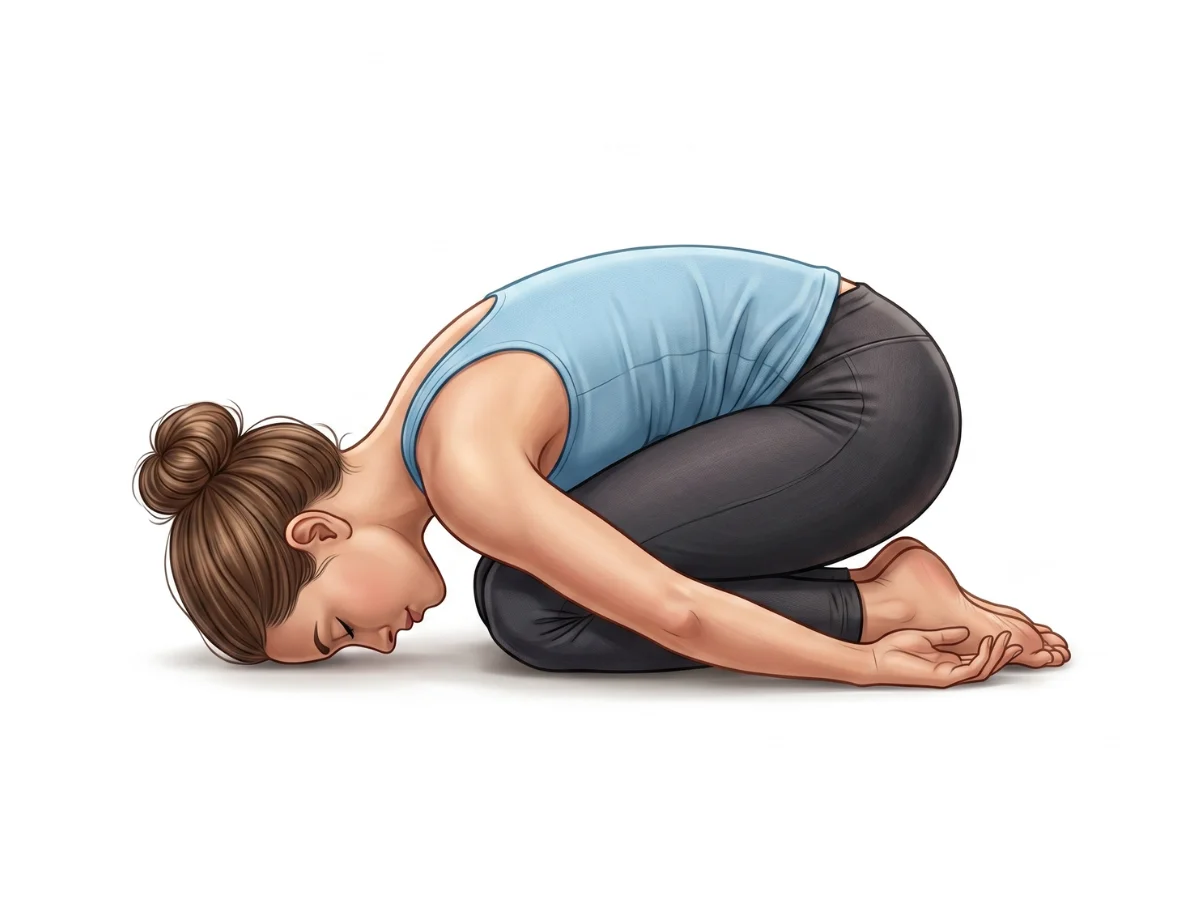
Child's Pose
BalasanaReleases the intense muscular grip in the hips, shoulders, and lower back.
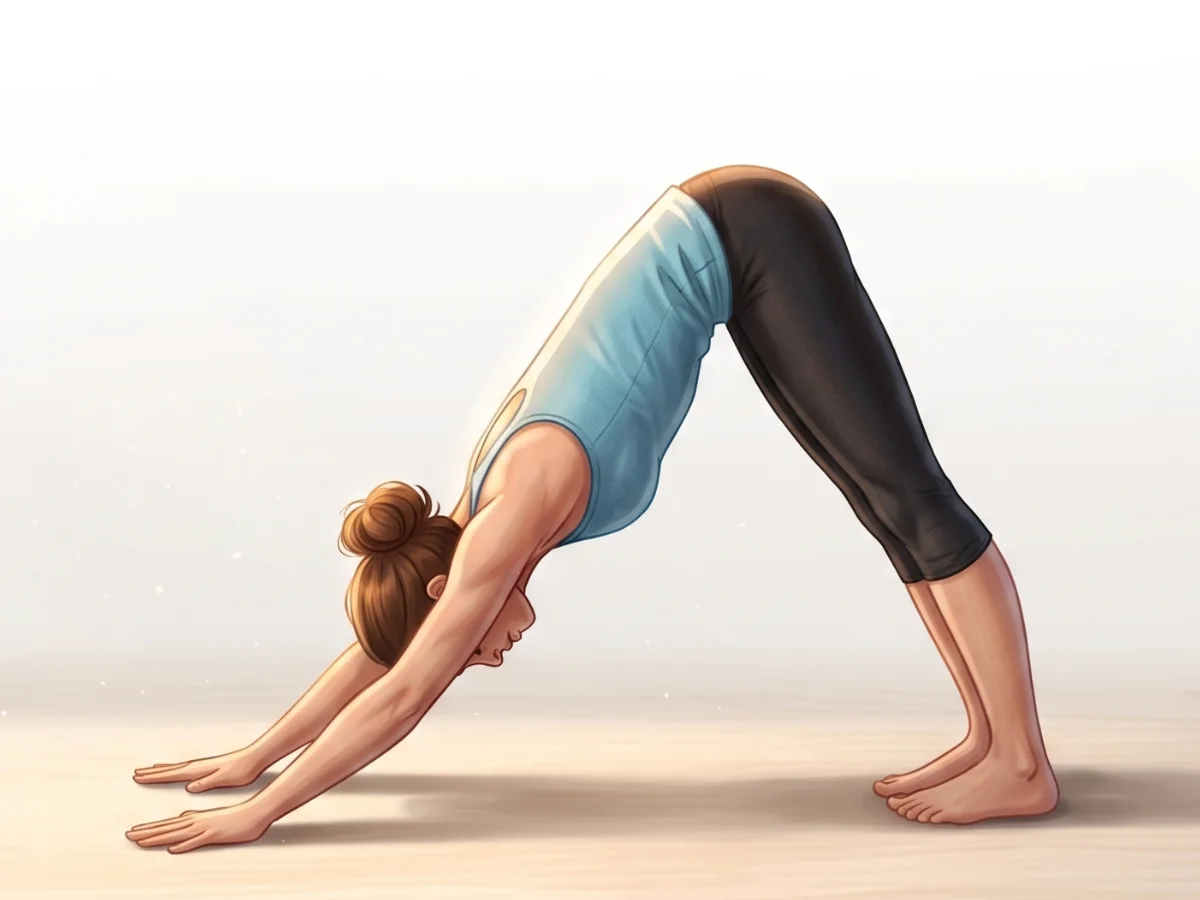
Downward-Facing Dog
Adho Mukha SvanasanaLengthens and neutralizes the spine while stretching out the wrists and arms.
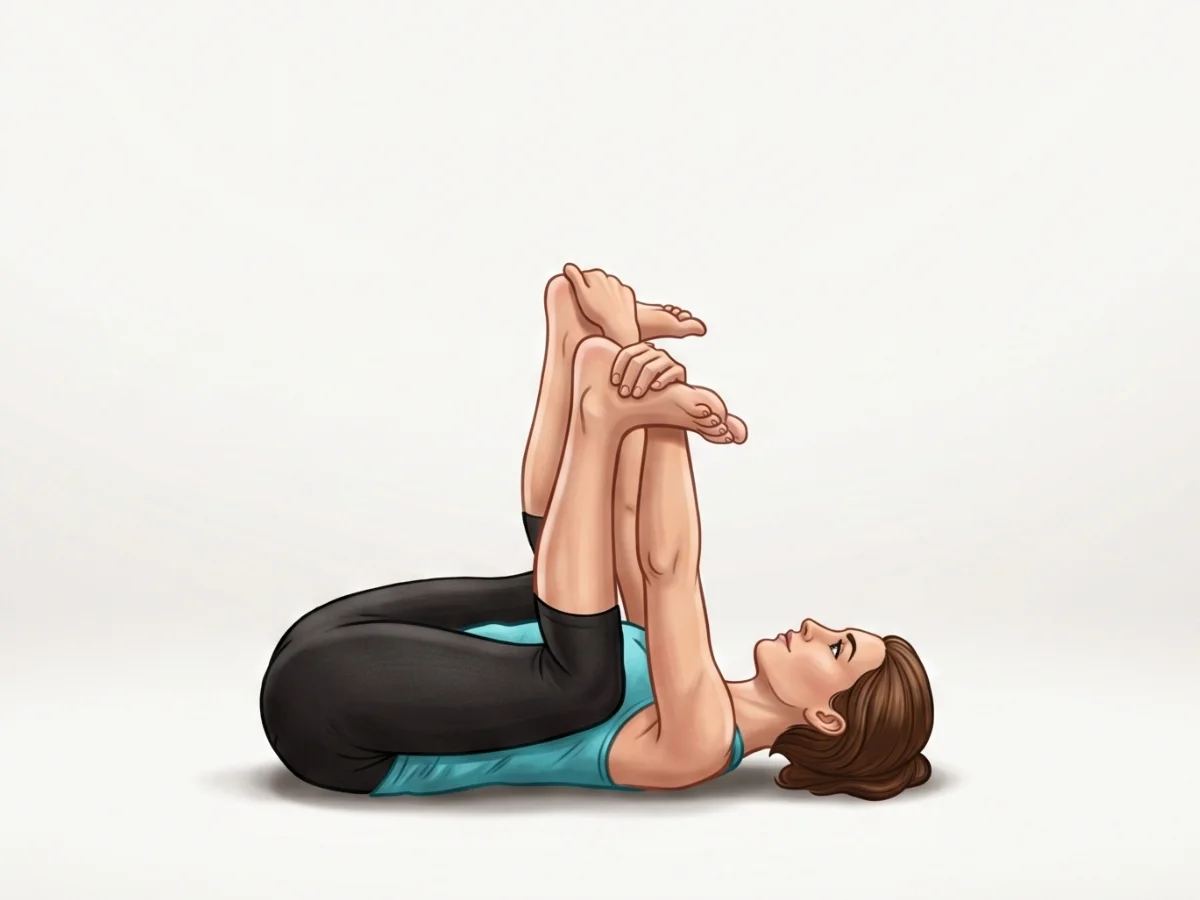
Happy Baby Pose
Ananda BalasanaProvides a gentle, passive release for the deep hip rotators and groin after intense active engagement.
Frequently Asked Questions
I feel like I am going to face-plant. What should I do?
This is a common fear! Place a soft pillow or yoga block exactly where your forehead would land. This safety net allows you to bravely lean forward enough to find the balance point without fear of injury.
My front leg keeps sliding off my arm. How do I fix this?
You must actively squeeze your inner thigh against your tricep, gripping the arm like a clamp. If your leg is passive, it will slide down. Ensure your arm is threaded deep enough, ideally getting the knee completely over the shoulder.
Is this the same as Eka Pada Koundinyasana II?
They are extremely similar and often taught interchangeably. Flying Lizard specifically originates from Lizard Pose and often keeps the front knee bent and hooked, while EPK II strictly features a fully extended front leg.

Elena Rostova is an accredited yoga educator and anatomy specialist with over 15 years of clinical experience. She focuses on functional biomechanics and injury prevention, translating complex anatomy into accessible guidance for safe, sustainable practice.
Read Full ProfileContinue Your Yoga Journey
Ready to deepen your practice? Explore our extensive library of poses, or join a structured program designed to build strength, flexibility, and mindfulness.