
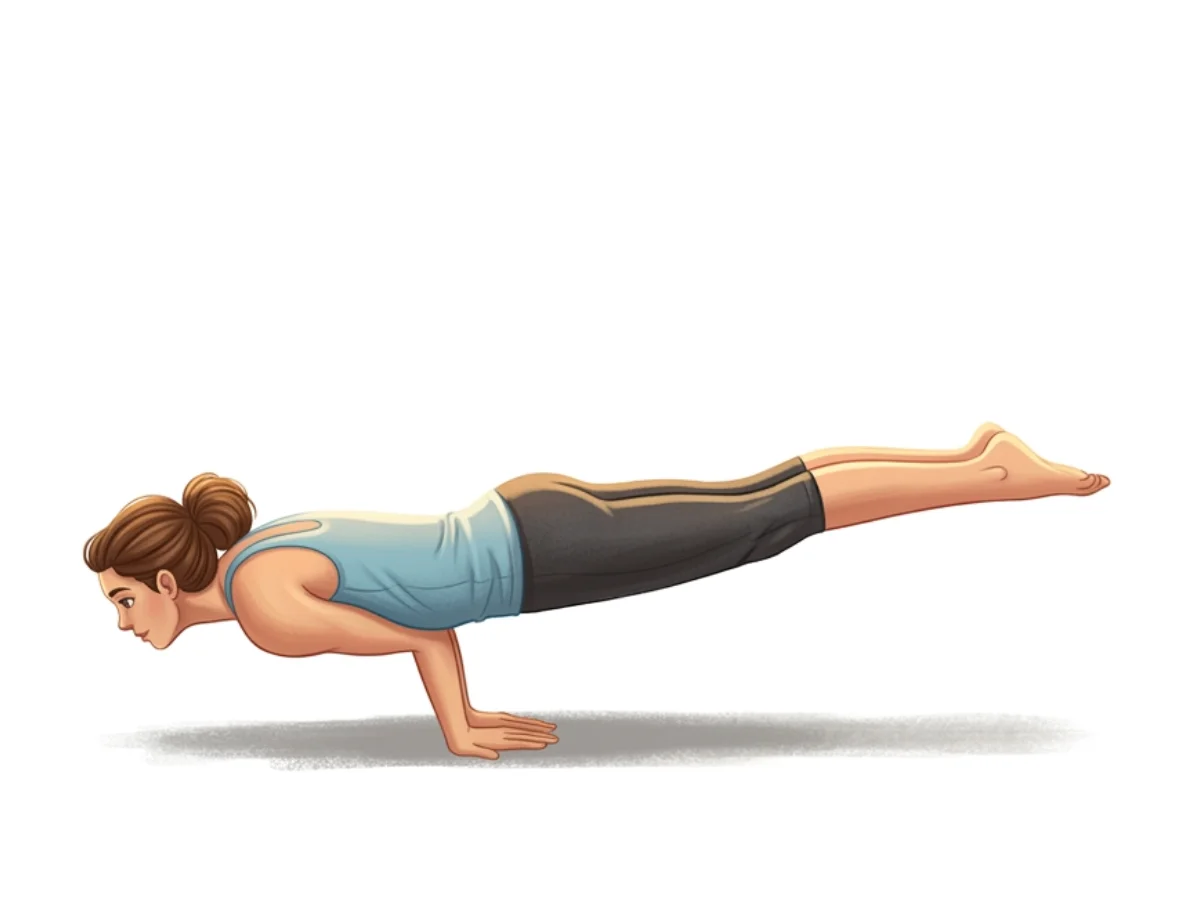
Peacock
Mayurasana
By Elena Rostova Updated: verified Medically Reviewed
Peacock Pose (Mayurasana) is a challenging advanced arm balance that requires immense core strength, wrist flexibility, and full-body control. By balancing the entire body on the hands with the elbows pressing into the abdomen, practitioners develop profound concentration and digestive fire.
Hold Time
10–30 sec · 3–5 breaths
Pronunciation
mah-yur-AHS-anna
About Peacock
Drawing inspiration from nature, Peacock (Mayurasana) is a powerful pose that encourages a deep connection to movement. By gently focusing on core strength & wrist flexibility, it actively stretches your muscles and builds heat. Consistent practice will actively assist in builds core and abdominal strength, helping you feel lighter and more balanced off the mat.
How to Practice
Starting Position
Begin kneeling on your mat with your knees wide apart. Lean forward and place your hands on the floor in front of you.
Hand Placement
Turn your hands so your fingers point back toward your body and your wrists face forward. Keep your pinky fingers touching or very close together.
Elbow Positioning
Bend your elbows and bring them together. Lean forward, resting your lower abdomen on your bent elbows, keeping them near the navel center.
Head to the Mat
Lean further forward until your forehead lightly touches the mat. Your core should be fully engaged as it supports your weight against your elbows.
Extend the Legs
Straighten one leg back behind you, tucking the toes under. Then, extend the other leg to meet it, bringing your legs together and completely straight.
Shift the Weight
Shift your body weight forward slightly so the tension moves from your toes to your hands and abdomen. Squeeze your inner thighs and engage your glutes.
Lift the Head and Legs
Inhale deeply as you lift your head off the mat, looking forward. Simultaneously, leverage your weight to lift your toes off the ground, bringing your body parallel to the floor.
Hold the Balance
Maintain the balance by keeping your entire body rigid as a board. Breathe steadily, holding the pose for 3 to 5 breaths.
Lower and Release
To exit, gently lower your toes back to the mat. Lower your knees down, sit back on your heels, and carefully release your wrists.
Practice with the Yoga Timer
Keep track of your hold time and breath count for this pose.
Beginner Modifications & Prop Options
Yoga is a personal journey. These modifications and prop options allow you to adapt the pose to your current level of balance and flexibility, ensuring a safe and supportive practice.
Peacock Prep with Head Down
Practice the pose with your forehead resting on a block or the mat. Lift the legs while keeping the head supported until you build enough strength to lift the entire body.
Tip: Focus on alignment rather than depth.
Using a Block Under the Pelvis
Place a yoga block under your pelvis or upper thighs. This provides a physical fulcrum to help you understand the mechanics of lifting the legs and chest without bearing full weight.
Tip: Focus on alignment rather than depth.
Single Leg Lift
Keep one foot on the ground with toes tucked, and practice lifting only one leg at a time to get used to the core engagement required.
Tip: Focus on alignment rather than depth.
Benefits of Peacock
Builds Core and Abdominal Strength
Demands intense activation of the transversus abdominis and obliques to keep the body straight while balanced on the elbows.
Increases Wrist and Forearm Power
Bears the entire body weight on inverted wrists, significantly enhancing joint resilience and forearm strength over time.
Improves Digestion
The firm pressure of the elbows against the abdomen stimulates digestive organs, believed to improve digestion and metabolism.
Strengthens the Back Body
Requires strong engagement of the erector spinae, glutes, and hamstrings to keep the legs lifted and body parallel to the floor.
Cultivates Focus and Balance
Finding the exact center of gravity demands a calm mind, precision, and unwavering mental concentration.
Common Mistakes to Avoid
Mistake: Elbows Spreading Apart
How to fix: Actively squeeze your elbows together; they must stay close to the midline of the abdomen to create a stable shelf.
Mistake: Looking Down at the Floor
How to fix: Lift your gaze and look slightly forward. Looking down shifts your center of gravity too far forward, making it hard to lift the legs.
Mistake: Relaxing the Legs
How to fix: Engage your legs completely. Squeeze your thighs together and point your toes back; rigid legs are easier to lift than relaxed ones.
Safety and Precautions
Wrist or Elbow Injuries
This pose places maximum body weight on flexed wrists and bent elbows, which can worsen existing conditions.
Pregnancy
The deep, direct pressure of the elbows into the abdomen is unsafe during pregnancy.
Recent Abdominal Surgery or Hernias
The intense pressure on the visceral organs can tear healing tissues or worsen hernias.
High Blood Pressure or Heart Conditions
The intense physical exertion and breath control required can cause unsafe spikes in blood pressure.
Glaucoma or Retinal Issues
The pressure built during the exertion can increase intraocular pressure.
Medical Disclaimer: If you have any of the above conditions, consult your doctor or a qualified yoga instructor before attempting this pose.
Muscles Worked in Peacock
Peacock demands synchronized muscular effort, creating a profound sense of engagement and release throughout the body. The activation of the primary muscles supports the structure, while the secondary muscles provide stability and balance.
Primary Muscles
Rectus Abdominis
Maintains rigidity in the torso to support the body's weight.
Erector Spinae
Lifts the back half of the body and keeps the spine extended.
Gluteus Maximus
Contracts strongly to elevate the legs parallel to the floor.
Secondary Muscles
Pectoralis Major
Stabilizes the arms and keeps the elbows drawn together under the torso.
Latissimus Dorsi
Assists in stabilizing the shoulders and torso during the balance.
Forearm Flexors
Bear the entire body weight and stabilize the wrists in deep flexion.
Poses to Practice Before and After Peacock
Prepare with these Poses
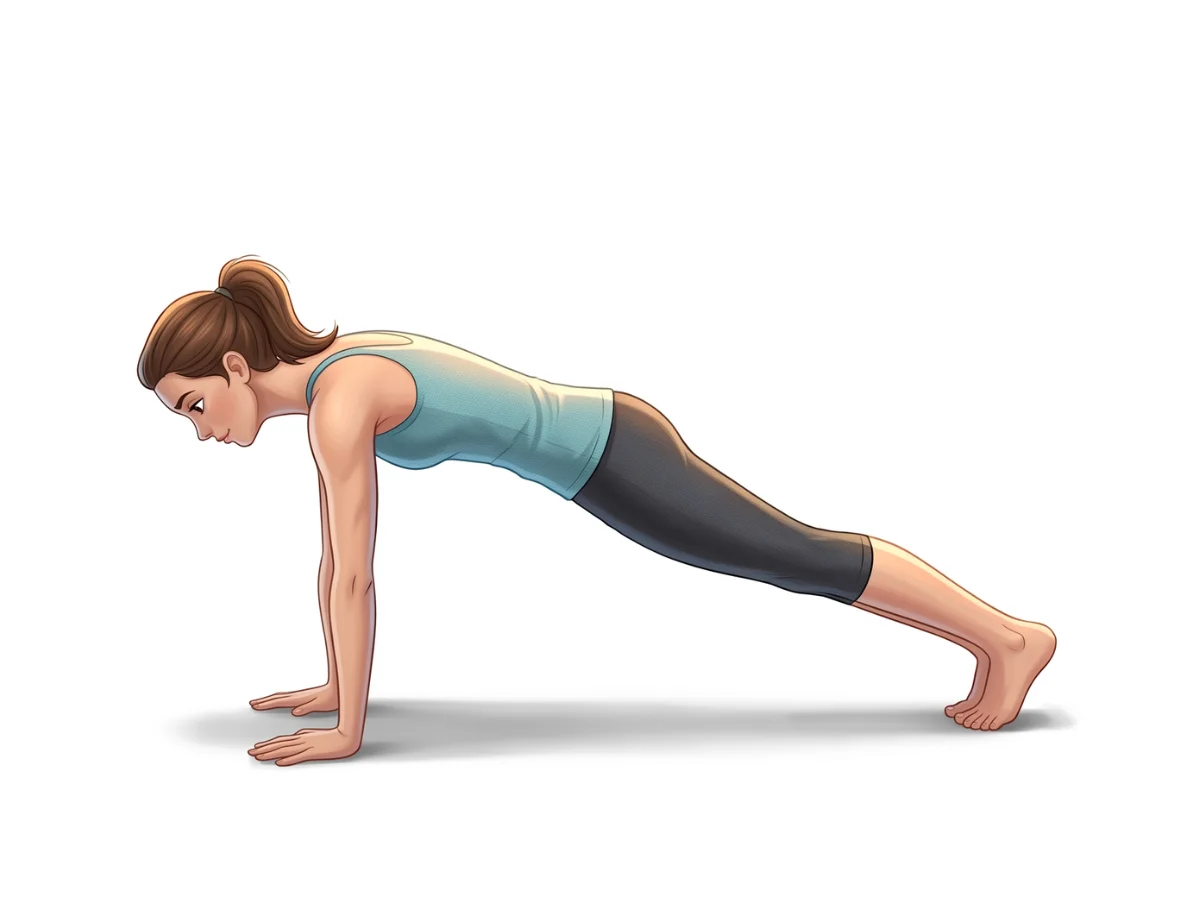
Plank Pose
PhalakasanaBuilds the core stability and arm strength required for balancing.
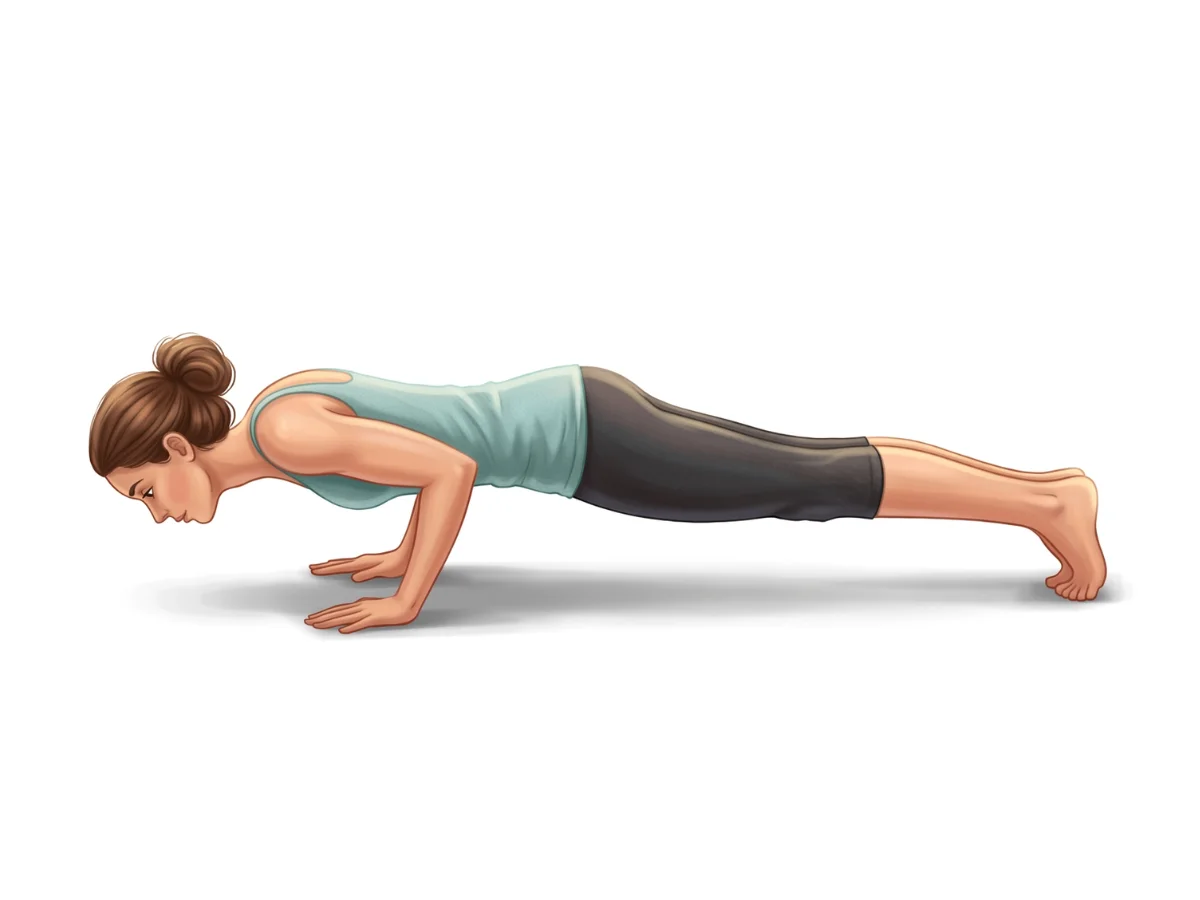
Low Push-Up
Chaturanga DandasanaStrengthens the chest, triceps, and wrists while teaching full-body rigidity.
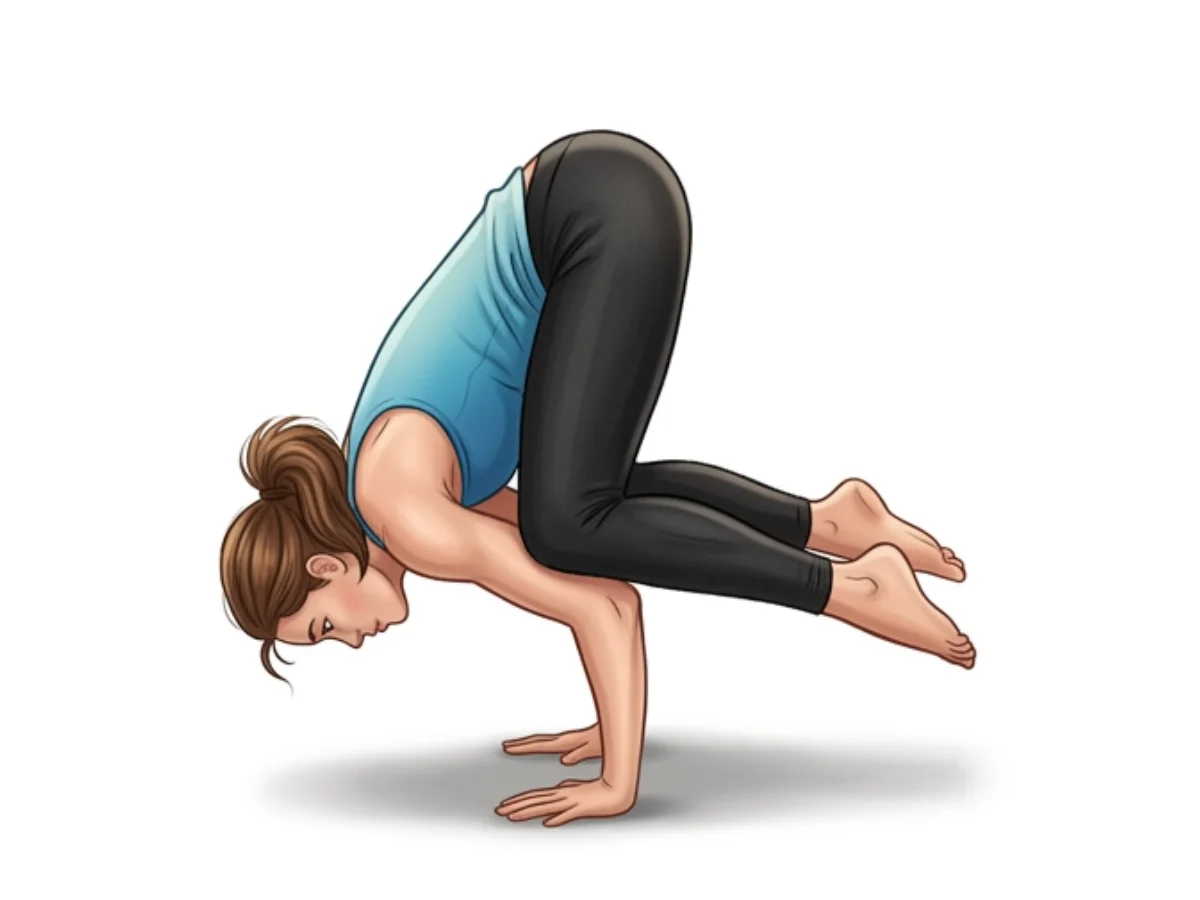
Crow Pose
BakasanaA foundational arm balance that conditions the wrists and introduces weight-bearing on the hands.
Follow with neutralizing Counter-poses
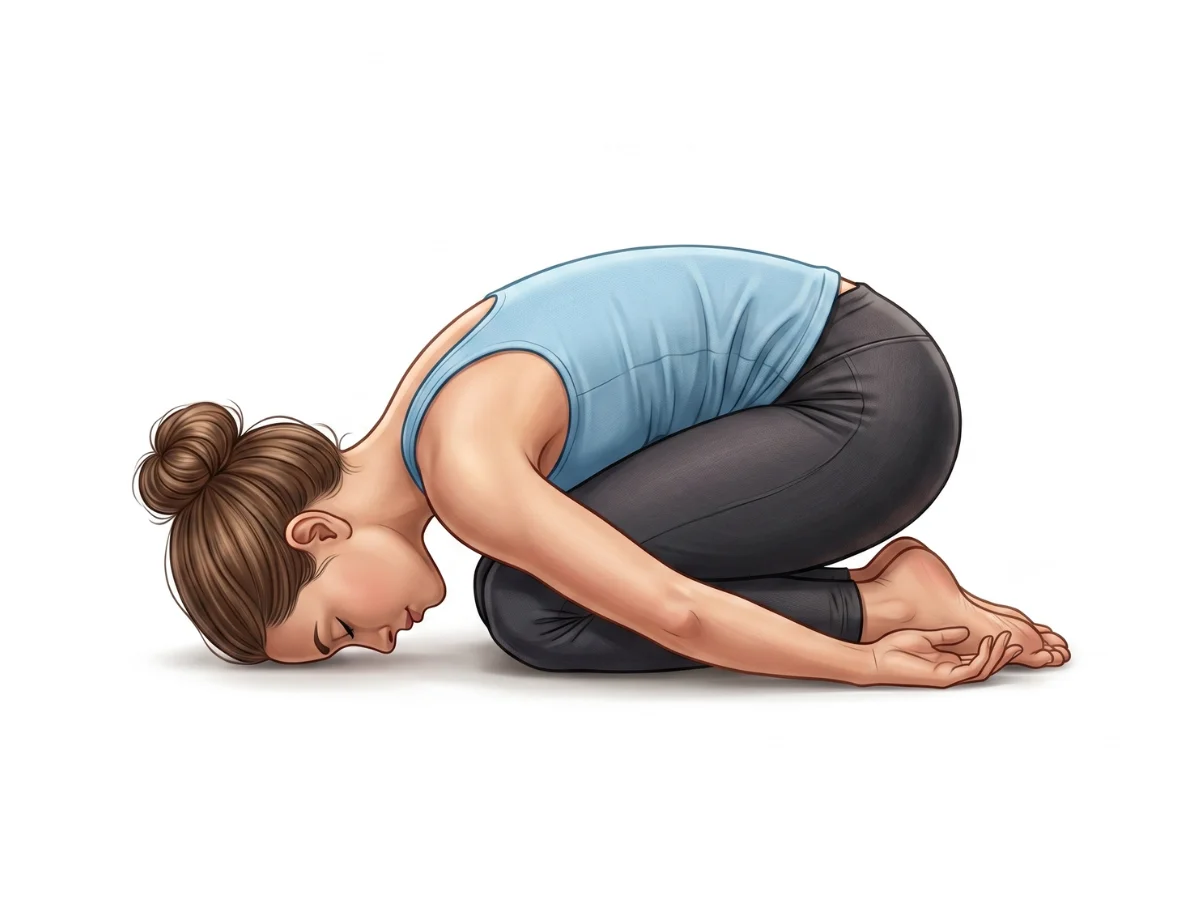
Child's Pose
BalasanaAllows the lower back and abdomen to relax completely after intense contraction.
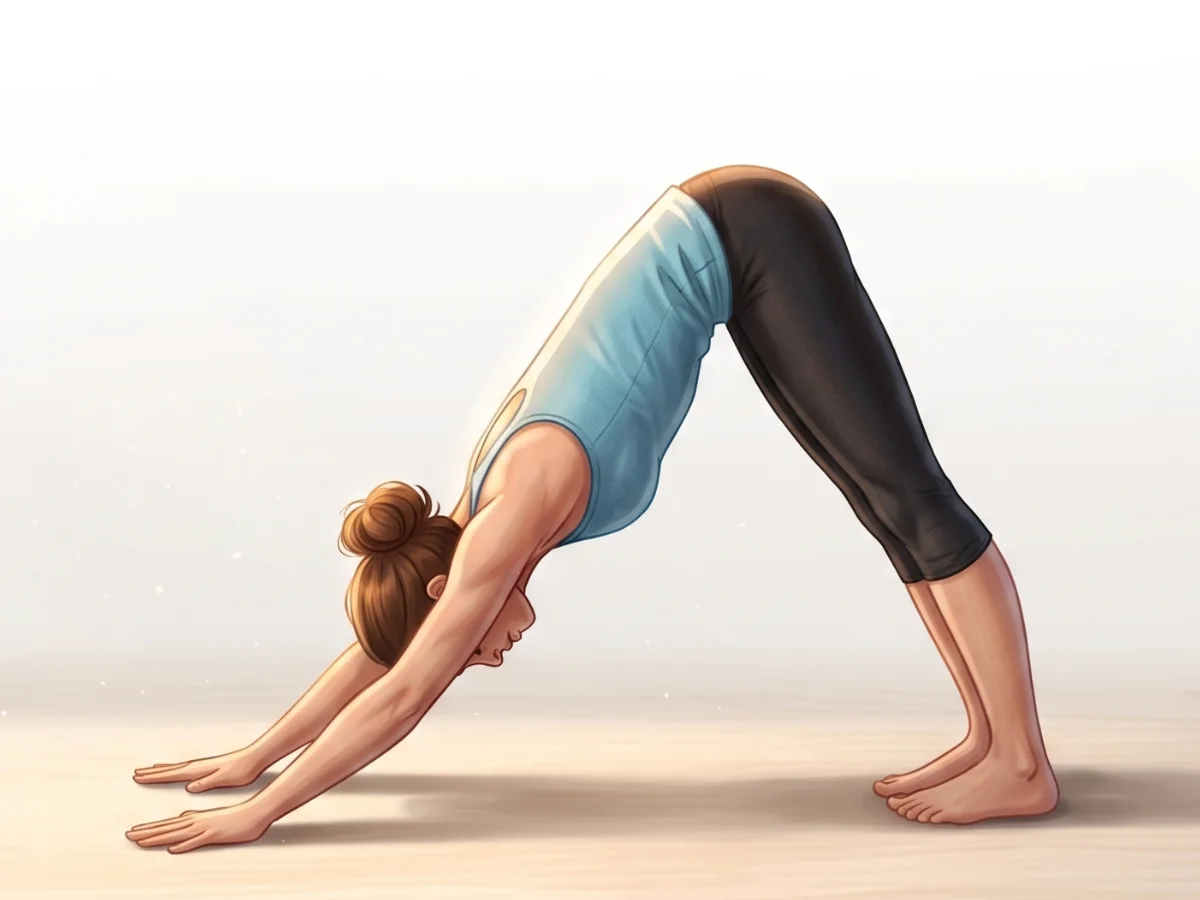
Downward-Facing Dog
Adho Mukha SvanasanaReleases tension in the wrists and lengthens the spine.
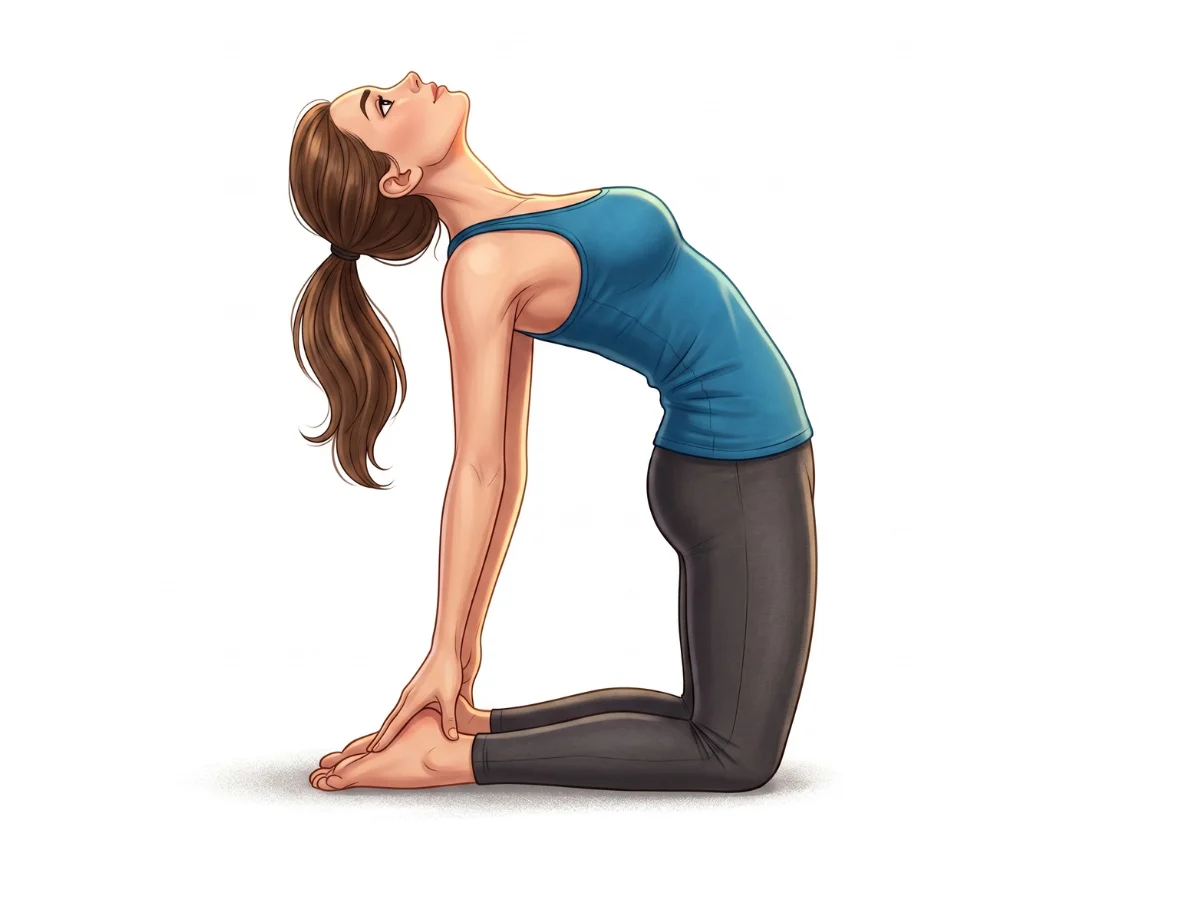
Camel Pose
UstrasanaOpens the chest, shoulders, and abdomen, counteracting the forward-leaning compression.
Frequently Asked Questions
How can I protect my wrists in Peacock Pose?
Preparation is key. Ensure you do thorough wrist warm-ups, including wrist circles and gentle stretches. Keep your fingers actively gripping the mat to distribute the weight. If your wrists are very tight, practice the pose with your hands turned out slightly rather than pointing straight back.
Why does it hurt my stomach when I rest on my elbows?
The pressure is intense, especially for beginners. Ensure your elbows are placed correctly near the navel, not directly on the ribs. It takes time for the abdominal muscles to adapt to supporting the body weight. Practicing core-strengthening exercises can help build a firmer support base.
I can't lift both legs; what should I do?
Lifting the legs is a matter of leverage and core strength. Make sure you lean forward enough so the weight shifts into the hands, making the lower body lighter. Practice the one-legged modification and focus on squeezing the glutes and back muscles to eventually lift both.

Elena Rostova is an accredited yoga educator and anatomy specialist with over 15 years of clinical experience. She focuses on functional biomechanics and injury prevention, translating complex anatomy into accessible guidance for safe, sustainable practice.
Read Full ProfileContinue Your Yoga Journey
Ready to deepen your practice? Explore our extensive library of poses, or join a structured program designed to build strength, flexibility, and mindfulness.