
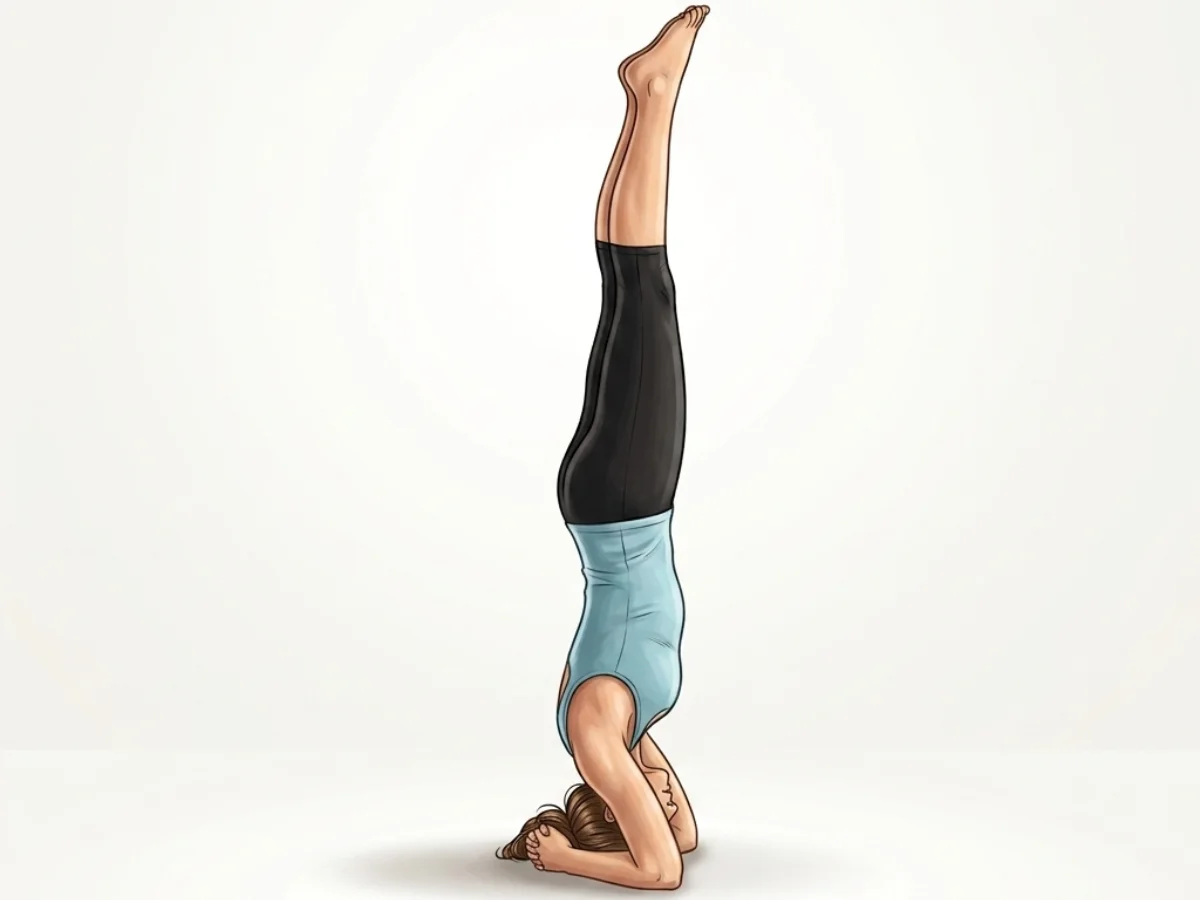
Supported Headstand
Salamba Sirsasana
By Elena Rostova Updated: verified Medically Reviewed
Supported Headstand (Salamba Sirsasana), often referred to as the "King of Asanas," is a deeply transformative and empowering inversion. By balancing the body's weight on the forearms and the crown of the head, practitioners develop tremendous upper body strength, profound core stability, and intense mental focus. Inverting the body helps increase blood flow to the brain, invigorates the nervous system, and provides a powerful shift in perspective. Proper alignment is absolutely crucial to protect the cervical spine.
Hold Time
30–60 sec · 5–10 breaths
Pronunciation
sah-LOM-bah sheer-SHAH-sah-nah
About Supported Headstand
Commonly practiced as Supported Headstand (Salamba Sirsasana), this dynamic posture is beautifully designed to help unlock tension. This posture specifically engages the core, upper body strength & balance, making it highly effective for developing both strength and mobility. Consistent practice will actively assist in builds core strength, helping you feel lighter and more balanced off the mat.
How to Practice
Starting Position
Begin on your hands and knees in a tabletop position. Lower your elbows to the floor, ensuring they are positioned exactly shoulder-width apart.
Interlace Fingers
Interlace your fingers firmly, tucking the bottom pinky inside the hands to create a stable, flat base with your forearms and outer wrists.
Crown Placement
Place the very top (crown) of your head on the floor, nestling the back of your head directly into the clasp of your interlaced hands.
Lift the Knees
Tuck your toes under, lift your knees off the mat, and straighten your legs as if moving into Dolphin Pose, pressing down firmly through your forearms.
Walk Forward
Slowly walk your feet closer toward your face until your hips are stacked vertically as close to directly over your shoulders as possible.
Engage Core and Lift
Engage your deep core muscles. With a controlled motion, bring one knee into your chest, followed tightly by the other, finding a tucked balance.
Extend Legs Upward
Once completely stable in the tuck, actively press through your forearms to relieve pressure on the neck, and slowly extend your legs straight up toward the ceiling.
Find the Plumb Line
Align your ankles, hips, and shoulders in a single vertical line. Keep your thighs actively hugging together and point or flex your toes upward.
Hold and Breathe
Maintain the pose for 5 to 10 steady, calm breaths. Most of the body weight should be carried by your forearms, not your neck or head.
Safe Exit
To exit, bend your knees back into your chest, slowly lower your feet to the floor with immense control, and immediately rest in Child's Pose for several breaths to let blood pressure normalize.
Practice with the Yoga Timer
Keep track of your hold time and breath count for this pose.
Beginner Modifications & Prop Options
Yoga is a personal journey. These modifications and prop options allow you to adapt the pose to your current level of balance and flexibility, ensuring a safe and supportive practice.
Using a Wall
Set up your base with knuckles about an inch away from a wall. Kick up gently so your heels rest on the wall. Practice shifting weight slightly away from the wall to build balance.
Tip: Focus on alignment rather than depth.
Half Headstand (Tuck)
Instead of lifting your legs to the ceiling, keep your knees tucked tightly into your chest. This keeps your center of gravity lower while you adapt to the inversion.
Tip: Focus on alignment rather than depth.
One Leg at a Time
Keep one foot on the floor (or wall) while lifting the other leg straight up. Alternate legs to build strength until you can lift both simultaneously without jumping.
Tip: Focus on alignment rather than depth.
Benefits of Supported Headstand
Builds Core Strength
Holding the entire body perfectly vertical requires continuous, deep engagement of the transversus abdominis, obliques, and erector spinae.
Strengthens Upper Body
Actively pressing into the mat strengthens the deltoids, triceps, latissimus dorsi, and serratus anterior, creating a resilient upper back.
Stimulates Circulation
Inverting gravity encourages venous return from the lower extremities and increases oxygenated blood flow to the brain and upper body.
Improves Focus and Calm
The intense concentration required to balance upside down draws the mind completely into the present moment, alleviating stress and distraction.
Enhances Spinal Alignment
When performed correctly with strong core integration, Headstand trains the practitioner to find and hold perfectly neutral spinal alignment against gravity.
Common Mistakes to Avoid
Mistake: Too Much Weight on the Head
How to fix: Actively and continuously press down through your forearms and elbows to lift the weight out of your neck. The head should bear minimal load.
Mistake: Elbows Splaying Outward
How to fix: Keep your elbows strictly shoulder-width apart. If they slide wider, you lose your foundation and place dangerous torque on your shoulders and neck.
Mistake: Arching the Lower Back
How to fix: Avoid "banana back." Draw your front ribs in, engage your core tightly, and point your tailbone straight up toward your heels.
Safety and Precautions
Neck or Cervical Spine Injuries
Any history of disc issues, whiplash, or neck pain is a strict contraindication, as the pose can compress the cervical vertebrae.
High Blood Pressure
The inverted nature of the pose significantly alters blood pressure dynamics and can be dangerous for untreated hypertension.
Glaucoma or Eye Issues
Increased intraocular pressure during inversions can worsen certain eye conditions.
Pregnancy
Not recommended for pregnant women who do not already have an established, long-term inversion practice prior to conception.
Heart Conditions
Changes in vascular resistance and blood flow can put undue stress on the cardiovascular system.
Medical Disclaimer: If you have any of the above conditions, consult your doctor or a qualified yoga instructor before attempting this pose.
Muscles Worked in Supported Headstand
Supported Headstand demands synchronized muscular effort, creating a profound sense of engagement and release throughout the body. The activation of the primary muscles supports the structure, while the secondary muscles provide stability and balance.
Primary Muscles
Deltoids
Work intensely to press the floor away and stabilize the shoulder girdle.
Transversus Abdominis
Acts as a deep corset to stabilize the lumbar spine and pelvis in the vertical line.
Serratus Anterior
Protracts the scapulae, ensuring the shoulders stay strong and do not collapse.
Secondary Muscles
Latissimus Dorsi
Assists in shoulder stability and pulling the ribs into alignment.
Gluteus Maximus
Engages to extend the hips and keep the legs aligned over the pelvis.
Adductors
Hug the inner thighs together, creating a singular, solid pillar of strength.
Poses to Practice Before and After Supported Headstand
Prepare with these Poses
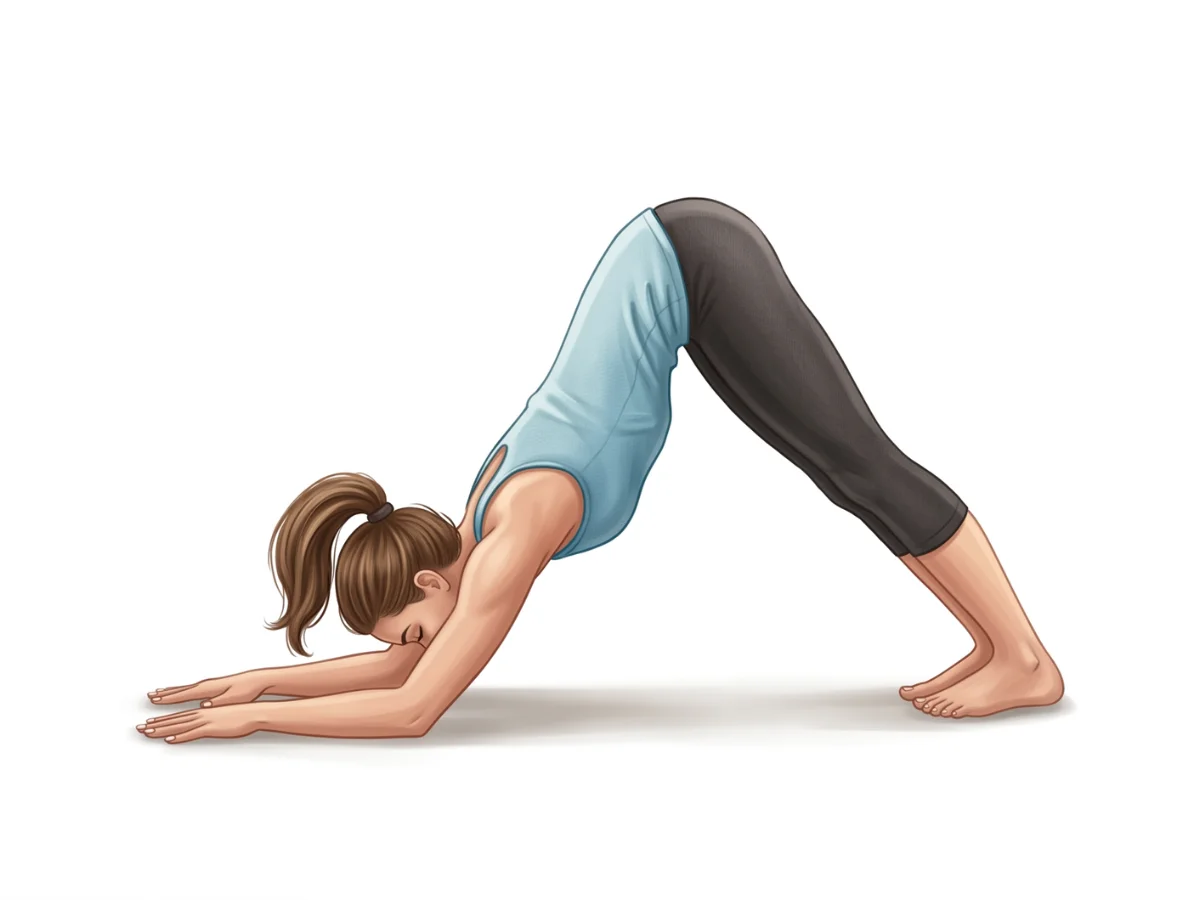
Dolphin Pose
Ardha Pincha MayurasanaBuilds crucial shoulder strength and flexibility needed to bear weight on the forearms.
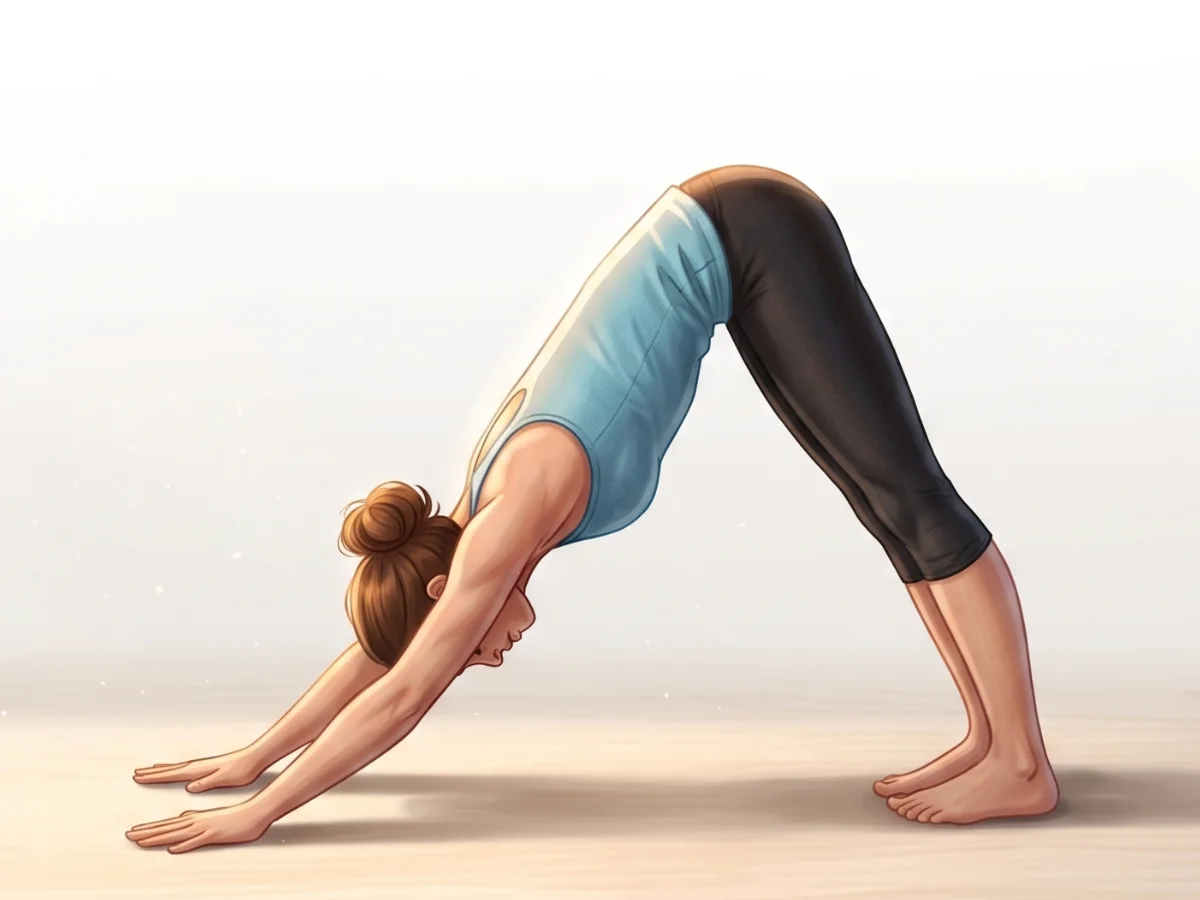
Downward-Facing Dog
Adho Mukha SvanasanaStretches the hamstrings, allowing you to walk the feet closer to the face during setup.
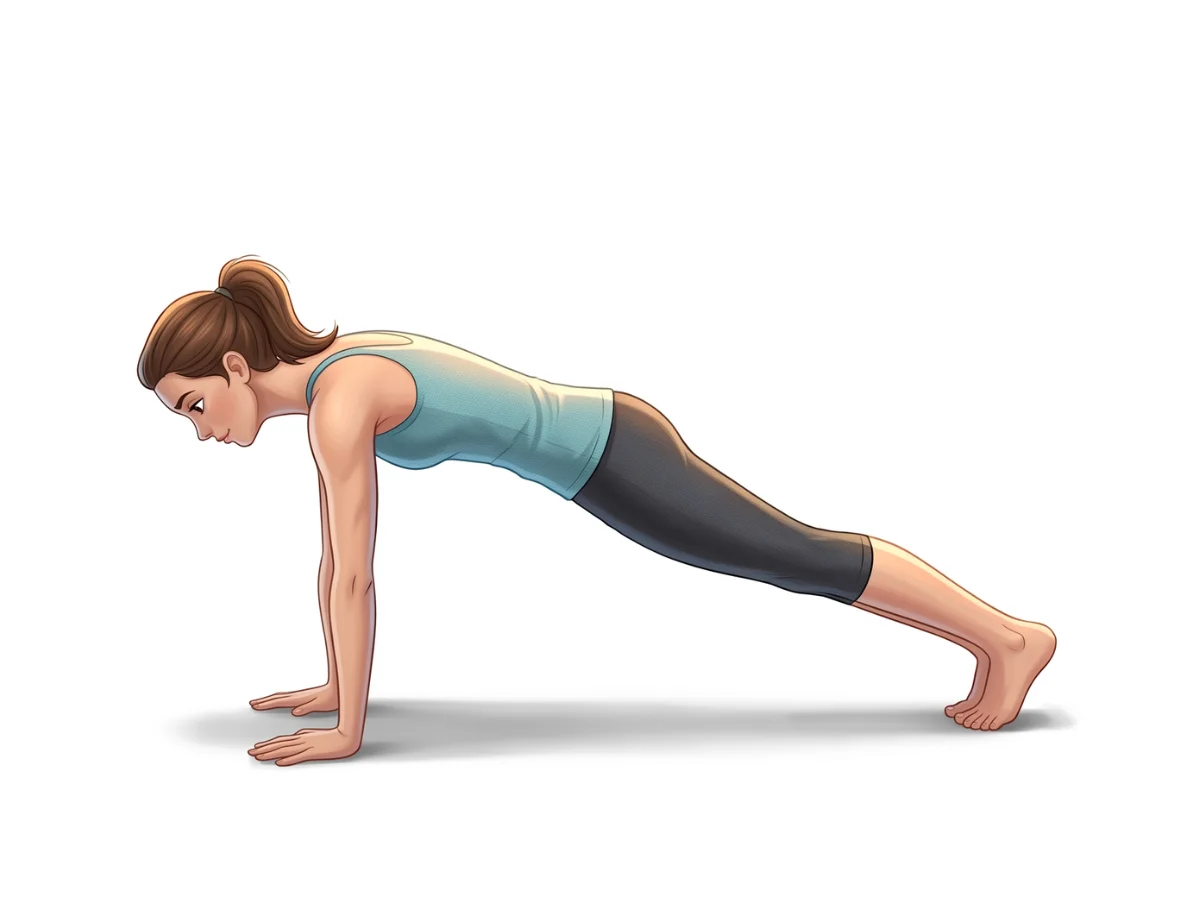
Plank Pose
PhalakasanaDevelops the total-body core integration required to hold a straight line against gravity.
Follow with neutralizing Counter-poses
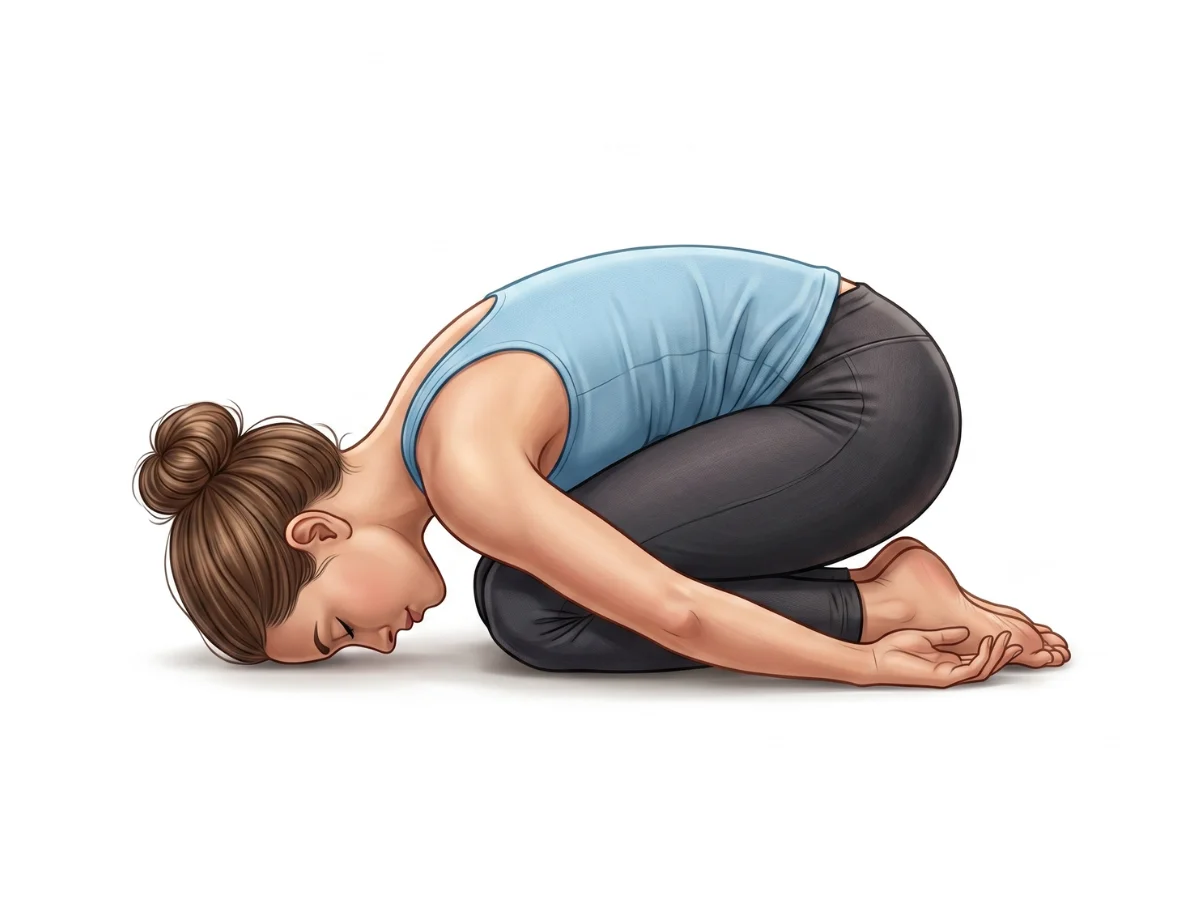
Child's Pose
BalasanaThe essential counter-pose to restore blood pressure and relax the neck and shoulders.
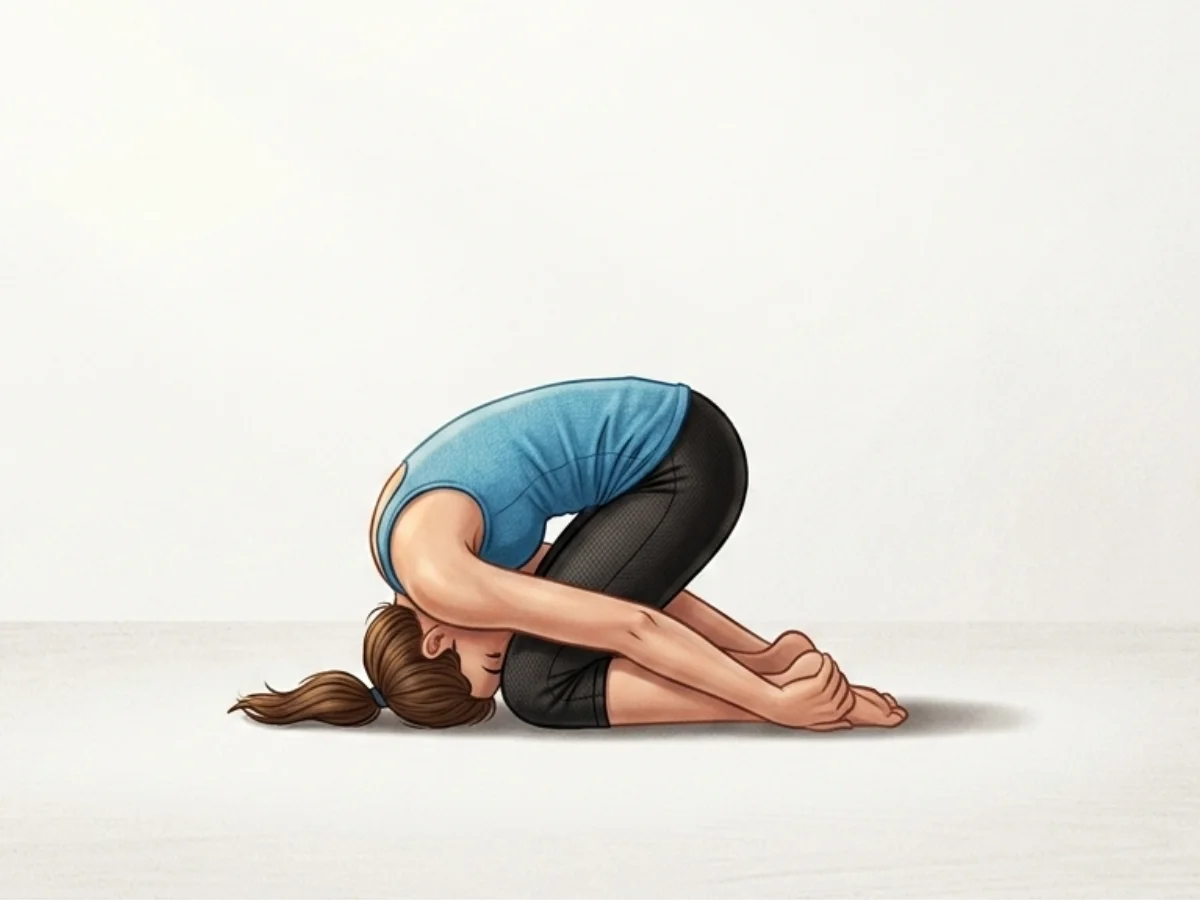
Rabbit Pose
SasangasanaProvides a gentle counter-stretch to the back of the neck and cervical spine.
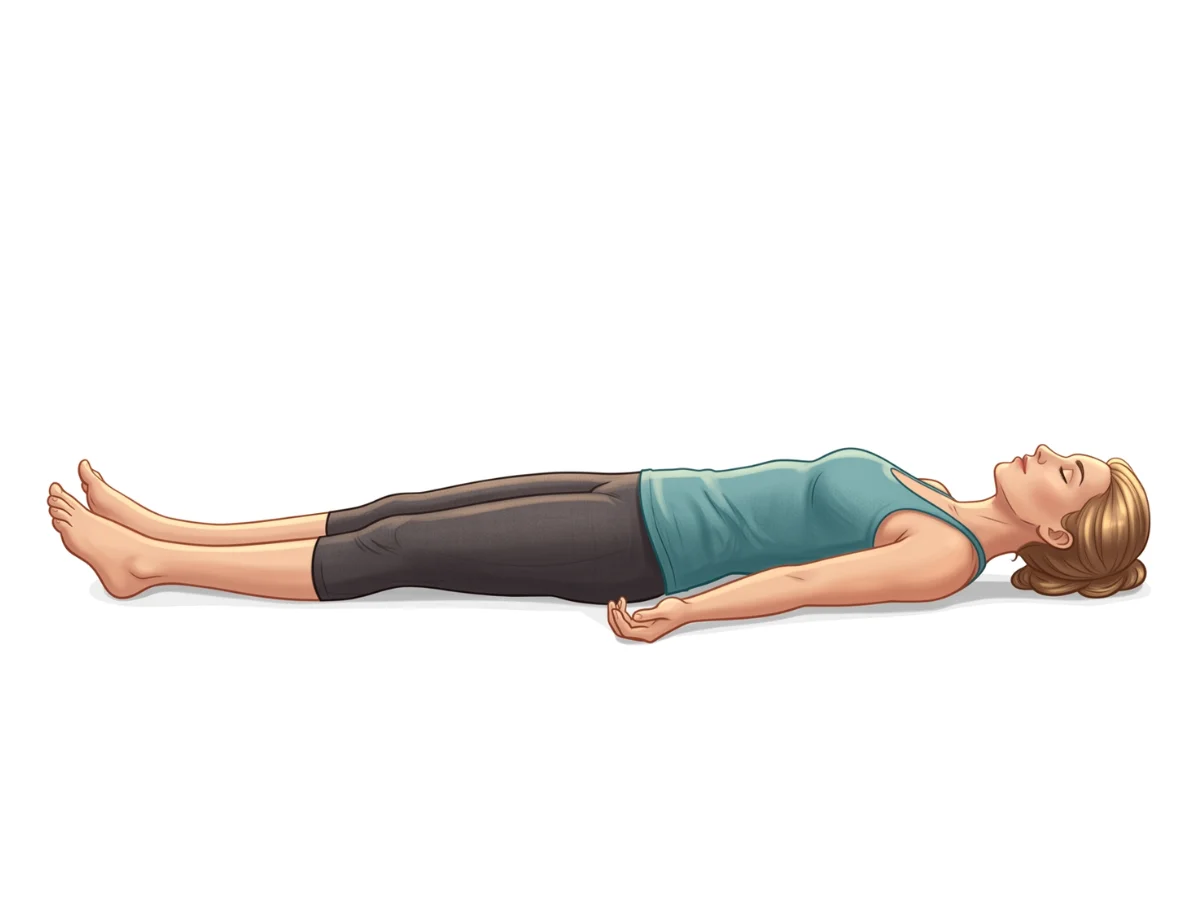
Corpse Pose
SavasanaAllows the cardiovascular and nervous systems to completely recalibrate and integrate the inversion.
Frequently Asked Questions
How much weight should actually be on my head?
Ideally, only about 10-30% of your body weight should rest lightly on the crown of your head. The vast majority of the support should come from actively pressing your forearms and elbows firmly into the mat.
Is it safe to jump or kick up into Headstand?
No, jumping or kicking wildly into Headstand is highly discouraged as it can lead to dangerous falls and neck injuries. You should aim to use core strength to float the legs up, or lift one leg at a time with strict control.
How do I know where the "crown" of my head is?
Place the base of your palm at the top of your nose (between your eyebrows) and reach your middle finger over your head. Where your middle finger lands is generally the flat crown of your head that should touch the floor.
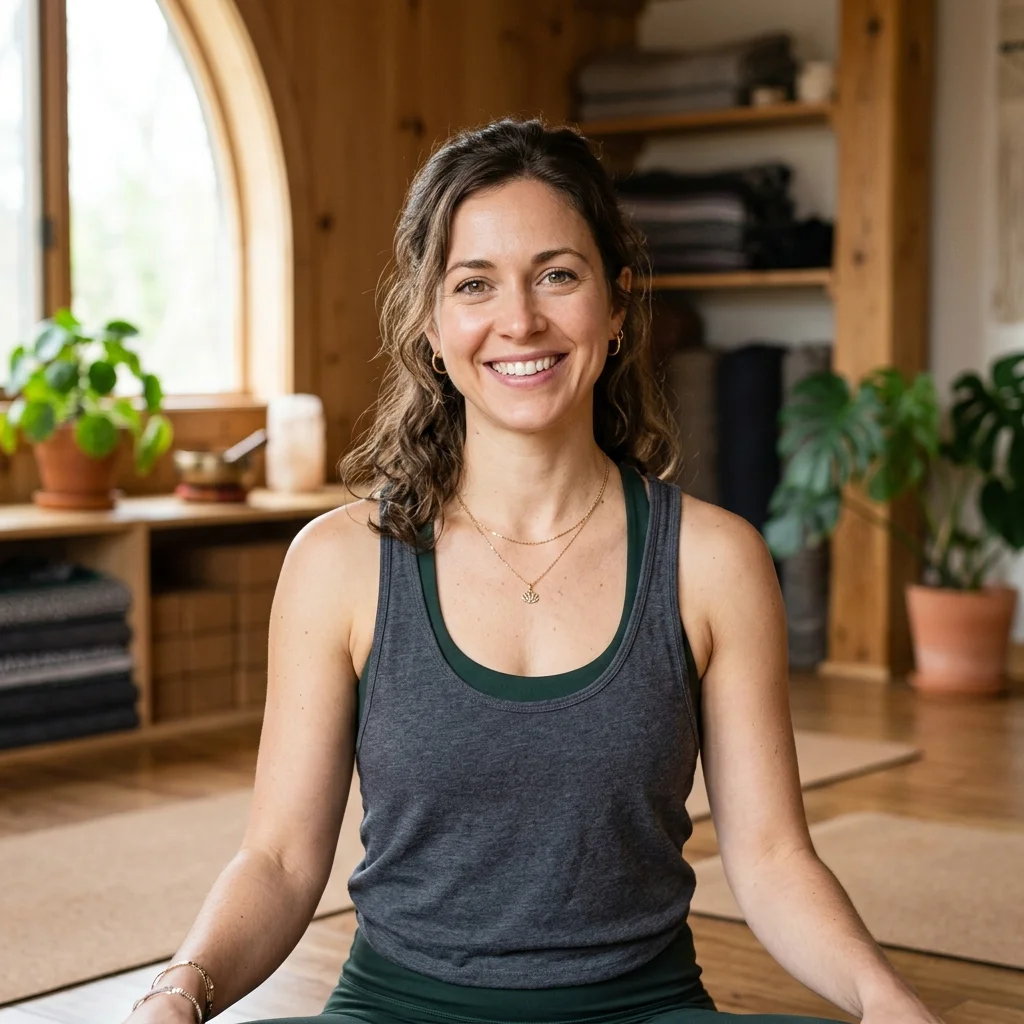
Elena Rostova is an accredited yoga educator and anatomy specialist with over 15 years of clinical experience. She focuses on functional biomechanics and injury prevention, translating complex anatomy into accessible guidance for safe, sustainable practice.
Read Full ProfileContinue Your Yoga Journey
Ready to deepen your practice? Explore our extensive library of poses, or join a structured program designed to build strength, flexibility, and mindfulness.