
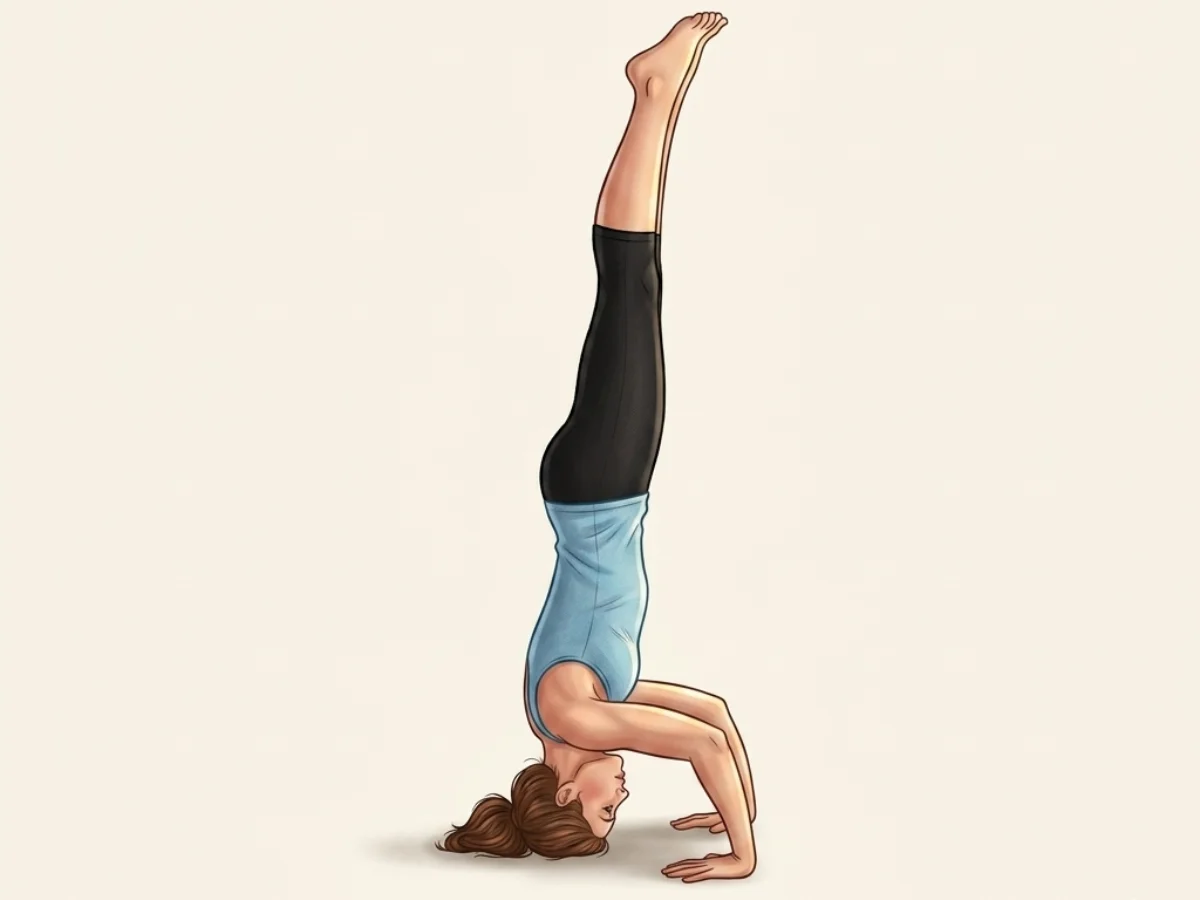
Tripod Headstand
Sirsasana II
By Elena Rostova Updated: verified Medically Reviewed
Tripod Headstand (Sirsasana II) is an advanced inversion that utilizes a wider, three-point foundation consisting of the crown of the head and both hands. Unlike Supported Headstand, where the forearms bear the weight, Tripod Headstand requires significant neck stability and arm strength, operating much like a Chaturanga arm position. It serves as an essential transition pose in Ashtanga and Vinyasa practices, often bridging the gap between arm balances like Crow Pose and full inversions.
Hold Time
30–60 sec · 5–10 breaths
Pronunciation
sheer-SHAH-sah-nah two
About Tripod Headstand
Often praised by experienced instructors, Tripod Headstand (Sirsasana II) acts as a powerful tool for finding balance and realignment. As you settle into the shape, it gently works the neck strength, arm balance & core control to increase your overall flexibility. Practicing this pose regularly helps with strengthens neck and arms and leaves you feeling completely refreshed.
How to Practice
Hand Placement
Start in a tabletop position. Place your hands on the mat shoulder-width apart, fingers spread wide, pressing firmly through the knuckles.
Head Placement
Lower the crown of your head to the mat, positioning it several inches in front of your hands to form an equilateral triangle with your hands and head.
Chaturanga Arms
Ensure your elbows are bent at a 90-degree angle and are stacked directly over your wrists. Squeeze your elbows inward toward each other.
Lift the Hips
Tuck your toes, lift your knees off the mat, and walk your feet toward your face until your hips stack over your shoulders.
Knees to Triceps
Carefully place your right knee onto your right tricep, and your left knee onto your left tricep, shifting into a tucked tripod balance.
Engage the Core
Draw your belly button strictly toward your spine. Establish deep core control before attempting to lift your legs away from your arms.
Extend Legs
On an inhale, actively squeeze your inner thighs together and slowly extend both legs straight up toward the ceiling in one smooth motion.
Refine Alignment
Reach up through the balls of your feet. Continue to draw the elbows in and press the floor away with your palms to support your neck.
Hold and Focus
Hold the posture for 5 to 10 deep breaths, keeping your gaze soft and directing energy upward to maintain lightness in the pose.
Controlled Descent
To exit, slowly bend your knees back onto your triceps, then gently lower your feet to the floor, immediately resting in Child's Pose.
Practice with the Yoga Timer
Keep track of your hold time and breath count for this pose.
Beginner Modifications & Prop Options
Yoga is a personal journey. These modifications and prop options allow you to adapt the pose to your current level of balance and flexibility, ensuring a safe and supportive practice.
Tripod Prep with Blocks
Place blocks under your shoulders while setting up. This provides tactile feedback to prevent the shoulders from dipping too low and collapsing the neck.
Tip: Focus on alignment rather than depth.
Stay in the Tuck
Remain with your knees resting heavily on your triceps (Tripod Egg). Focus entirely on pressing the floor away and engaging the core here.
Tip: Focus on alignment rather than depth.
Use a Wall
Set up with your head near a wall. Walk your feet up the wall to assist in stacking the hips, slowly moving one leg away at a time to find balance.
Tip: Focus on alignment rather than depth.
Benefits of Tripod Headstand
Strengthens Neck and Arms
Demands significant strength from the neck muscles, triceps, and pectorals to stabilize the body weight in the tripod base.
Enhances Proprioception
Balancing on the head and hands forces the nervous system to adapt to new spatial awareness, improving overall body control.
Prepares for Transitions
Serves as the foundation for advanced transitions, such as moving from Crow Pose into Headstand and back again.
Invigorates the System
Like all inversions, it reverses the flow of gravity, bringing fresh oxygenated blood to the brain and face.
Develops Core Power
Lifting the legs from a tucked position to a vertical line requires intense engagement of the deep abdominal muscles.
Common Mistakes to Avoid
Mistake: Hands in a Straight Line with Head
How to fix: Always form an equilateral triangle. If your hands are exactly next to your ears, you will have no leverage and risk rolling forward onto your neck.
Mistake: Elbows Splaying Out
How to fix: Constantly squeeze your elbows energetically toward the midline. They must remain stacked over the wrists like Chaturanga arms.
Mistake: Collapsing into the Neck
How to fix: Actively press the palms into the floor to elevate the shoulder blades away from the ears, taking the intense pressure off the cervical spine.
Safety and Precautions
Cervical Spine Vulnerability
Anyone with neck pain, arthritis, disc bulges, or whiplash should completely avoid this pose due to the direct axial load on the neck.
Wrist Injuries
Unlike Supported Headstand, Tripod places a deep 90-degree extension and heavy weight on the wrists.
High Blood Pressure
The inversion can cause unsafe spikes in blood pressure for those with cardiovascular issues.
Glaucoma
Inversions increase pressure in the eyes, which can be dangerous for those with glaucoma.
Pregnancy
Not recommended during pregnancy unless heavily experienced, due to fall risk and increased joint laxity.
Medical Disclaimer: If you have any of the above conditions, consult your doctor or a qualified yoga instructor before attempting this pose.
Muscles Worked in Tripod Headstand
Tripod Headstand demands synchronized muscular effort, creating a profound sense of engagement and release throughout the body. The activation of the primary muscles supports the structure, while the secondary muscles provide stability and balance.
Primary Muscles
Triceps Brachii
Support the body weight in the bent-arm position and stabilize the elbows.
Cervical Erectors
Maintain the stability of the neck under the load of the body.
Transversus Abdominis
Acts as the main stabilizing force lifting the pelvis overhead.
Secondary Muscles
Pectoralis Major
Assists in drawing the arms inward and supporting the shoulder girdle.
Gluteus Maximus
Engages to extend the hips and keep the legs tight and controlled.
Forearm Flexors
Grip the mat to fine-tune balance and prevent falling backward.
Poses to Practice Before and After Tripod Headstand
Prepare with these Poses
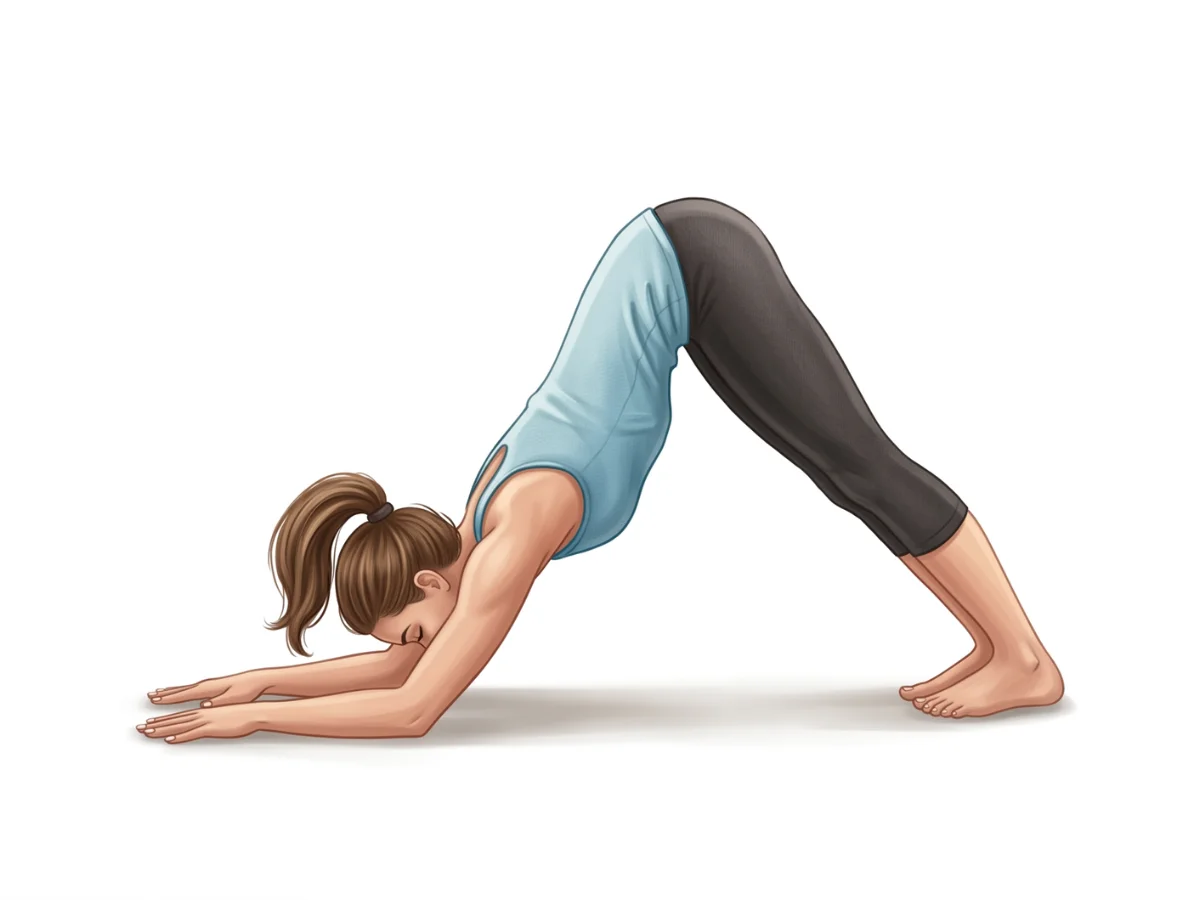
Dolphin Pose
Ardha Pincha MayurasanaWarms up the shoulders and prepares the mind for the feeling of being inverted.
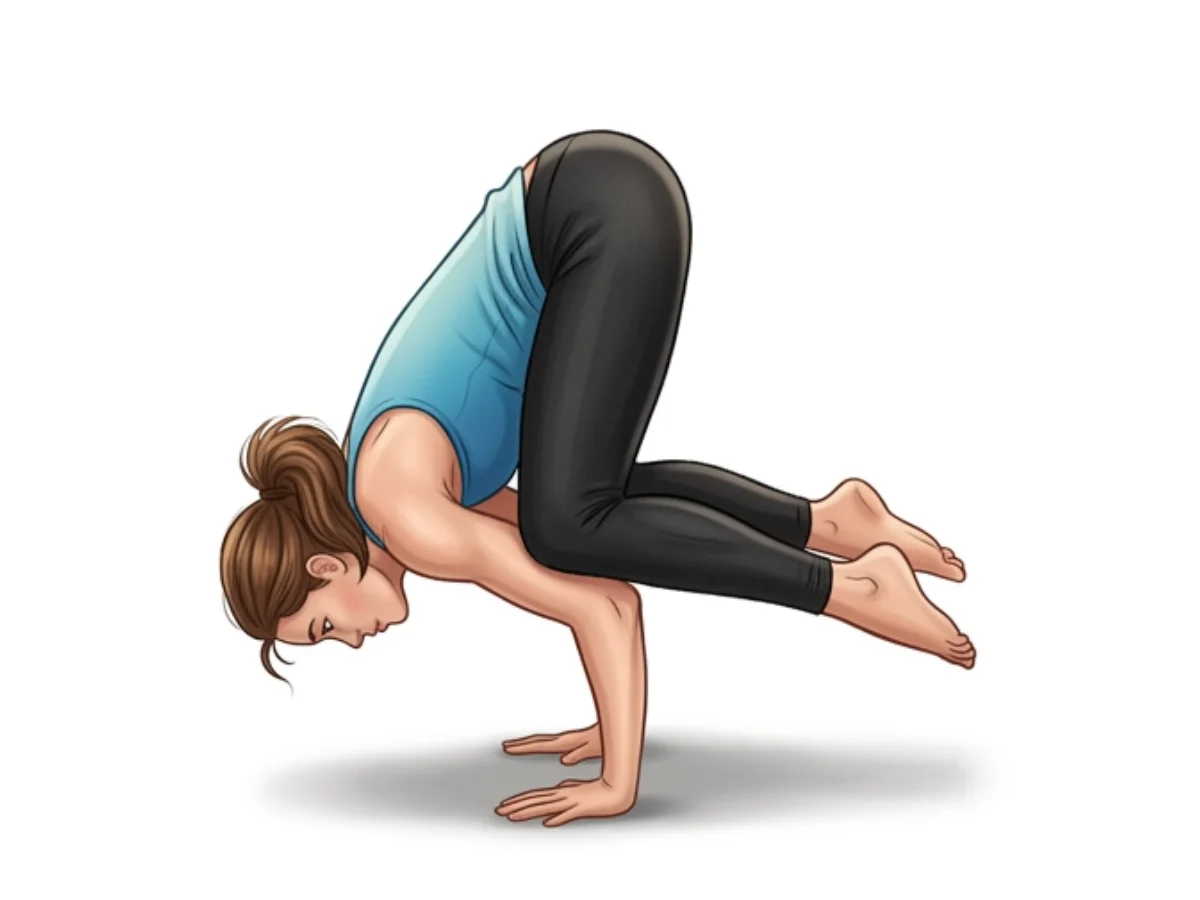
Crow Pose
BakasanaBuilds the precise arm strength and core integration needed to balance in a tucked shape.
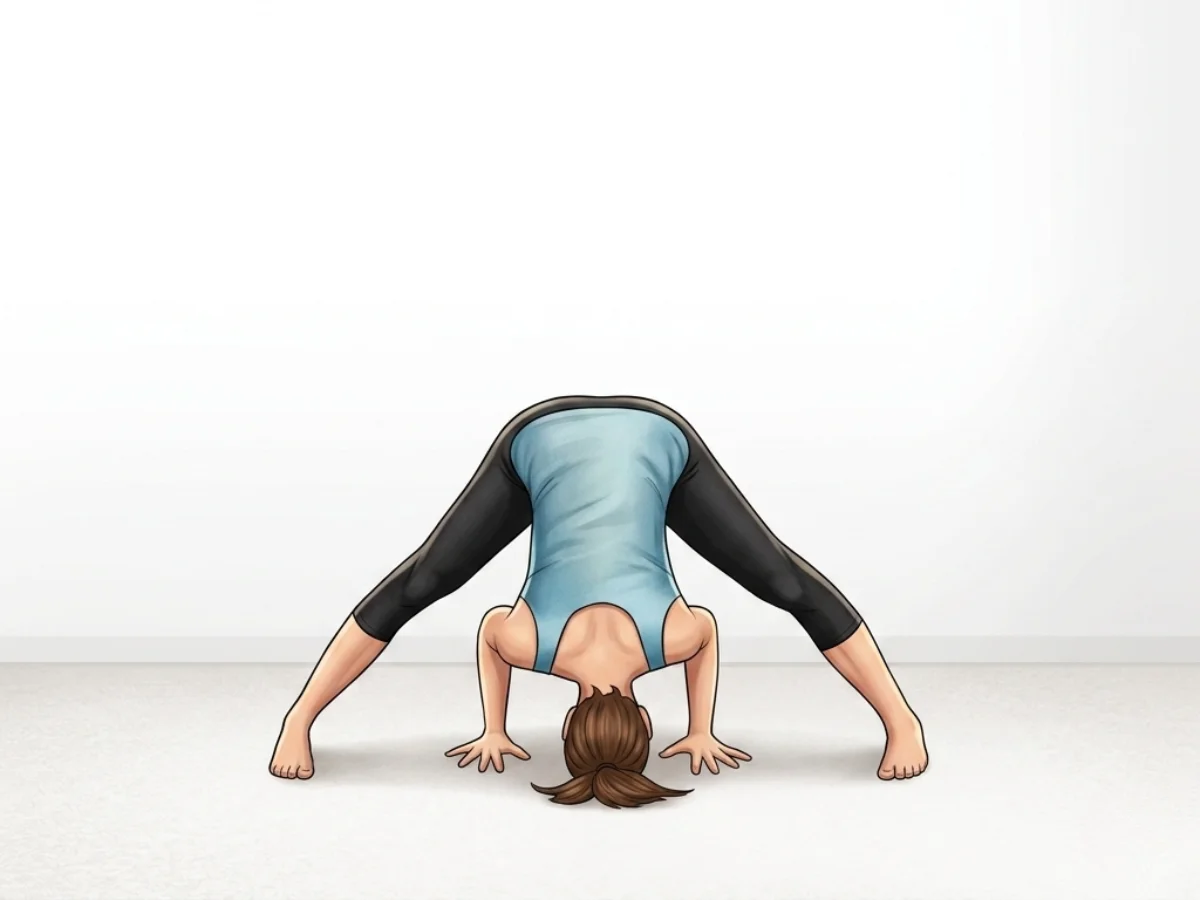
Wide-Legged Forward Bend
Prasarita PadottanasanaTeaches the action of folding forward and lightly placing the head on the mat.
Follow with neutralizing Counter-poses
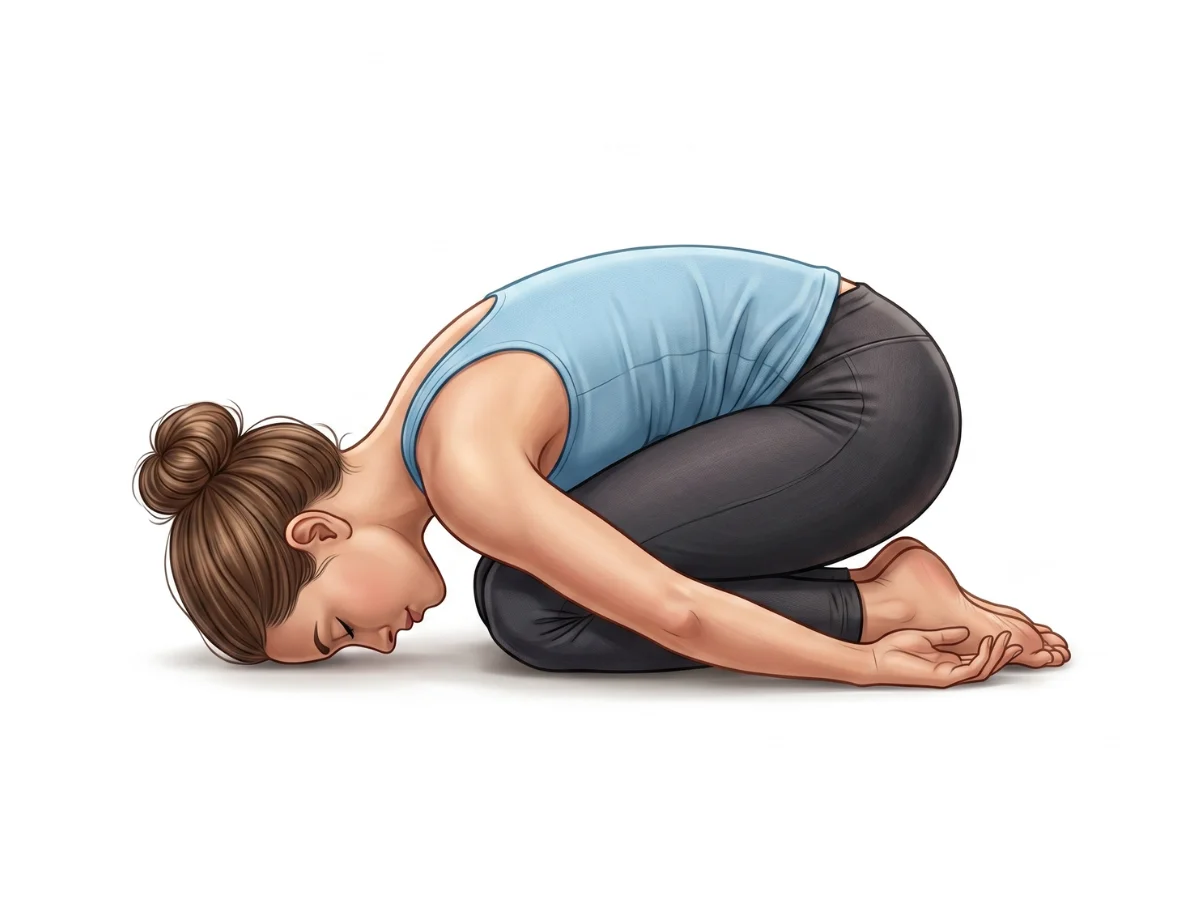
Child's Pose
BalasanaImmediately relieves pressure from the neck and spine after the intense hold.
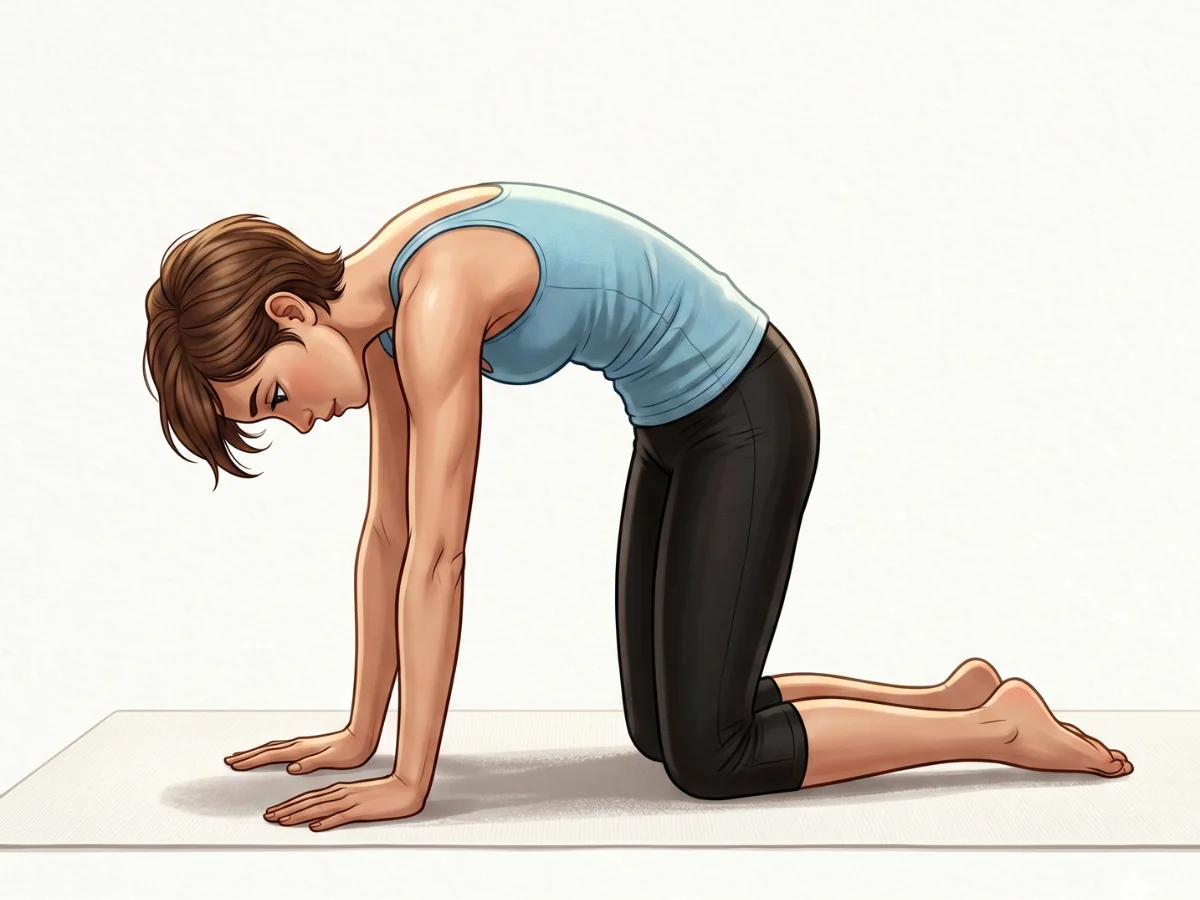
Cat Pose
MarjaryasanaGently rounds the spine, stretching the upper back and releasing shoulder tension.
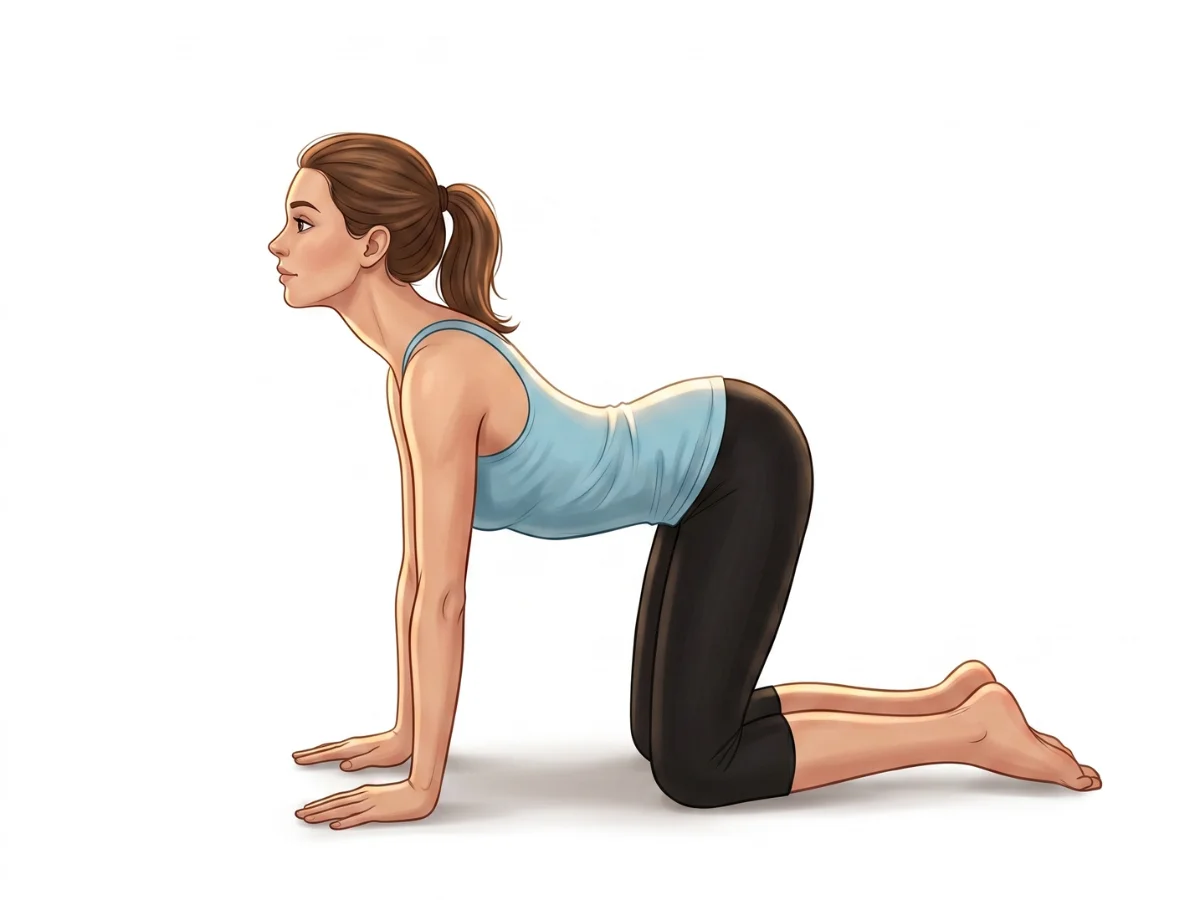
Cow Pose
BitilasanaRe-establishes a gentle extension in the spine to counteract the rigid hold of the headstand.
Frequently Asked Questions
Is Tripod Headstand harder than Supported Headstand?
It depends on your strengths. Tripod Headstand requires much more arm and wrist strength, while Supported Headstand requires more shoulder mobility and forearm strength. Tripod generally places more strain on the neck, making it slightly riskier.
How do I transition from Crow to Tripod?
From Crow Pose, slowly gaze down and slightly forward. Bend your elbows deeper until the crown of your head lightly touches the mat, maintaining the tight squeeze of your core to keep your knees on your triceps.
My head hurts when I do this. What's wrong?
You may be placing weight on your forehead or the flat back of your head instead of the true crown. Also, ensure you are actively pressing the floor away with your hands to minimize the literal weight sitting on your skull.

Elena Rostova is an accredited yoga educator and anatomy specialist with over 15 years of clinical experience. She focuses on functional biomechanics and injury prevention, translating complex anatomy into accessible guidance for safe, sustainable practice.
Read Full ProfileContinue Your Yoga Journey
Ready to deepen your practice? Explore our extensive library of poses, or join a structured program designed to build strength, flexibility, and mindfulness.